This step by step woodworking project is about how to build an a farmhouse kitchen cabinet. I have designed this rustic kitchen cabinet with double front doors for my countryside property. The property has come with an old house on it, which I plan to restore. This is Episode 1 of a long series of projects I plan to build for this property, so feel free to come back to see the progress. See the rest of the countryside projects HERE. This project only requires common materials and super basic tools, so anyone can get the job done in one weekend. Make sure you check out all my other DIY tutorials HERE.
We recommend you to invest in the best materials you could afford. Therefore, you should buy weather-resistant lumber, such as pine or cedar. Always take accurate measurements before adjusting the size of the components at the proper size. Drill pilot holes trough the components before inserting the wood screws, to prevent the wood from splitting.
Made from this plan
Building a Farmhouse Kitchen Cabinet
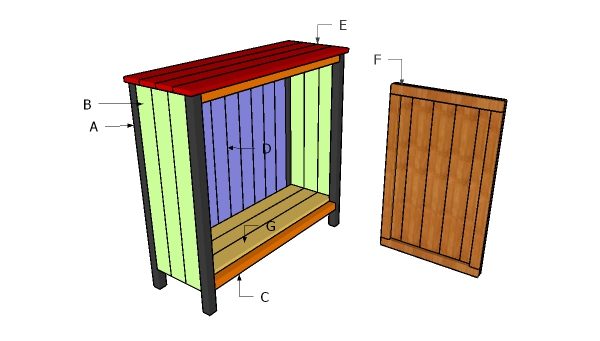
Building a kitchen cabinet
Materials
- A – 4 pieces of 2×2 lumber – 36″ long LEGS
- B – 6 pieces of 1×4 lumber – 32″ long, 4 pieces of 1×2 lumber – 10 1/2″ long SIDES
- C – 2 pieces of 2×2 lumber – 35″ long SUPPORTS
- D – 10 pieces of 1×4 lumber – 32″ long, 2 pieces of 1×2 lumber – 35″ long BACK
- E – 4 pieces of 1×4 lumber – 39 1/2″ long TOP
- F – 5 pieces of 1×4 lumber – 28 3/4″ long, 2 pieces of 1×2 lumber – 25 3/4″ long, 2 pieces – 17 1/2″ long 2xDOOR
- G – 6 pieces of 1×4 lumber – 36 1/2″ long, 2 pieces of 1×2 lumber – 10 1/2″ long SHELVES
- 3 pieces of 2×2 lumber – 6′
- 16 pieces of 1×4 lumber – 6′
- 3 pieces of 1×4 lumber – 8′
- 7 pieces of 1×2 lumber – 6′
- 1 1/4″ screws, 1 1/2″ finishing nails, 2 1/2″ screws
- hinges, latch
- stain, glue
Tools
- Pocket hole jig
- Safety gloves, glasses
- Miter saw, jigsaw
- Chalk line, tape measure, spirit level, carpentry pencil
- Drill machinery and drill bits
Tips
- Adjust the size of the project to suit your needs
Time
- One Weekend
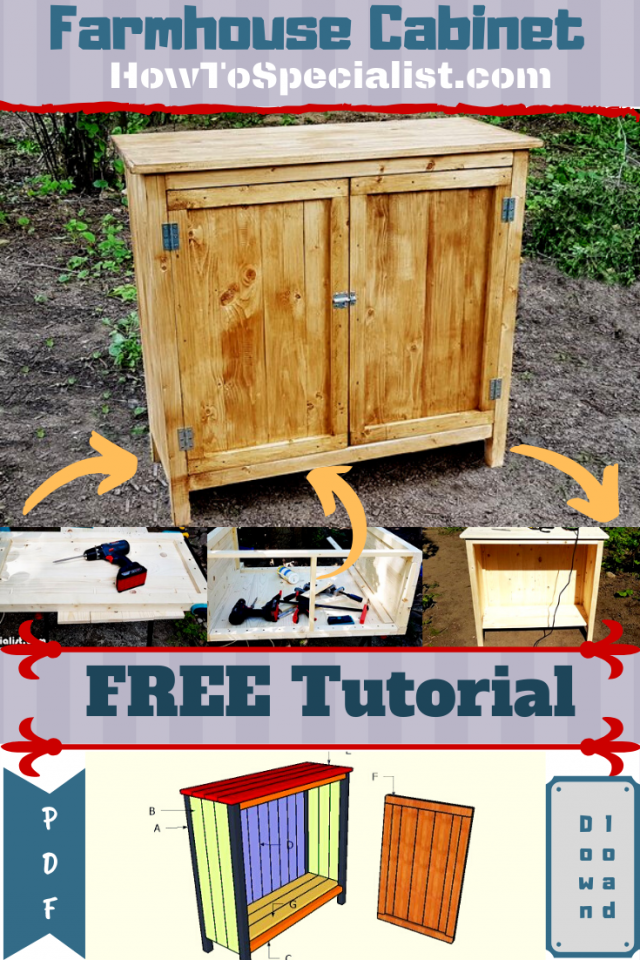
Farmhouse kitchen cabinet plans
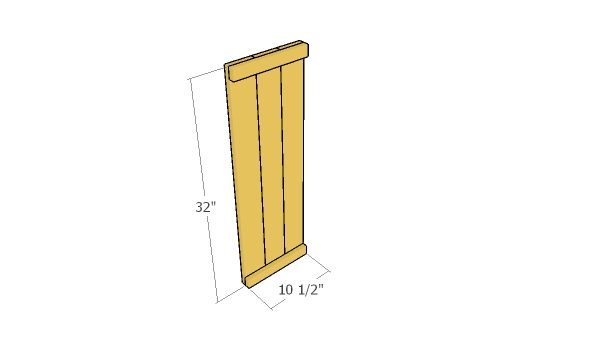
Building the side panels
Build the side panels from 1×4 slats and 1×2 trims. Add glue and 1 1/4″ nails for the to lock the panels together tightly.
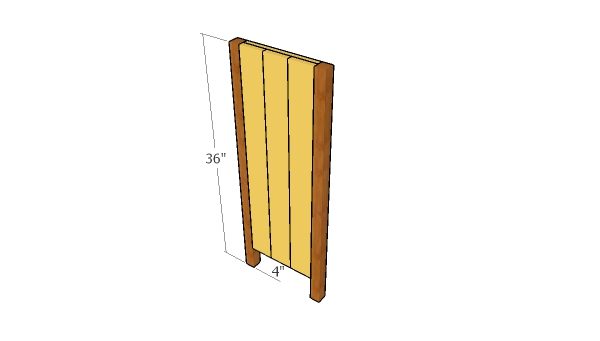
Fitting the legs
Drill pocket holes along the side panels and add glue to the joints. Insert 1 1/4″ screws to reinforce the joints.
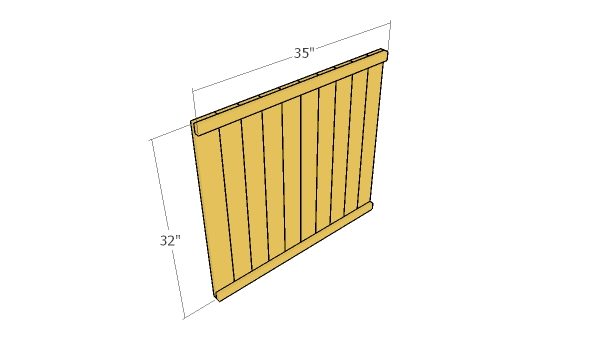
Building the back panel
Build the back panel from 1×4 lumber and 1×2 cleats.
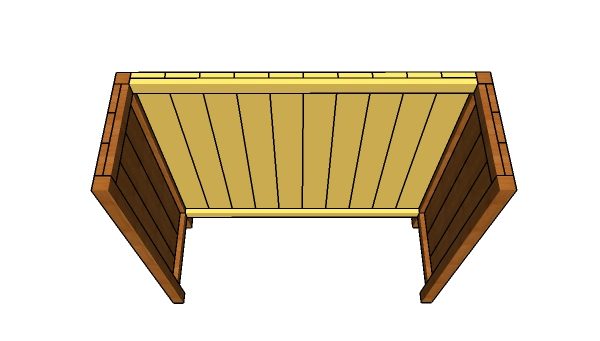
Assembly the frame of the cabinet
Drill pocket holes along the back panel and insert 1 1/4″ screws to lock it to the side panels.
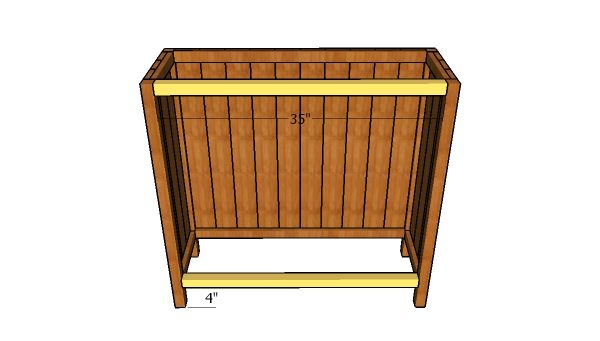
Front frame supports
Fit 2×2 supports to the front of the cabinet. Drill pocket holes at both ends of the supports and insert 2 1/2″ screws into the legs. Add glue to the joints and make sure the corners are square.
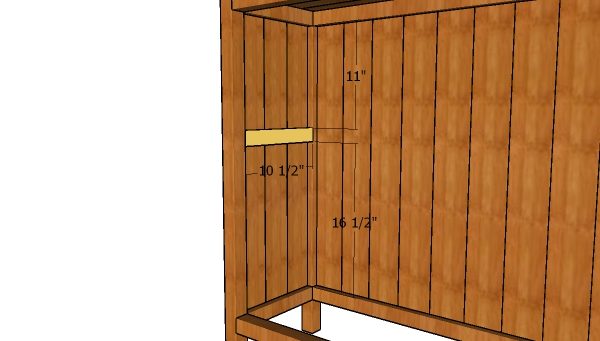
Fitting the shelf supports
Fit 1×2 cleats to the sides of the cabinet to create the shelf.
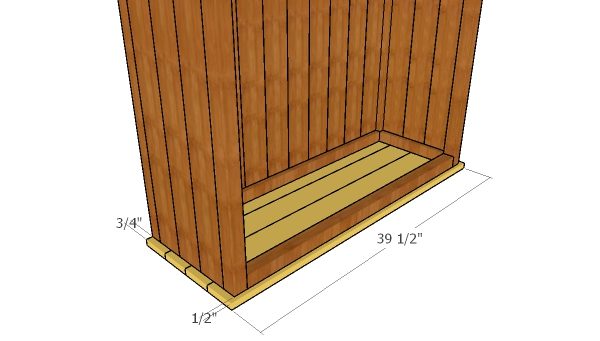
Tabletop
Use 1×4 lumber for the tabletop. Glue the tabletop together tightly and then use screws to attach it to the cabinet.
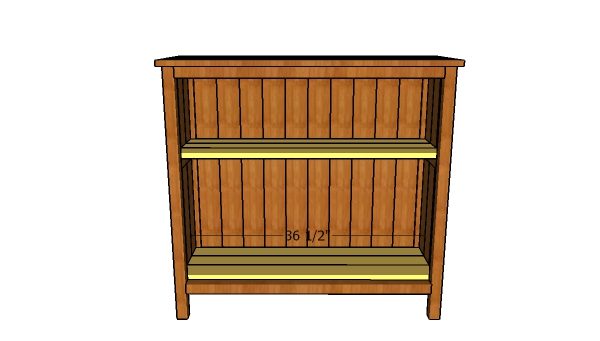
Fitting the shelves
Fit the 1×4 slats to the bottom and to the shelf.
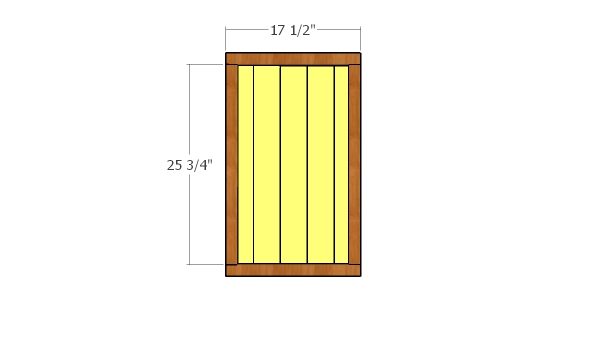
Building the doors
Use 1×4 lumber for the door panels. Attach the 1×2 trims to enhance the look of the doors.
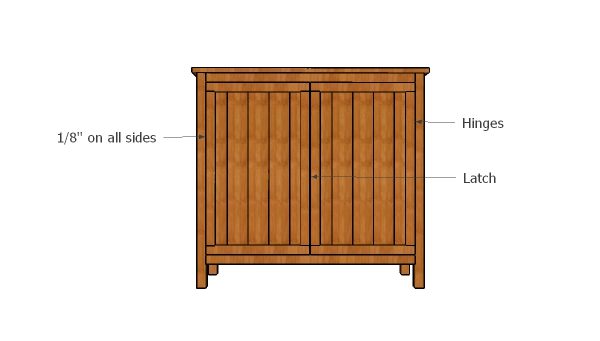
Fitting the doors
Fit the doors to the front of the cabinet and then lock them into place with hinges.
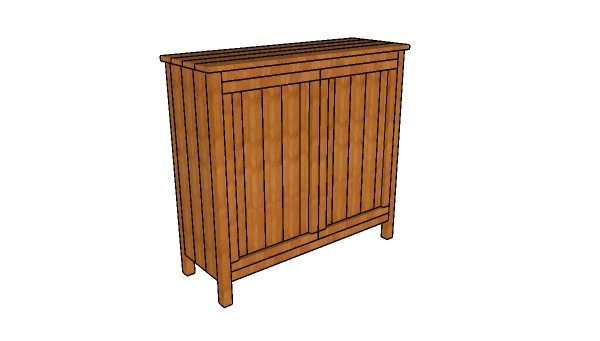
Farmhouse Kitchen Cabinet Plans
Take a look over the tutorial to see how I built my own farmhouse kitchen cabinet.
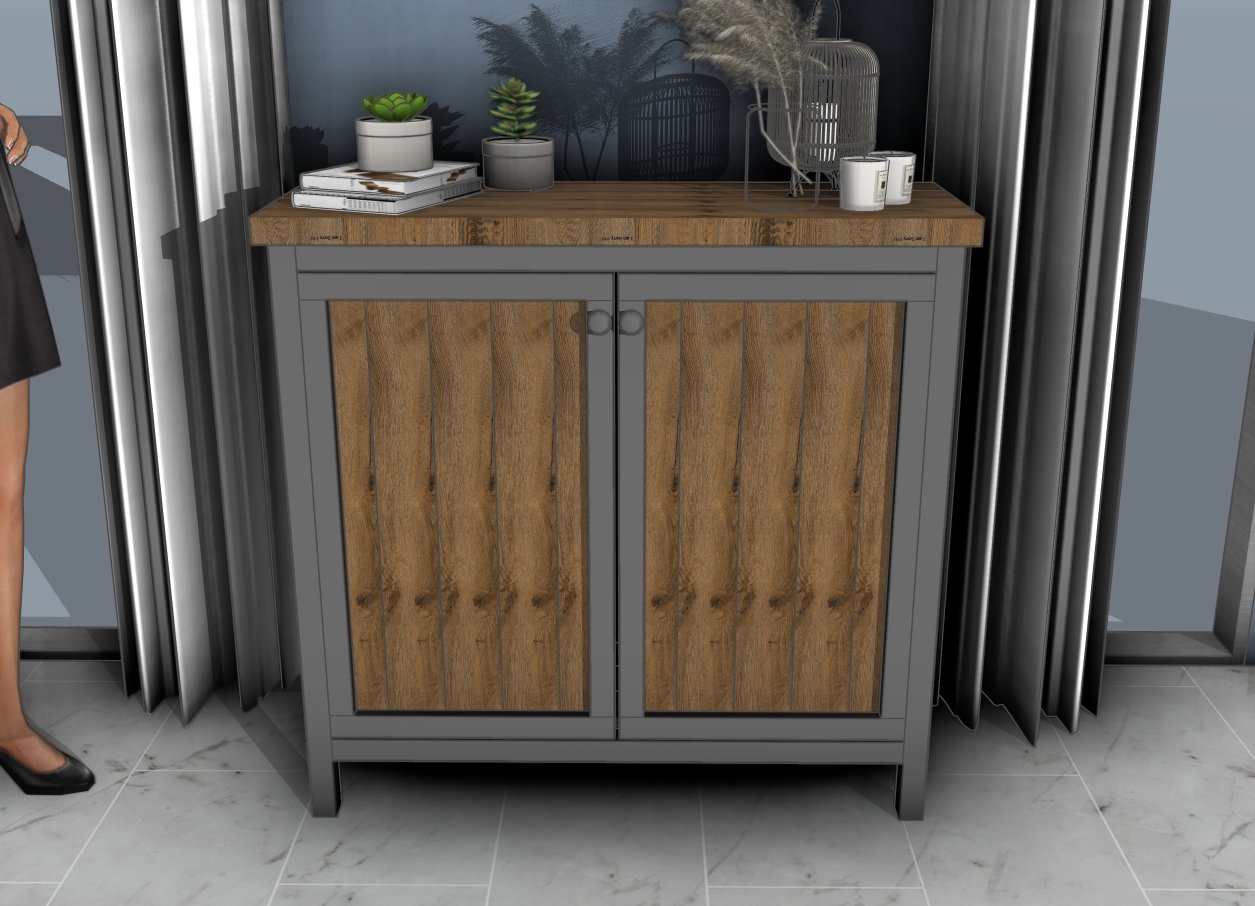
Farmhouse cabinet – DIY plans
For a farmhouse cabinet, the finishing touches make all the difference in capturing that rustic charm. Start by sanding any rough edges for a smooth feel, then apply a distressed paint or wood stain in classic farmhouse colors like white, sage, or natural wood tones.
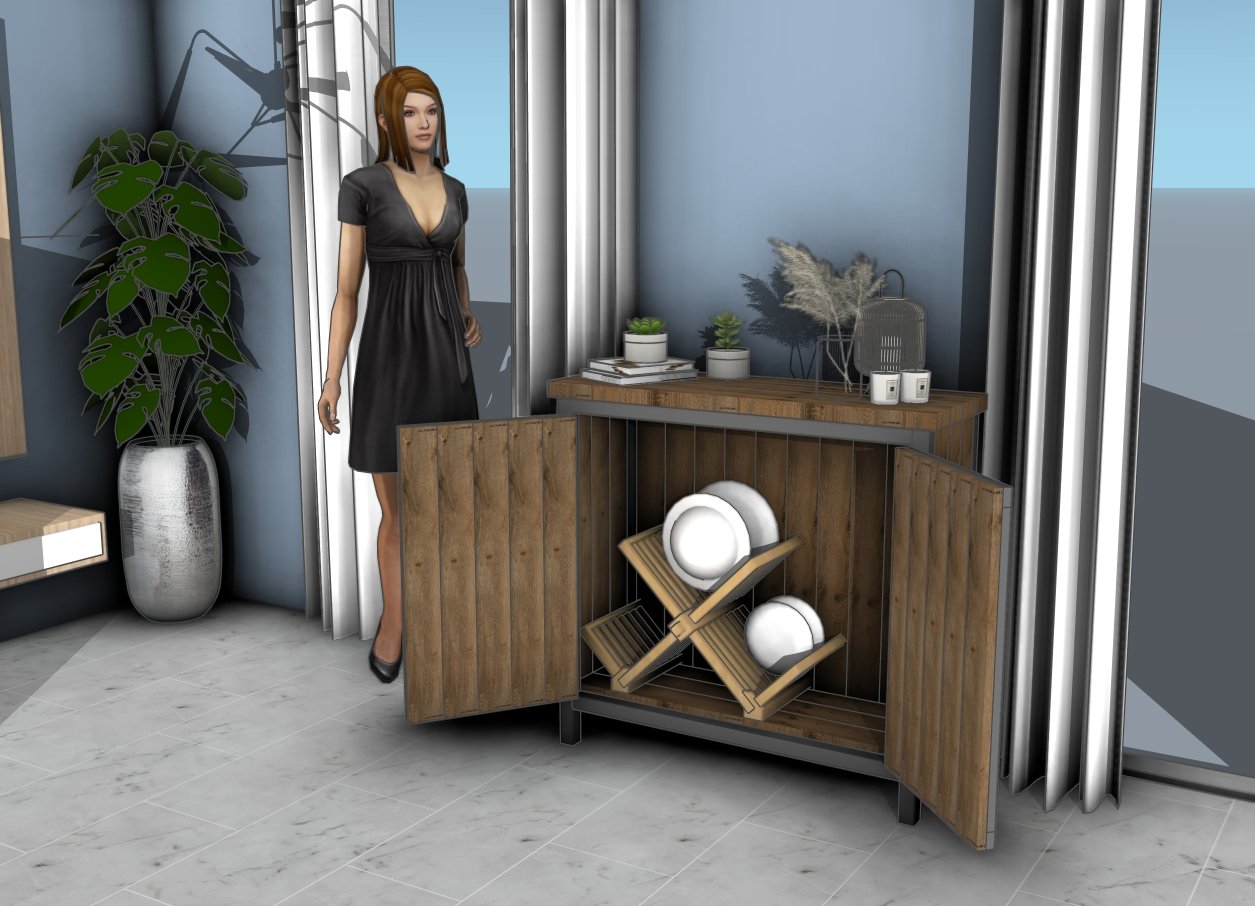
Farmhouse cabinet plans
Adding vintage-inspired hardware, such as black iron handles or ceramic knobs, will enhance the look while adding functionality. For an authentic touch, consider adding X-brace details on the doors or sides. Finish with a protective topcoat to seal in the character and ensure your cabinet is ready for daily use, adding warmth and charm to any room in your home.
How to build a farmhouse style kitchen cabinet
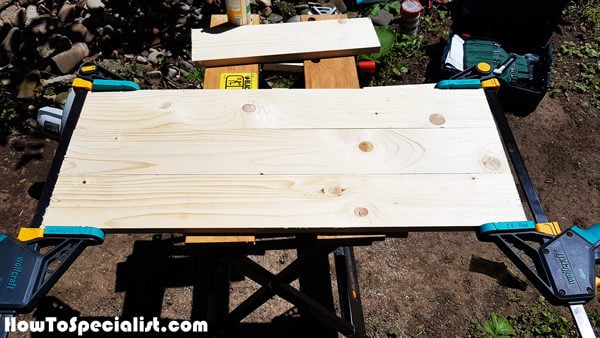
Gluing up the side panels
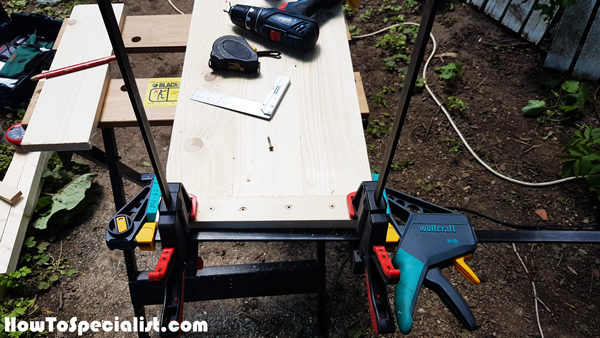
The first thing I did for the project was to glue the side panels. I cut the 1×4 slats at the proper dimensions and then I added glue to the sides. I aligned both ends and then clamped them together tightly.
Fitting the cleats
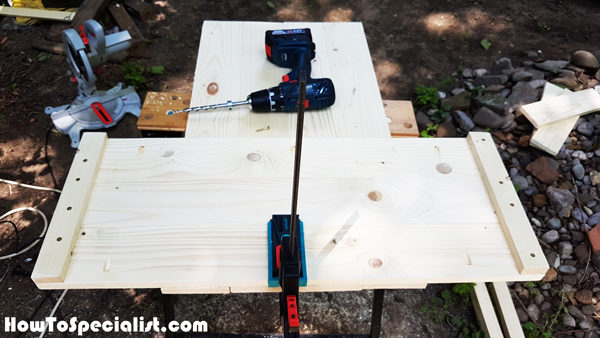
Afterwards, I added 1×2 cleats to the top and bottom of the panels. I aligned the edges with attention, drilled pilot holes and inserted 1 1/4″ screws. These cleats will reinforce the strength of the side panels.
Side panels
Next, I drilled pocket holes along the side sides of the panels, so I can attach them to the 2×2 legs.
Fitting the legs to side panels
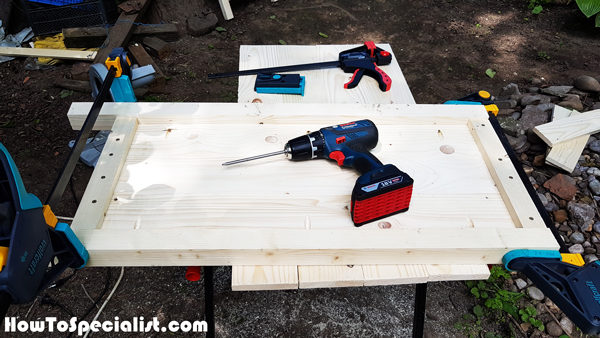
I added glue to the sides of the panels then aligned the legs into place tightly. I clamped the components together and then inserted the 1 1/4″ screws to lock them into place.
Back panels
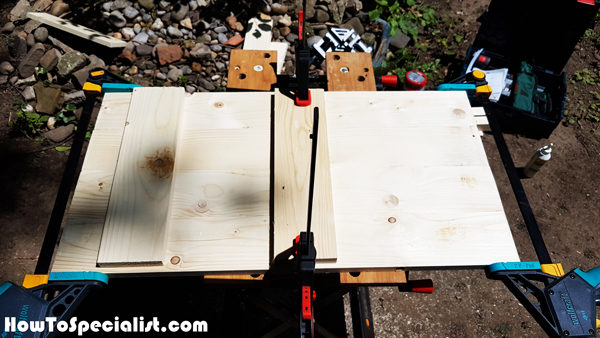
Now, we are going to build the back panel for the farmhouse kitchen cabinet. Therefore, I started by gluing up the panel, in two sections. My workbench was too small to do the glue up in one piece, so I had to split the panel in two.
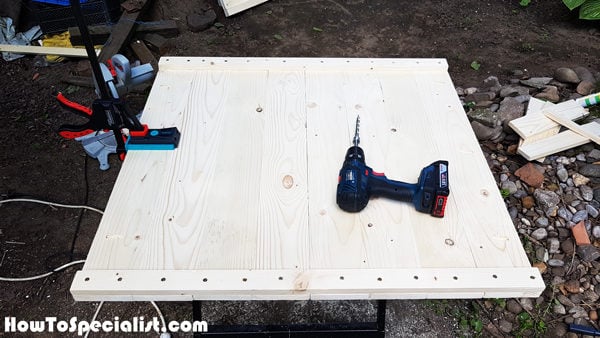
Back panel
After making the two sections, I locked them together with glue and by attaching the 1×2 cleats. I drilled pilot holes and inserted the 1 1/4″ screws. Make sure you align the edges before inserting the screws, to get a professional result. Drill pocket holes along the sides of the back panel.
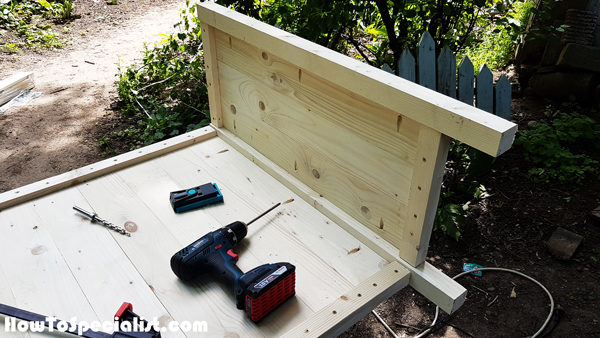
Assembling the cabinet
Next, attach the sides to the back panel. Align the edges and make sure the corners are right-angled. Insert screws through the pocket holes to lock the components together tightly.
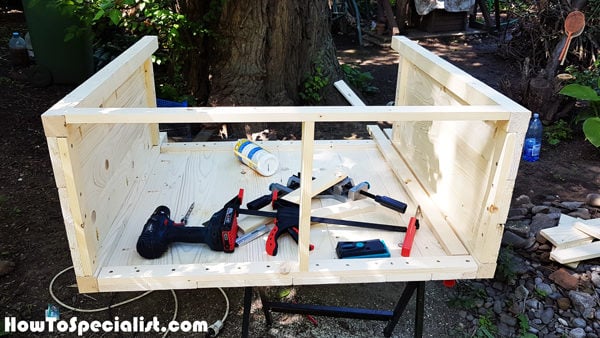
Tabletop frame
Continue the project by assembling the frame of the tabletop. I used 1×2 lumber for the frame, as I ran out of 2x2s.
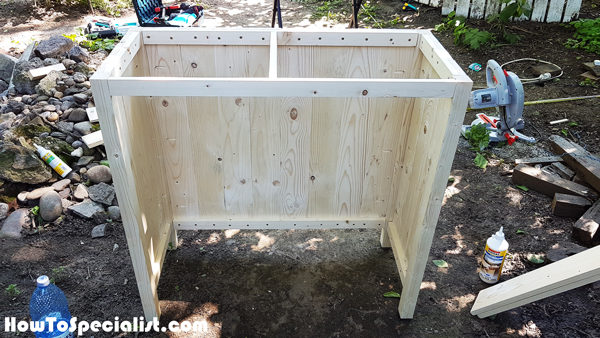
Farmhouse cabinet frame
The kitchen cabinet is starting the take shape already. Not bad for a few hours of work and B quality slats.
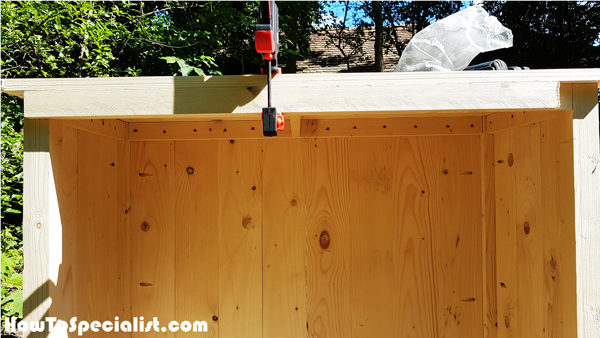
Fitting the tabletop
Next, I attached the slats to the top of the cabinet. Make sure you glue the tabletop slats together tightly before attaching it to the cabinet.
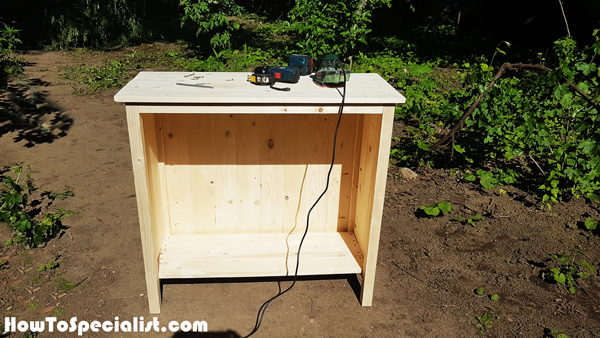
Building a farmhouse cabinet for kitchen
Attach the slats to the bottom of the cabinet. Make sure the corners are square and drill pilot holes before securing the slats to the cleats with 1 1/4″ screws.
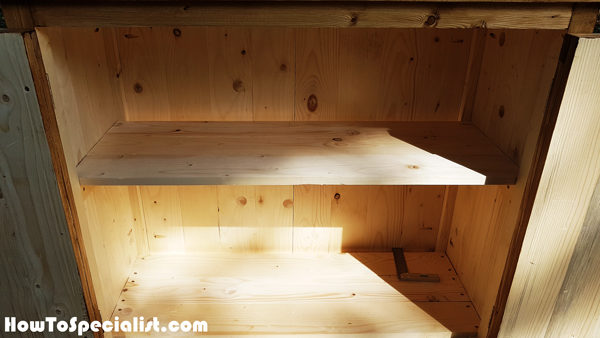
Fitting the shelf slats
Fit the 1×2 cleats for the shelf to the sides of the cabinet. Next, attach the shelf slats to the cleats and lock them into place tightly with screws.
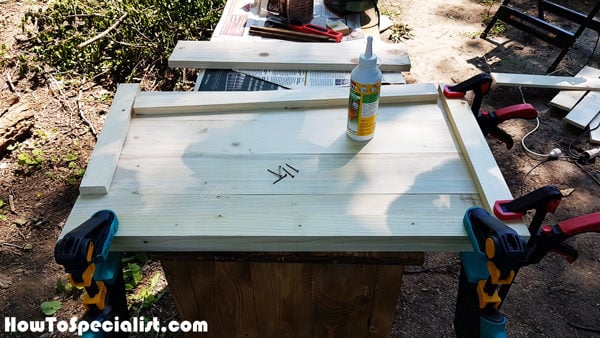
Building the door
Building the doors for the cabinet is a lot easier than you might imagine. Glue the door panels together and then attach the 1×2 trims. Align the edges and make sure the corners are square. Next, insert a few brad nails to reinforce the joints. Moreover, you can insert a few screws through the slats into the trims.
Use a sander to take a 1/8″ from the doors on the side, so you can actually fit them into place and make then open easily.
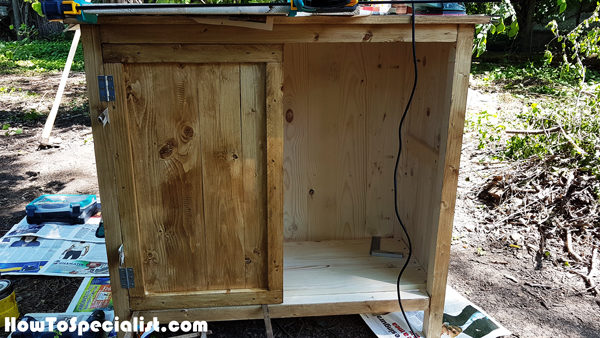
Fitting the door
Fit the door into place and make sure there is a 1/8″ gap on all sides. Drill pilot holes and insert screws to lock the hinges to the cabinet and to the doors.
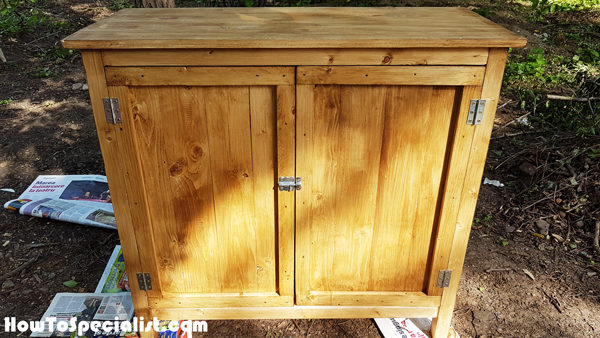
Rustic farmhouse kitchen cabinet
After you fit the second door, you need to make small adjustments so they open and close easily. Fit a latch to keep the doors locked together tightly. Optionally, you can also install some handles so you can open and close the doors easily.
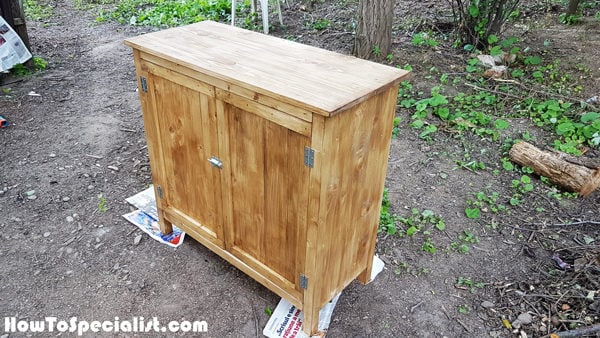
DIY Farmhouse Kitchen Cabinet
Use 120-220 grit to smooth the surface thoroughly. Moreover, you should fill the gaps and the holes with wood putty and let it dry out before sanding the surface. Apply a few coats of stain and then seal everything with clear lacquer.
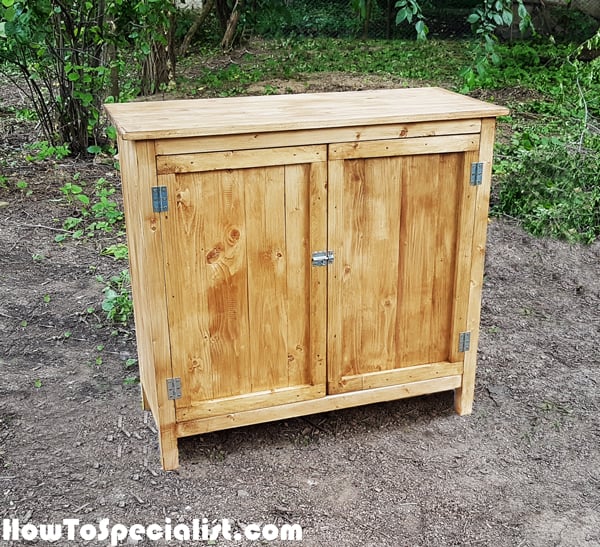
How-to-build-a-kitchen-cabinet
I had a lot of fun with this project, considering it only took me 10 hours to make. I used B quality lumber, but I am really pleased with the end result. This cabinet is for my countryside property and I made it to organize a few items I had found in the 100 year old house.
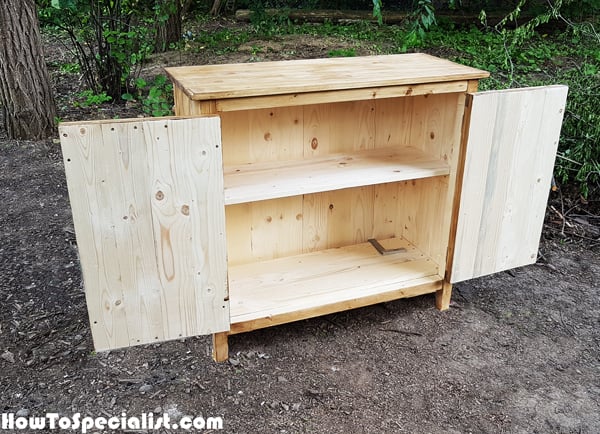
How-to-build-a-farmhouse-kitchen-cabinet
Remember that you can easily adjust the size of the kitchen cabinet to suit your needs. If you like my project, don’t forget to SHARE it on Facebook and Pinterest. Check out my other farmhouse cabinet, as well.
If you want to download the plans. just click on the GET PDF PLANS button bellow.
Thank you for reading our project about how to build a farmhouse kitchen cabinet and I recommend you to check out the rest of the projects. Don’t forget to LIKE and SHARE our projects with your friends, by using the social media widgets. SUBSCRIBE to be the first that gets our latest projects.


4 comments
Hi, I am building this cabinet and find that either the 25 3/4 door trim or the length of the door panels is incorrect. Is 27 1/4″ the correct length to fit as the cabinet door? 27 1/4 – 25 3/4 = 1 1/2. so not enough room for the top and bottom trim.
Yes, you’re right. I looked over the 3d model and the correct length of the panel slats is 28 3/4″.
Too late for me – I have to figure out how to fill the gap and fit the too short doors. :-(
Hi Jack,
Thanks a lot for this step by step guide with good explanations and plenty of photos. It is great to see that building such a nice cabinet is easier than I thought. Very inspiring!
Greetings from Berlin/Germany