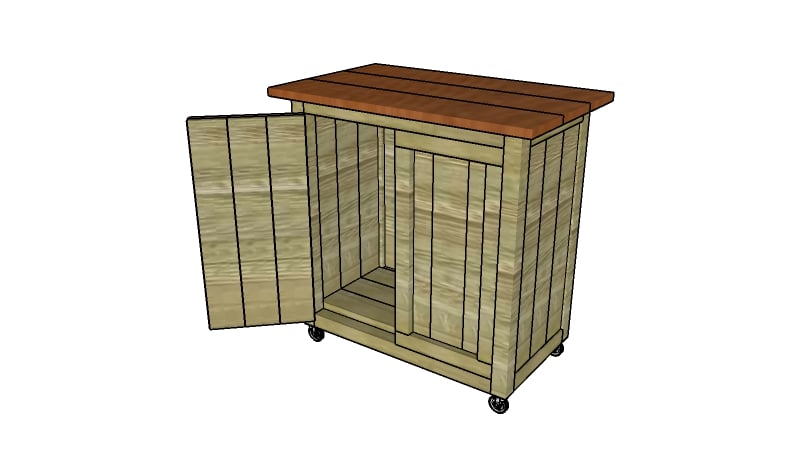
This step by step woodworking project is about how to build a farmhouse cabinet. I built this cabinet on caster wheels a few months ago and I just forgot to share it with you till now. This is a simple and rustic project, so if you are into farmhouse style, this should really tickle your senses. Make sure you browse through the rest of the projects, as you can find more building inspiration.
We recommend you to invest in the best materials you could afford. Therefore, you should buy weather-resistant lumber, such as pressure-treated lumber, pine or cedar. Always take accurate measurements before adjusting the size of the components at the proper size. Drill pilot holes trough the components before inserting the wood screws, to prevent the wood from splitting.
Made from this plan
Farmhouse cabinet plans
See full plans for this cabinet HERE. The plans come with a complete cut list, as usual.
How to build a farmhouse cabinet
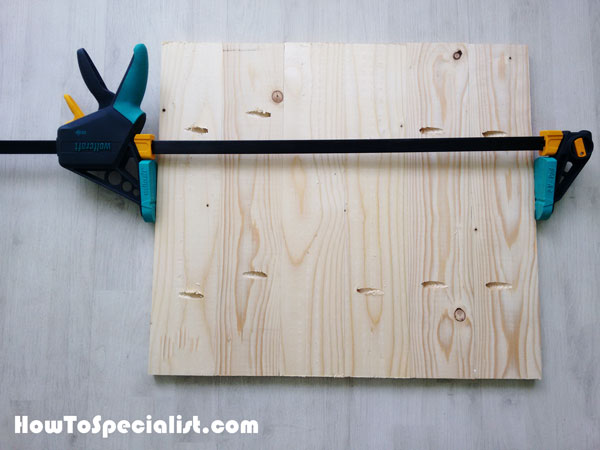
The first step of the project is to build the panels for the cabinet. I used 1×4 slats for the panels. I added glue to the joints and also drilled pocked holes to enhance the bond between the slats.
However, if you are all about the looks, you can just add glue and clamp them together tightly. Align the slats with attention and leave no gaps between the components.
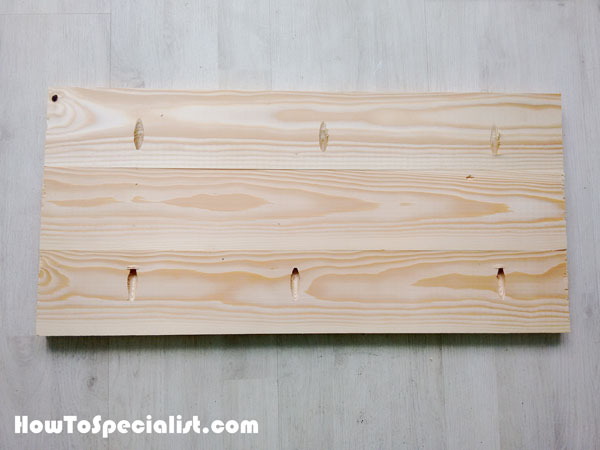
Next, you need to assemble the side panels for the farmhouse cabinet, using the same techniques described above.
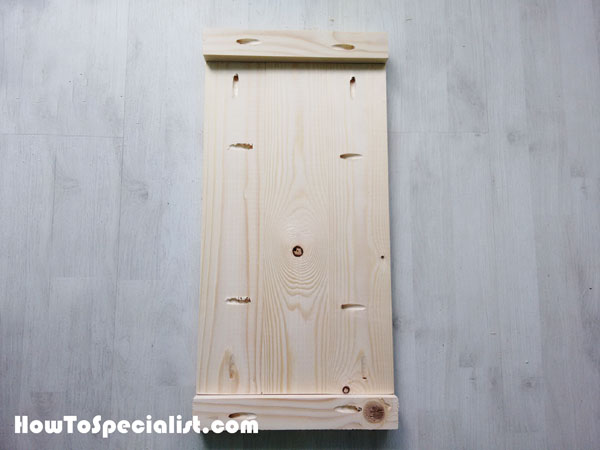
Continue the project by attaching the 2×2 supports to the top and to the bottom of the panels. As you can easily notice in the image, you need to drill pocket holes along the top and bottom edges of the panel. Use 1 1/4″ screws to lock the components together tightly and add glue to the joints for a professional result.
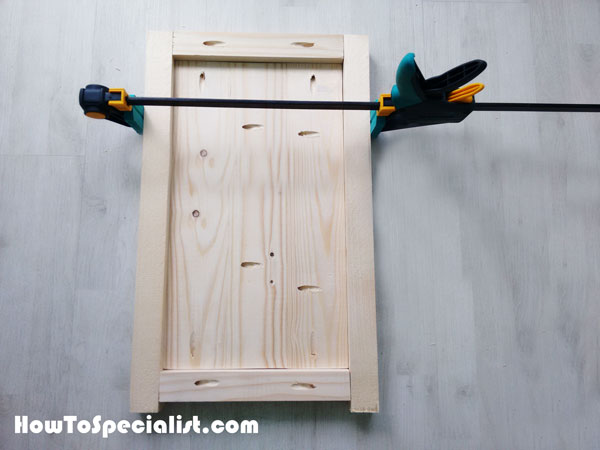
Attach the 2×2 legs to the sides of the cabinet. Drill pocket holes at both ends of the horizontal supports and insert 2 1/2″ screws into the legs. Make sure the edges are square and align the edges with attention. Use clamps to lock the components together tightly.
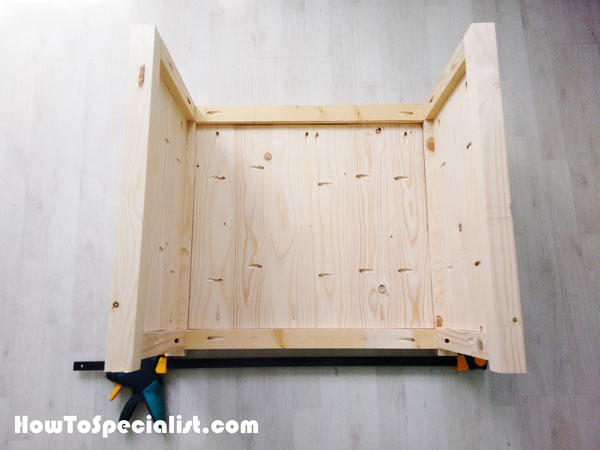
Next, I assembled the cabinet together by attaching the sides to the back panel. Fit 2×2 supports to the back panel, as well, and drill pocket holes at both ends. Use a square to make sure the corners are right-angled. Align everything with attention for a professional result. Add glue to the joints for a professional result.
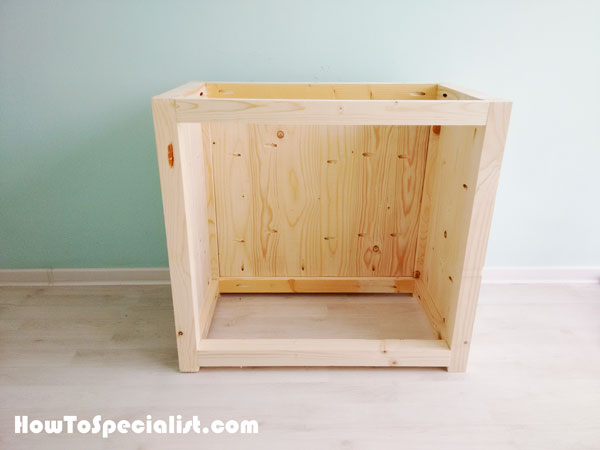
Next, I attached the 2×2 supports to the front of the cabinet. I drilled pocket holes at both ends of the supports and I used 2 1/2″ screws to lock them into place.
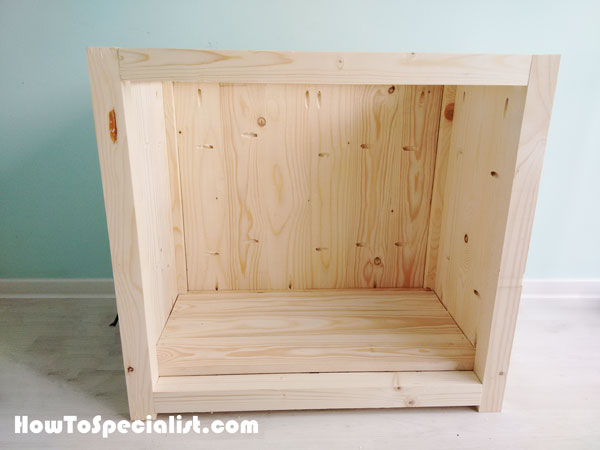
Next, I attached the 1×4 slats to the bottom of the farmhouse cabinet. I used 1 1/4″ brad nails to lock the slats to the bottom supports.

I assembled the tabletop for the cabinet using four 1×4 slats. I drilled pocket holes along the edges and add glue to the joints, before I clamped everything tightly. I centered the tabletop to the frame of the cabinet and use a few 1 1/4″ brad nails to lock it into place. If you want, you can also drill pocket holes through the top supports and insert screws into the top from underneath.
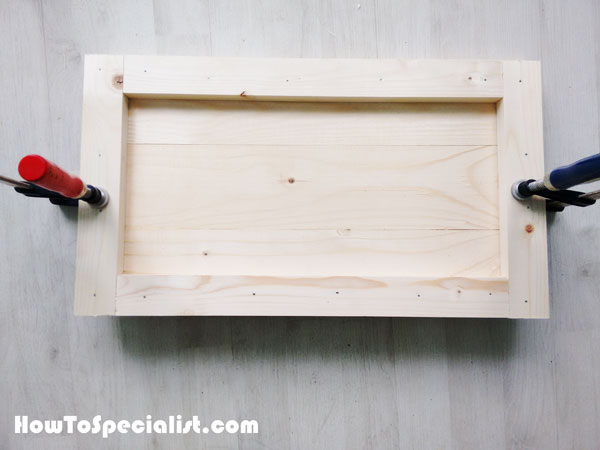
Afterwards, I assembled the doors for the cabinet. After gluing the panels for the doors, I attached the 1×2 trims, as shown in the diagram. I applied glue to the joints and also inserted 1 1/4″ brad nails to lock everything tightly. However, make sure the corners are square. In addition, when cutting the components you need to leave a clearance space around the doors, so they can open easily.
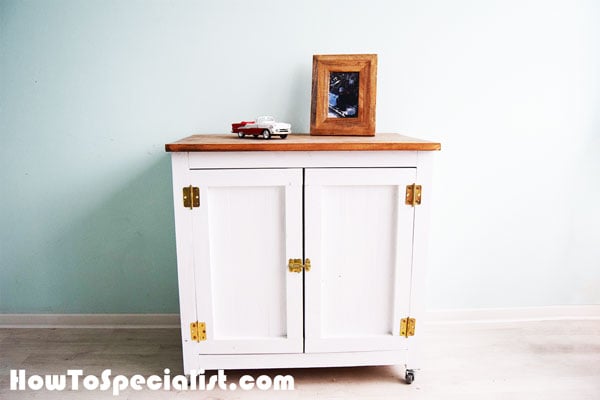
I secured the doors to the front of the cabinet with hinges. I also attached a matching latch.
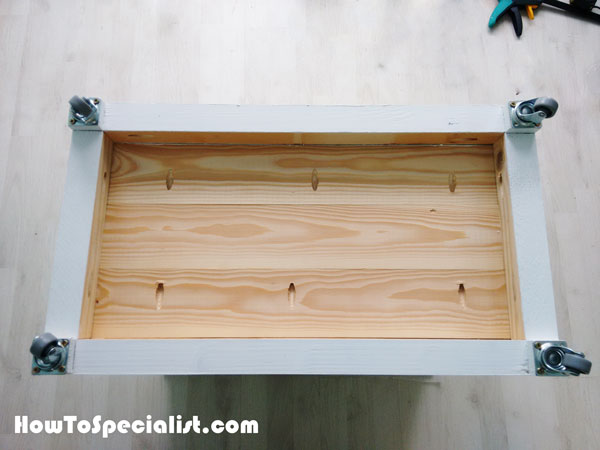
I attached 2″ caster wheels to the bottom of the cabinet, so I can move it easily when needed.
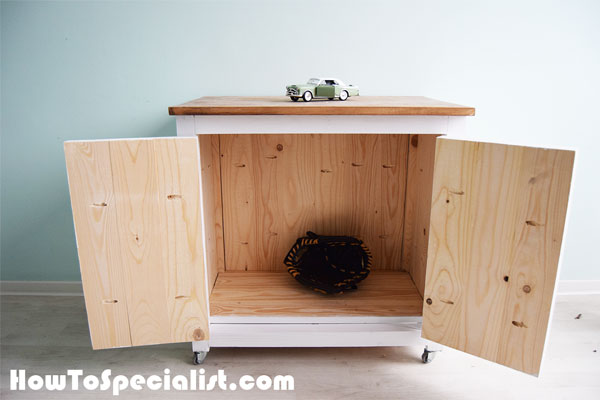
The farmhouse cabinet is so roomy that it will really help me organize my items easier.
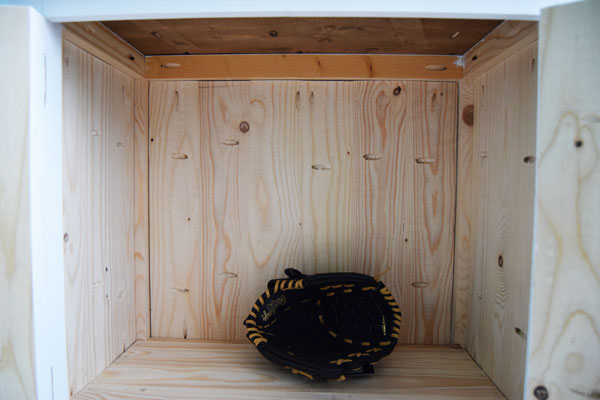
There are a few finishing touches left to do to the interior of the cabinet, if you aim for a neat look. You can dill the pocket holes with plugs or use wood putty. Irrespective of your choice, make sure you sand everything thoroughly.
Apply a few coats of paint to the cabinet to protect the wood and to enhance the look of you project.
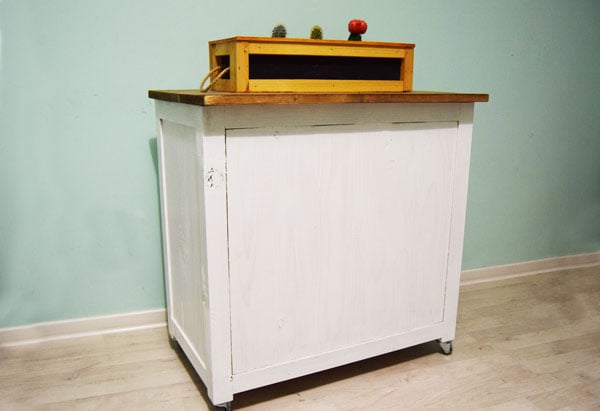
The cabinet seen from the front looks equally rustic.
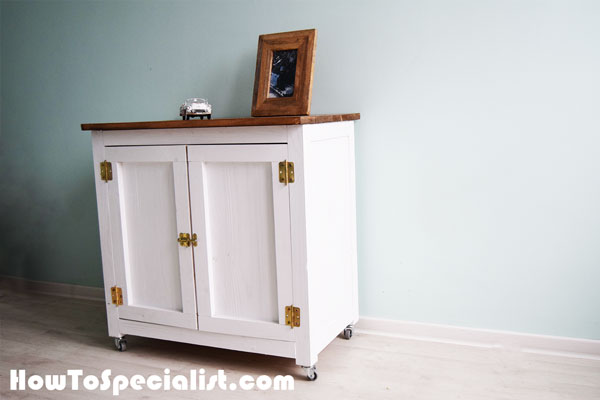
Thank you for reading our project about how to build a farmhouse cabinet and we recommend you to check out the rest of the projects. Don’t forget to LIKE and SHARE our projects with your friends, by using the social media widgets. SUBSCRIBE to be the first that gets our latest projects.

