This step by step woodworking project is about how to build a doll bunk bed. I had some 1x2s left from other projects so I thought a while about what should I use them for. When I finally decided on building a bunk bed for 18 inch dolls, I had to design some plans so that it this project can be built by any person with basic woodworking skills. And I think I managed to create some free doll bed plans that are simple enough for any person to build one. My project requires no pocket or pilot holes. all you have to do is cut and joint components with wood and brad nails.
We recommend you to invest in the best materials you could afford. Therefore, you should buy weather-resistant lumber, such as pine or cedar. Always take accurate measurements before adjusting the size of the components at the proper size. Drill pilot holes trough the components before inserting the wood screws, to prevent the wood from splitting. There are even concrete log holders out there, but I personally like to show you how to build a wood fireplace log holder. See all my Premium Plans in the Shop.
Made from this plan
It’s that easy to build a doll bed!
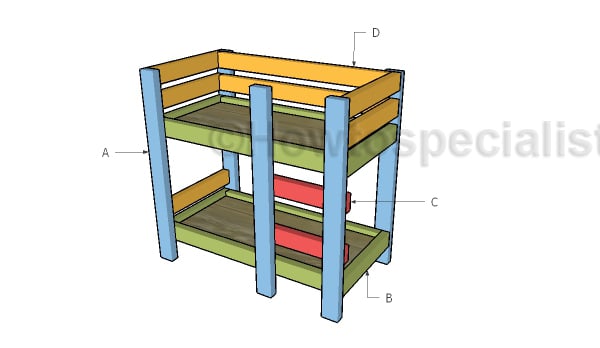
Building a bunk bed
Materials
- A – 5 pieces of 1×2 lumber – 18 1/2″ long LEGS
- B – 4 piece of 1×2 lumber – 18″ long, 2 pieces – 9 1/2″ long 2xFRAME
- C – 2 pieces of 1×2 lumber – 8″ long STEPS
- D – 5 pieces of 1×2 lumber – 9 1/2″ long, 2 pieces – 18″ long, 2 pieces – 12 1/4″ long RAILS
- E – 2 pieces of 1/4″ plywood – 8″x18″ 2xFLOOR
- 2 piece of 1×2 lumber – 6′
- 3 pieces of 1×2 lumber – 8′
- 1 piece of 1/4″ plywood – 16″x18″
- 100 pieces of 1 1/4″ brad nails
- stain, glue, putty
Tools
- Safety gloves, glasses, Miter saw, jigsaw
- Chalk line, tape measure, spirit level, carpentry pencil
- Drill machinery and drill bits
Time
- One Weekend
Free 18 Inch Doll Bed Plans
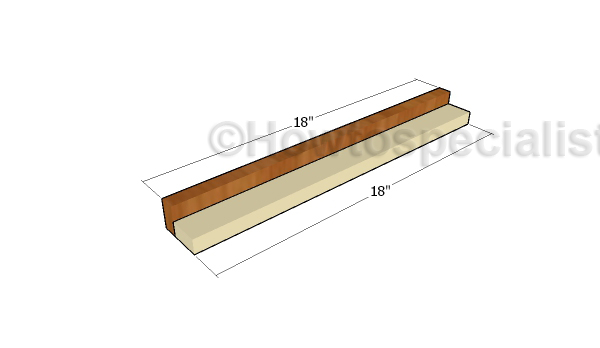
Assembling the side rails
Cut the components from 1×2 lumber and assemble the side rails with glue and 1 1/4″ brad nails.
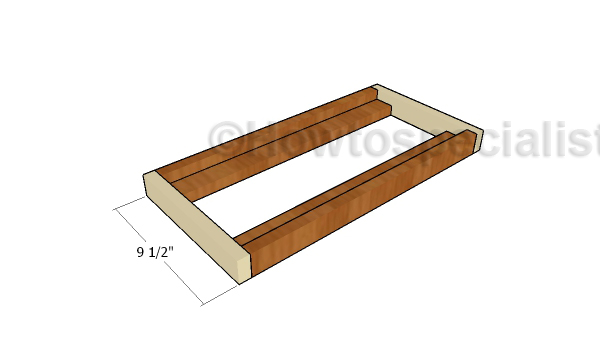
Assembling the doll bed frames
Attach the perpendicular slats to the side rails and lock everything together with brad nails and glue.
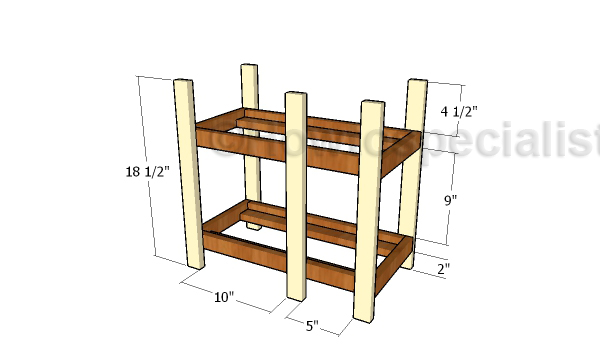
Attaching the legs
Fit the legs to the 18″ doll bed. Make sure the corners are square before inserting the nails. Add glue to the joints for a professional result.
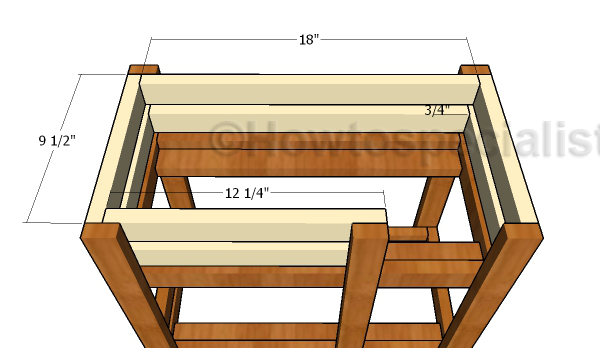
Fitting the rails to the top bed
Fit the 1×2 rails to the top bed frame. Use nails and glue. Use a scrap piece of 1×2 lumber as spacer.
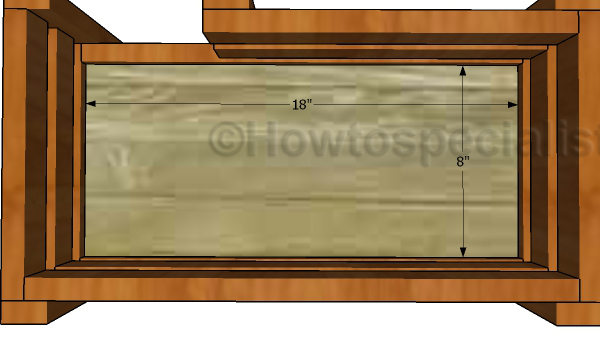
Fitting the bottom to the beds
Cut 2 pieces of 1/4″ plywood and fit them to the bottom of the bed frames.
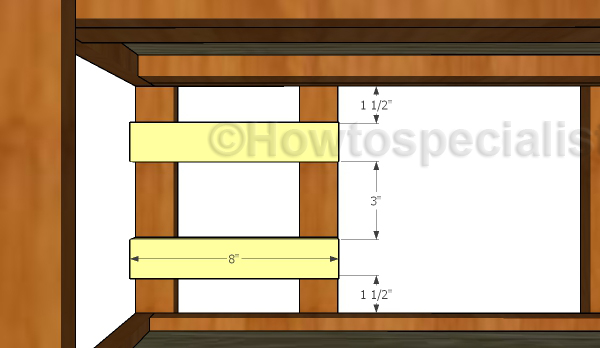
Fitting the steps
Fit the steps for the ladder using glue and 1 1/4″ brad nails.
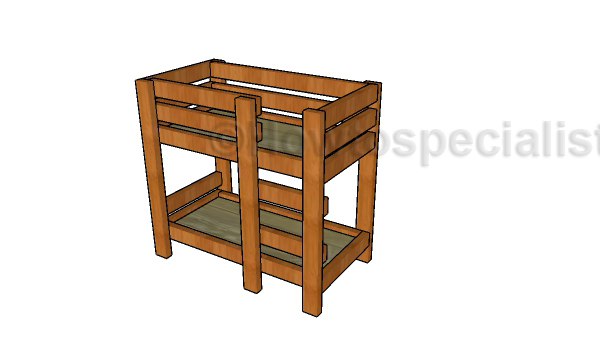
How to build a doll bed
Once the bunk bed for the 18 inch dolls is ready, all you are left to do is take care of the finishing touches. Smooth the edges thoroughly with 120-220 grit sandpaper and then apply stain to enhance the look of the wood.
How To Build a Doll Bunk Bed – Free 18 Doll Bed Plans
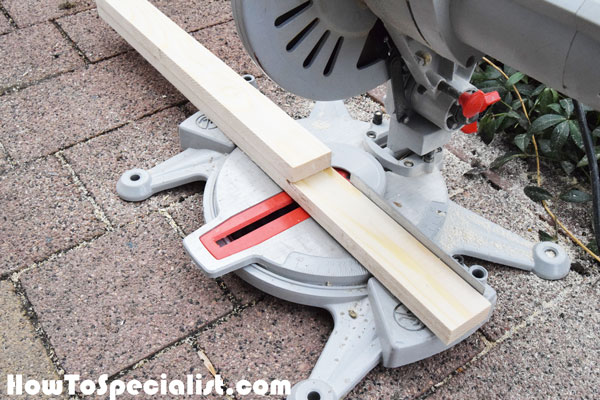
After printing the plans, I cut all the components at the right size, using my miter saw. I used 1x2s for the whole project, except for the bottom panels, which are made from 1/4″ plywood. You could use a stop block, as there are many repetitive cuts. The stop will help you get consistent results, which will make the assembly a lot easier.
Smooth the edges with sandpaper after making the cuts, otherwise the joints won’t be neat.
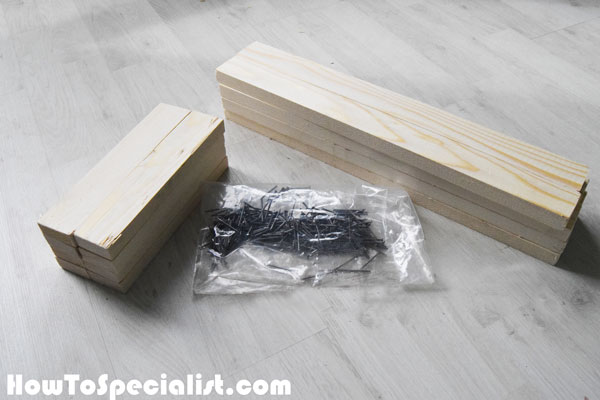
After cutting the main components, it’s time to start the assembly. For this project, I will use brad nails and glue, so you don’t need a drill machinery at all. Basically, you can get the job done with just hand tools: a saw, a sand block and a hammer. There you have it: a beginner friendly project that cost me under 5 dollars to make and required some very basic tools.
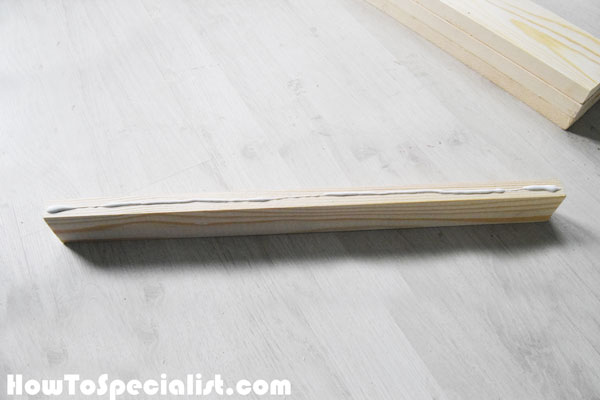
First, I assembled the side rails for the bed frames. I added glue on one edge of the rails.
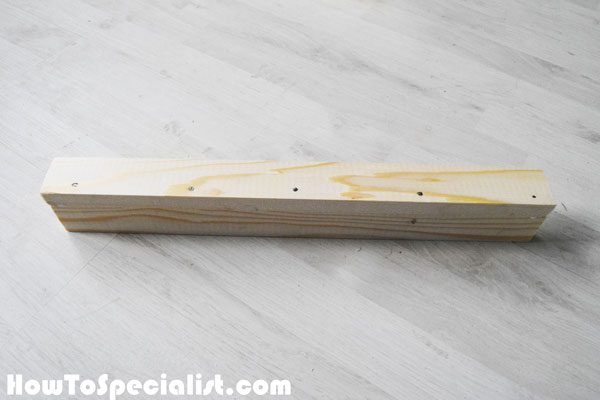
Next, I attached the cleat that will support the bottom of the bed frames. I used 1 1/4″ brad nails to secure the components together, after aligning the edges and making sure they were flush. If you are a beginner, you might find useful to clamp the components together before inserting the nails.
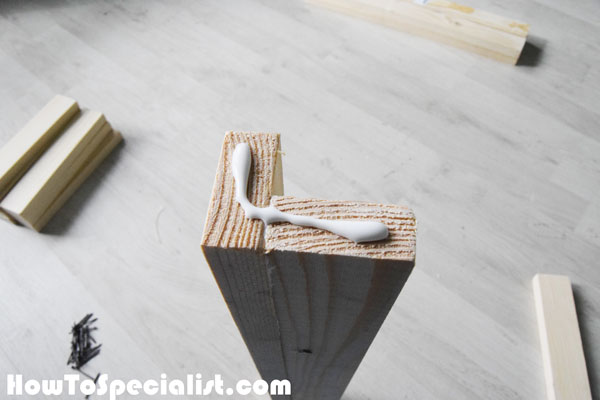
After assembling the side rails, I attached the perpendicular components to complete the bed frame. But first, you need to add glue to the ends, as shown in the image.
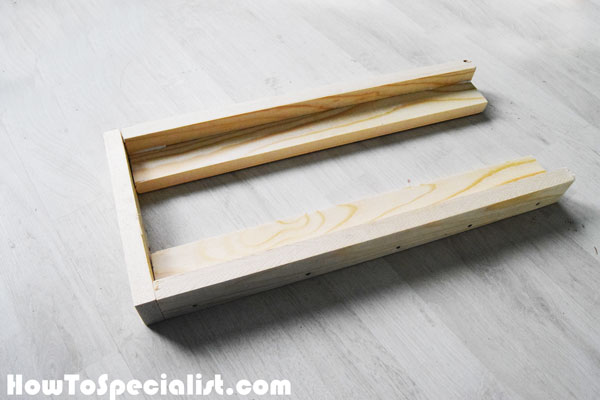
Align the edges and make sure the corners are square before inserting the brad nails. Make sure the gaps between the components are minimal for a professional result.
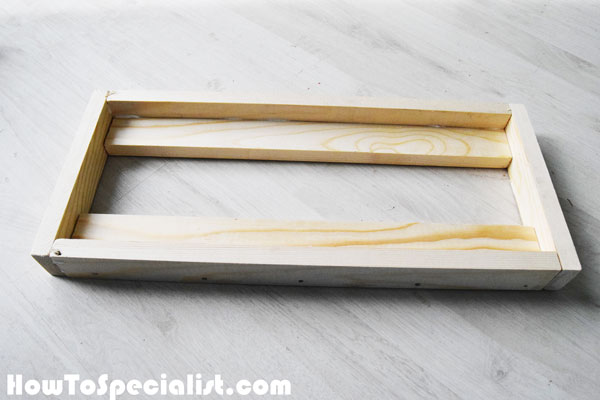
The first bed frame is completed. It was that simple! Time to make the second one for the 18 doll bunk bed.
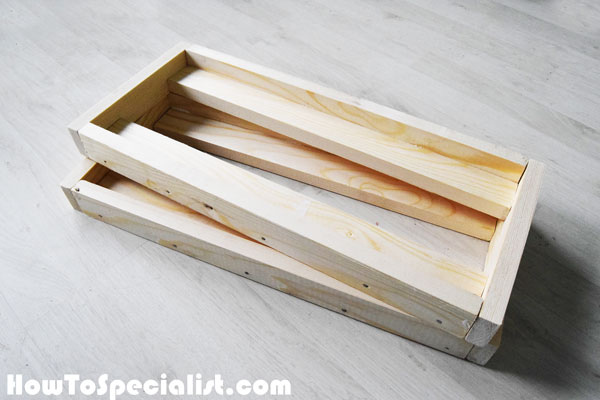
I used the same techniques described above the build the second bed frame. Remember that the two frames should be identical. Otherwise the doll bunk bed won’t have a neat appearance.
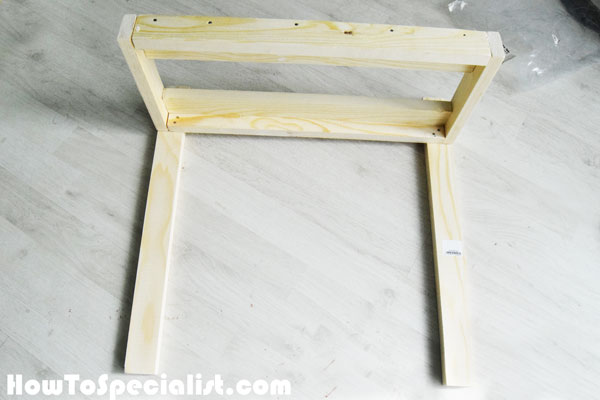
Lay the legs for the doll bed on a level surface and align the ends. Then, fit the lower bed frame into place and measure 2″ from the ends. Align the edges making sure the corners are square. Use 1 1/4″ brad nails to lock the components together.
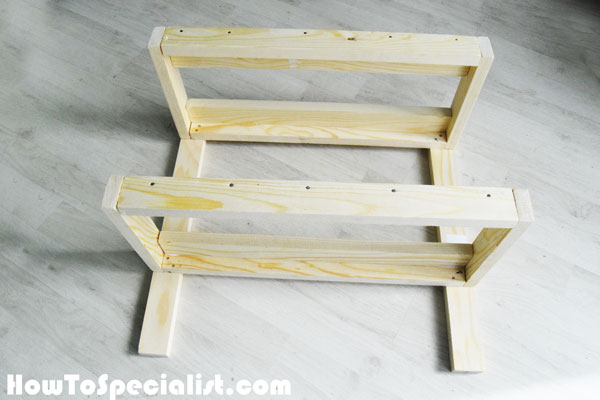
Next, fit the top bed frame to the legs, making sure the edges are align in a professional manner. Add glue to the joints and insert 1 1/4″ nails to enhance the bond of the components.
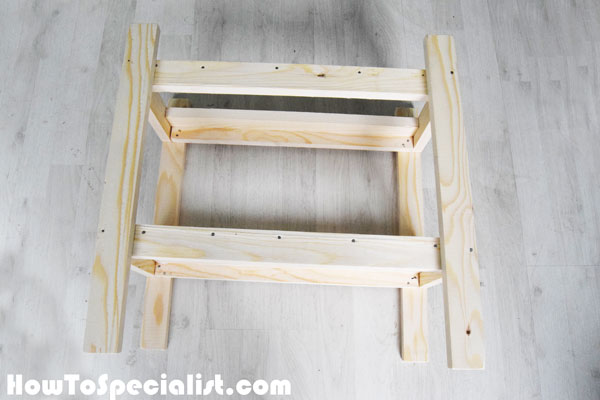
Attach the 1×2 legs to the opposite side of the bed frames. Make sure you take accurate measurements before inserting the nails, for a professional result.
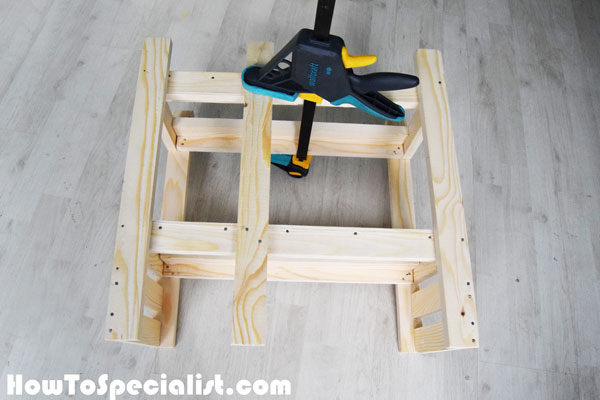
Last but not least, fit the support for the ladder. You can use a clamp to hold the components locked together while you insert the brad nails. You can easily adjust the width of the ladder to suit your tastes. Actually, the 18 doll bunk bed plans are fully customizable.
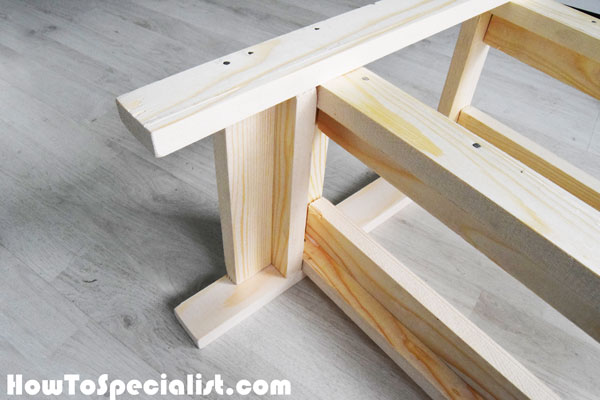
Fit the 1×2 slats to the headboard and to the footboard of the top bed frame. I used a piece of 1×2 lumber as spacer, so I get consistent gaps. Align the edges before inserting the finishing nails.
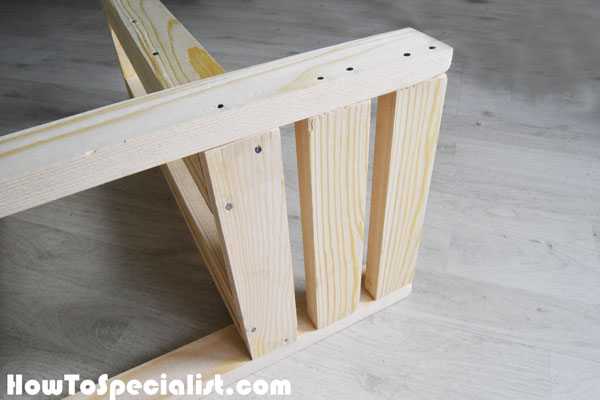
Repeat the process for the footboard, making sure everything is aligned and perfectly square.

As you can see in the image, the project is starting to take shape nicely. Just a few more steps till the doll bed frame is finished and ready for stain.
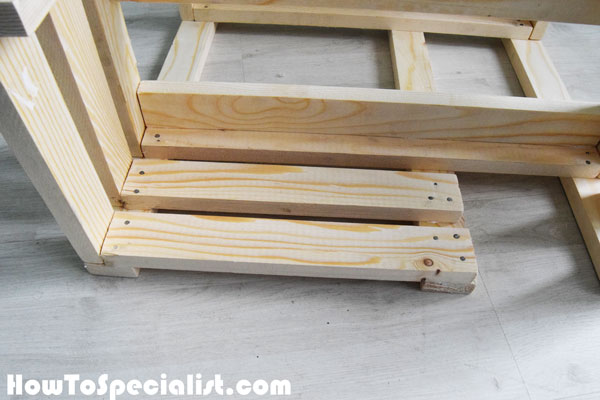
Next, I attached the 1×2 rails to the top bed frame. As in the previous steps, I used glue and 1 1/4″ brad nails to secure the components to the supports. In addition, I used 1×2 lumber to space the rails in a professional manner.
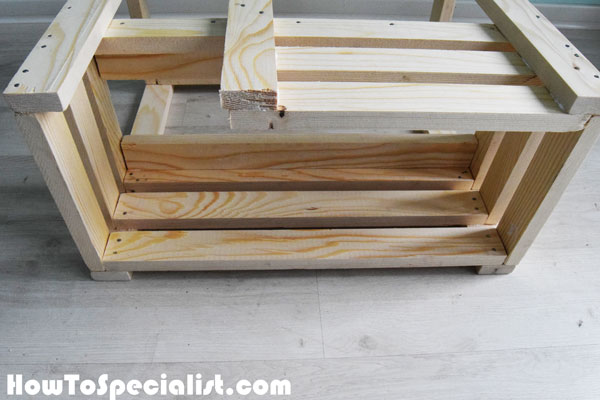
Fit the rails to the opposite side, as well.

Now, I can really see this doll bed starting to look like the one I have envisioned. As along as you leave no gaps between the components and you align the edges flush, you should have no problems building this project in an afternoon.
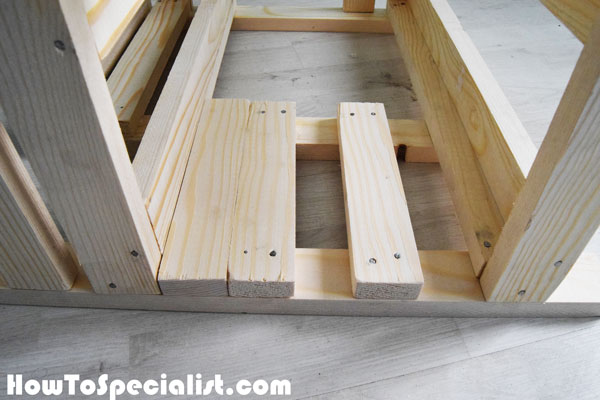
Fit the steps to the ladder supports. As you can easily notice in the diagram, you could use scrap pieces of 1×2 lumber as spacers. In addition, use glue and 1 1/4″ brad nails to secure the steps into place.
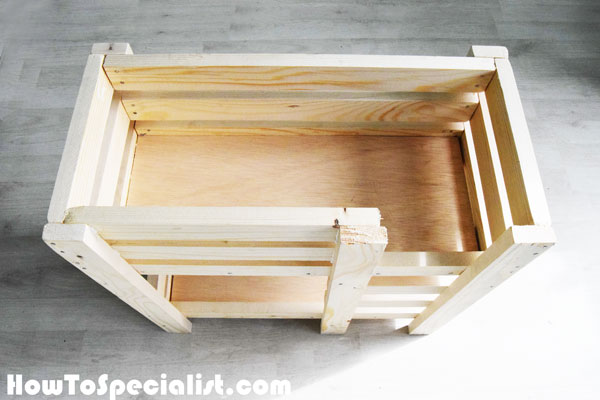
Next, I cut two pieces of 1/4″ plywood and fit them to the bed frames. I haven’t used nails or glue to secure the pieces of plywood into place.

Now that the doll bunk bed is finally assembled, I will sand the edges with 120-220 grit sandpaper. In addition, you would fill the holes with wood putty and let it harden for a few hours, before sanding the surface with fine grit sandpaper.
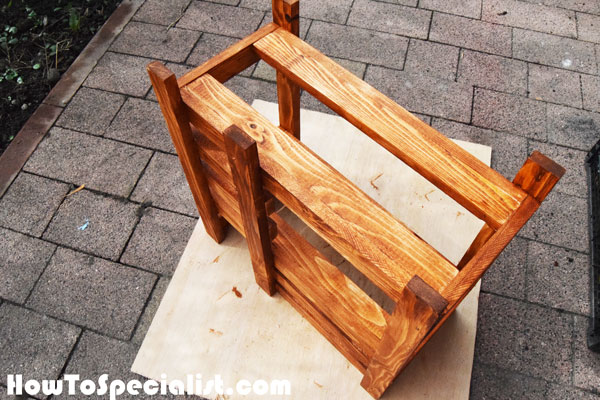
Then, I took the bed to my backyard patio, so I can apply a coat of stain to the wooden components. After the stain dried, I applied a coat of spray lacquer to seal everything.
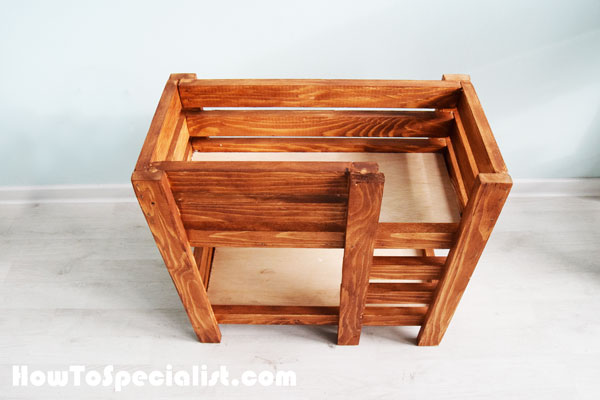
I am super happy with how this project came off and I plan on build a lot more, as presents. The only thinks that I would add are the mattresses and the pillows, so I make it look more realistic. This is definitely on my to do list. These little details could make the difference between a “thank you” and a “IT’S AWESOME”.
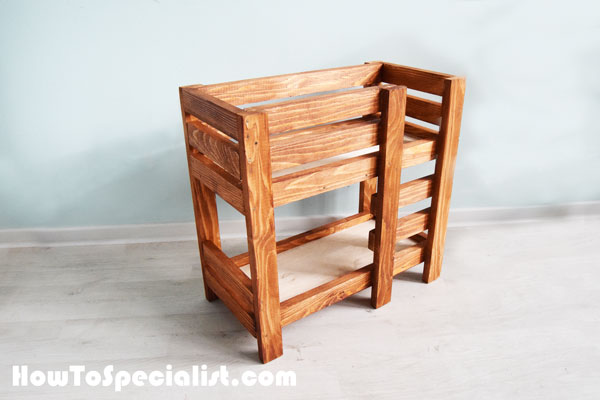
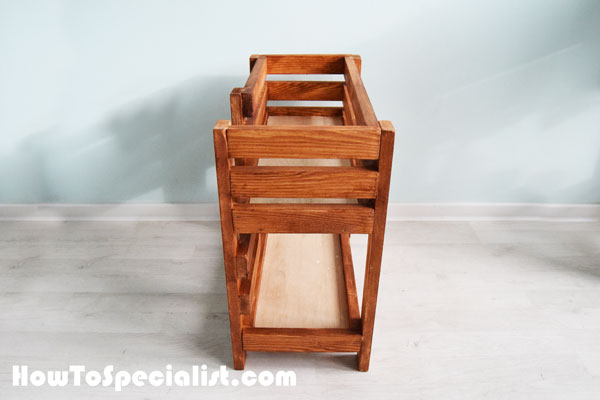
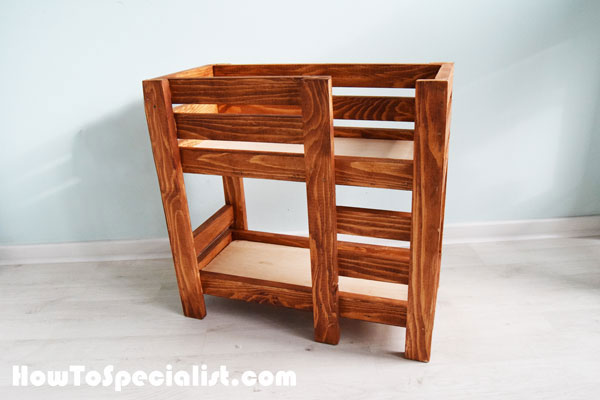
All in all, I like this 5 $ project as it makes for an amazing present. Even if I don’t have playing with the dolls in my habit, I still love the bunk bed, as it is a pretty-accurate scale model.
Thank you for reading our project about how to build a doll bunk bed and we recommend you to check out the rest of the projects. Don’t forget to LIKE and SHARE our projects with your friends, by using the social media widgets. SUBSCRIBE to be the first that gets our latest projects.


6 comments
how can I get the plans for the doll bunk-beds
You can print the project or save it as PDF using the red floating widget on the left side of the screen (just on desktop, not on mobile version). Good luck!
I am sorry to ask this but here goes. You said that the doll’s bunk bed was built with 1 X 2’s but the picture of said bunk appears to be built with 2 X 4’s so do I use 1 X 2’s or 2 X 4’s? I like that this bunk as it is just a simple build.
Thank you
It’s made from 1x2s.
Hello Jack, I love the simplicity of this doll bed. Although I do have a question. In part D of Material cuts, you have 4 pieces of 9.5″, 1″ x 2″ when your drawing and finished product show that you used 5 pieces. One piece was used for kind of a headboard on bottom bunk. Is this correct? Or did I miss something when reading through the instructions? Great set of instructions and pictures! Thank you.
Hi, Diane. You’re right, you need 5 pieces. Good catch. Looking forward to seeing your future projects.