This article is about how to lay a block paving driveway. This project covers all the steps involved in the project, starting with preparing the surface, up to pouring the concrete support layer, installing the edge borders and laying the paving blocks. This project took us 4-5 days to complete but it was well worth it and I am very pleased with the final result. My driveway also features channel drains. You should also check out my tutorial on how to make a stone pathway.
There are many types of paving blocks you can choose from, as well as colors, so make sure you study all possibilities before choose the right product for you. The paving blocks are part of the design concept you implement on you property so pay attention to details. In addition, make sure you choose a product that is designed for family cars (should be at least 2″ thick). See all my DIY projects HERE.
Made from this plan
Laying a Block Paving Driveway – Video!
Materials
- cement, sand, gravel
- paving blocks
- edge borders
- channel drains
- rebars
- steel rebar mesh
Tools
- Concrete mixer
- Angle grinder
- Hammer Drill
- Drill / Screwdriver
- Hammer, Tape measure, Safety glasses
- Trowel, Trowel
- Wheelbarrow
- Buckets
- Shovel, Shovel
Time
- 4-5 days
How to Lay a Block Paving Driveway
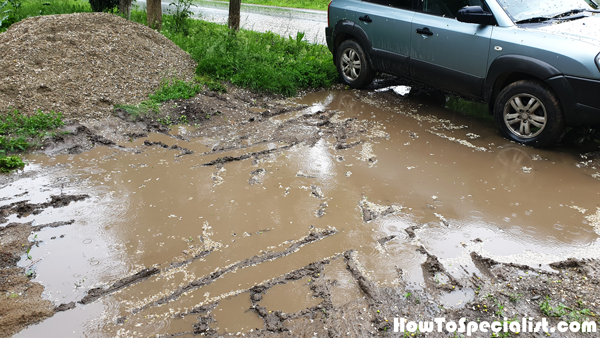
Driveway—Before
This is a BEFORE picture of the old driveway. I think you agree with me that we needed a change…
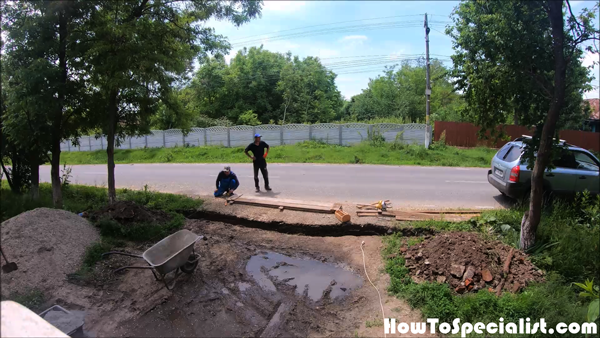
Laying-out-the-driveway
The first step of the project is to layout the driveway and to mark the lines. As you can see in the image, my driveway has a drainage ditch so we had to pour concrete supports for the concrete.
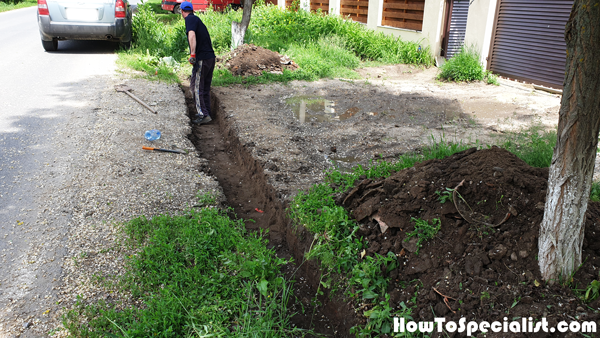
Digging-the-trench-for-drainage—driveway-project
Manual digging… old school.
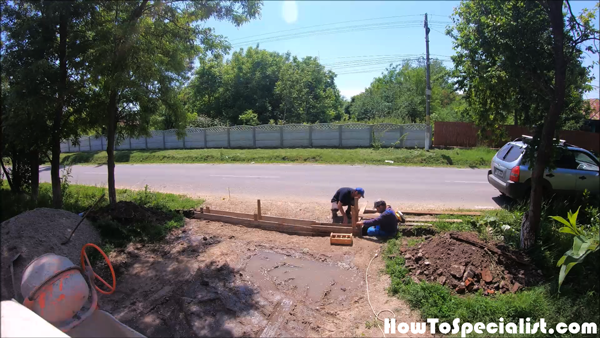
Forming-the-driveway-bridge
Next, we installed the wooden forms for the supports. Use a spirit level to make sure the form panels are plumb.
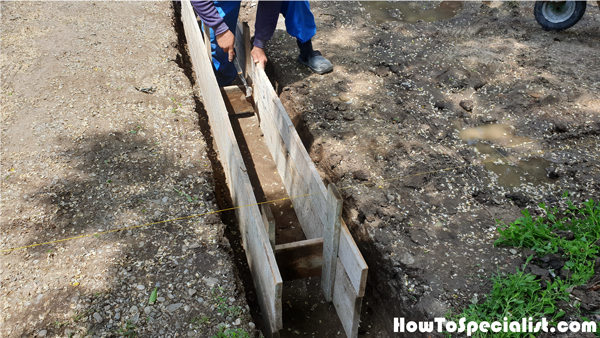
Formwork-for-the-driveway-drainage-trench
The formwork seen from another angle.
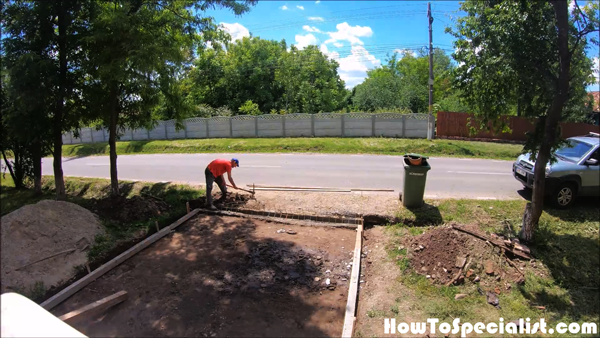
Removing-the-top-soil—Driveway-Project
Next, we started to remove the top soil. You need to align everything so you can determine how much to dig from the soil. In our case we had to dig the thickness of the pavers and the thickness of the concrete driveway: in total 6″.
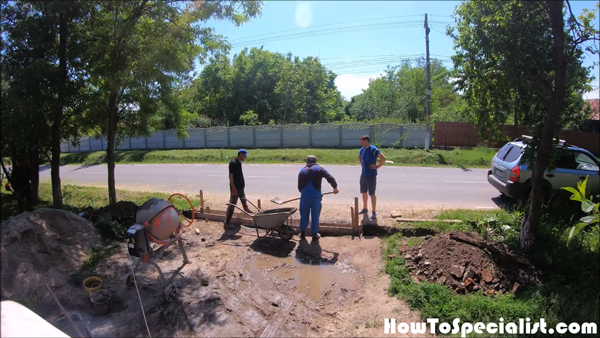
Pouring-concrete-to-the-bridge-supports
We mixed some concrete to fill the gaps between the form panels and the ground. Before pouring the concrete, we added rebars to reinforce the supports.
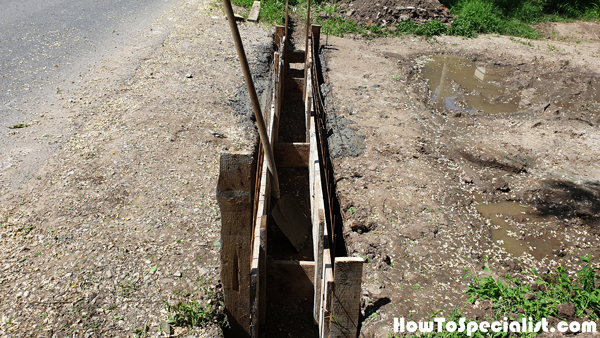
Pouring-concrete-for-the-driveway-bridge-supports
We let the concrete to dry out for one day, before removing the formwork.
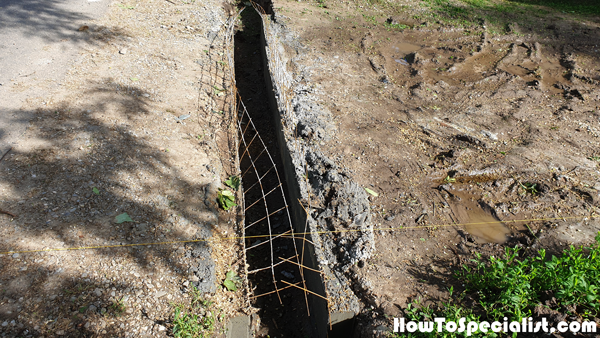
Driveway-bridge
The rebar mesh will make the bridge sturdy enough to support the weight of a car.
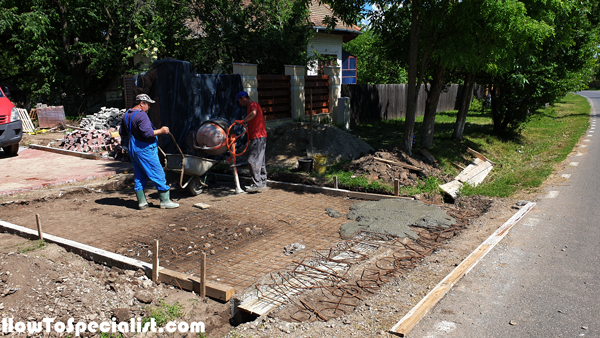
Rebars-for-the-driveway
We formed the top for the drain channel ad then added lots of thick rebars, so the concrete driveway can support the weight of the cars.
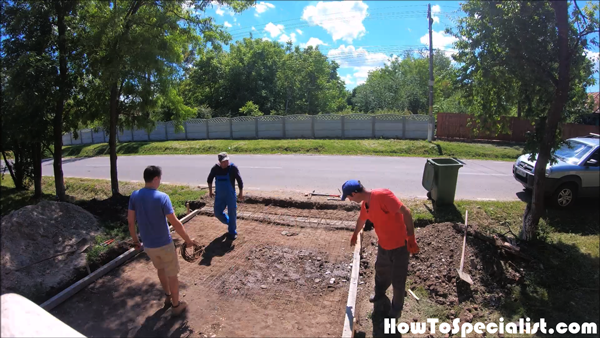
Fitting-the-rebars-for-the-concrete-driveway
We used steel rebar mesh for the rest of the driveway.
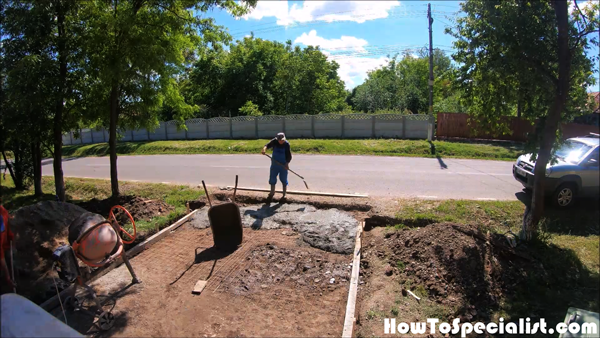
Pouring-the-concrete-driveway
We started the mix concrete and poured it between the forms.
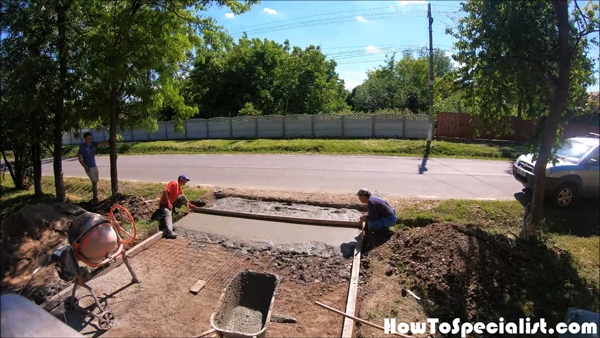
Screeding-the-concrete-driveway
Use used a large straight edge to level the top of the driveway. REMEMBER that the side formwork beams are level so you can screed the driveway and get a nice result.
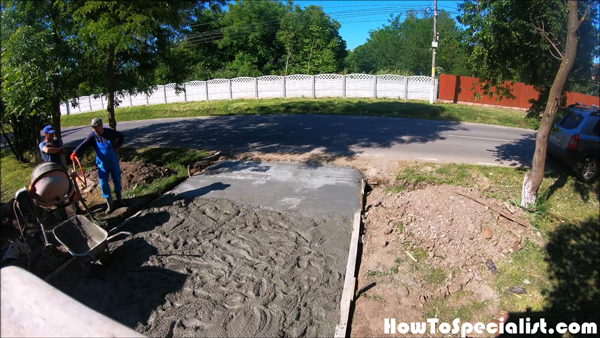
Pouring-a-concrete-driveway
We ran out of time, so we poured the rest of the concrete driveway the next day. This is not the perfect situation, because you’re supposed to pour everything at once, but we will be installing block pavers so the concrete driveway will be actually the support layer.
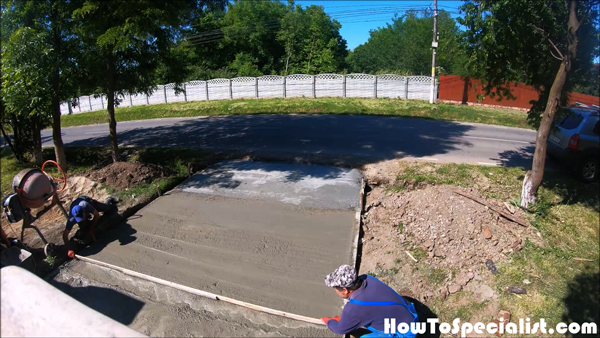
Screeding-a-concrete-driveway
Screed the driveway with a straight edge and fill the spots where you need to add more concrete. Leave the concrete to dry out for a few days before continuing the project.
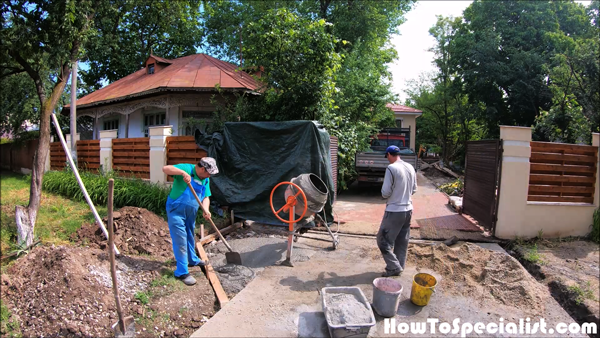
Pouring-the-rest-of-the-driveway
We poured concrete for the gate entrance, as well, using the same techniques described above.
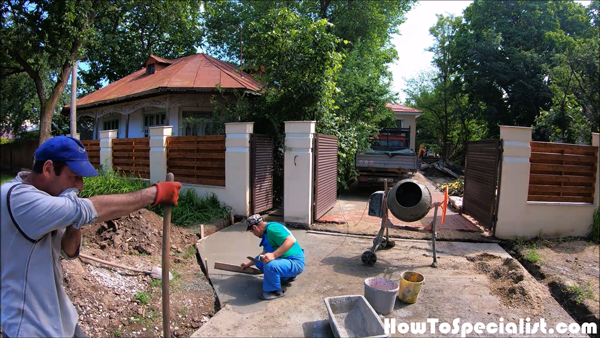
Finishing-the-concrete-driveway
We finished the concrete and let it dry out for a few days before installing the edging.
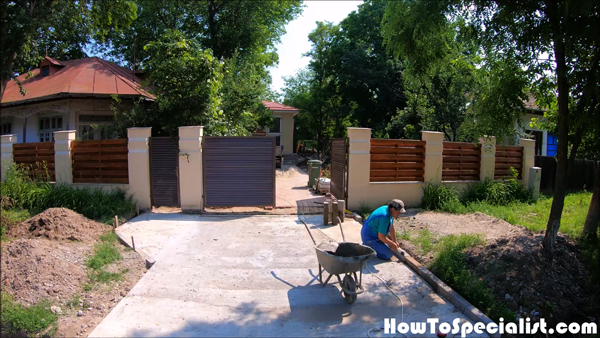
Fitting-the-concrete-edge-borders—driveway-project
For this project we used concrete edge borders. We used a string as guideline when installing the borders on both sides of the driveways. The process is straight forward: the top of the borders should be flush with the paver blocks, in our case 3″. We set borders at both ends of the line and used a level to make sure everything is accurate. We used screed to set the edge borders into place. Use a rubber mallet to set the edge borders into place and be flush with the guideline.
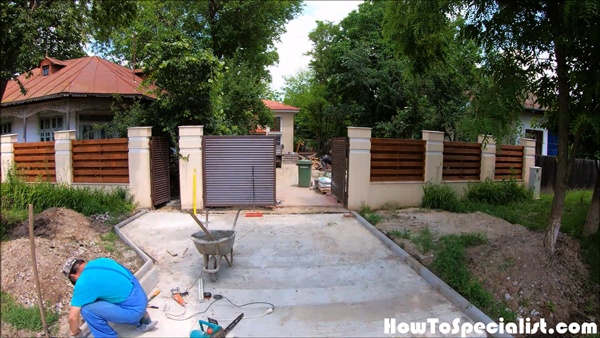
Fitting-the-edge-borders-to-the-concrete-driveway
We installed the borders on the opposite side of the driveway, in the same way explained above.
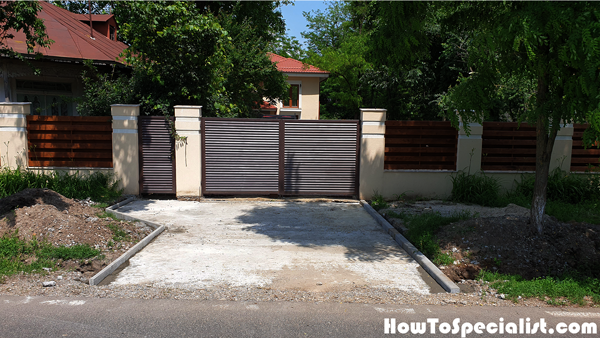
Installing-the-edge-borders-to-the-driveway
The concrete driveway is ready for the paving blocks.
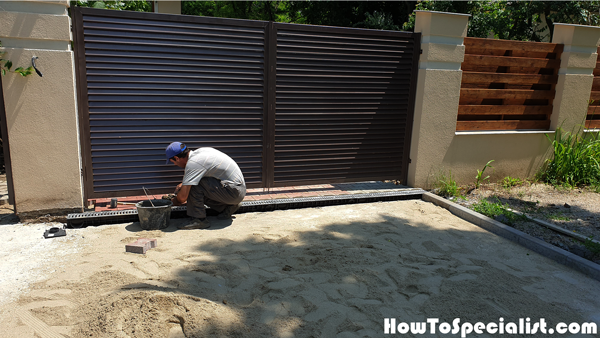
Fitting-the-gutter-channels—driveway-project
But before laying the paver blocks, we need to take care of the channel drains. We used outdoor thinset mortar to set the channels into place. We connected all the channel drains together and then made a hole in the edge border, so we can direct the water outside the driveway.
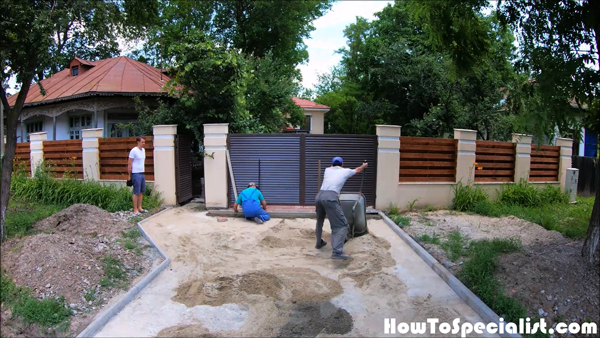
Sand-layer-for-block-pavers
You need a later of sand under the block pavers, so you can lay them properly. 1″ of sand is enough for our driveway, so we basically used a wheelbarrow to spread it on the whole surface.
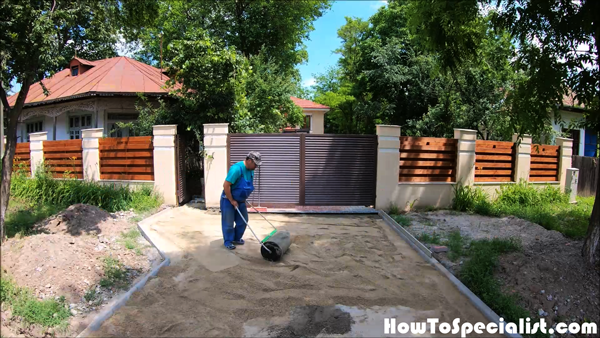
Compacting-the-sand-layer—driveway-project
You need to compact the sand thoroughly, otherwise the block pavers will sink over time. You should rent a compactor to compress the sand thoroughly. We didn’t have access to a compactor so we used a large lawn roller. It is not the perfect choice, but it is good enough to compact a layer of 1″ sand.
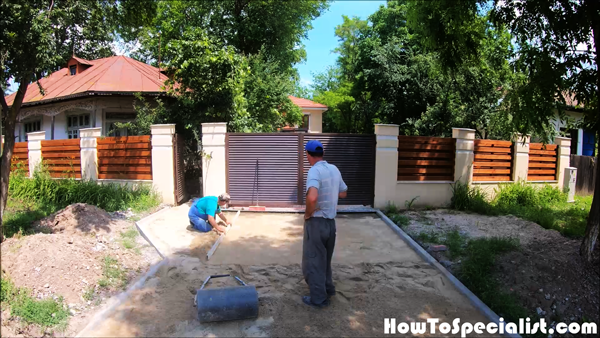
Screeding-the-sand-layer—driveway
Next, you need to set pipes in the sand and level them, so you can screed the sand and get a perfectly level surface.
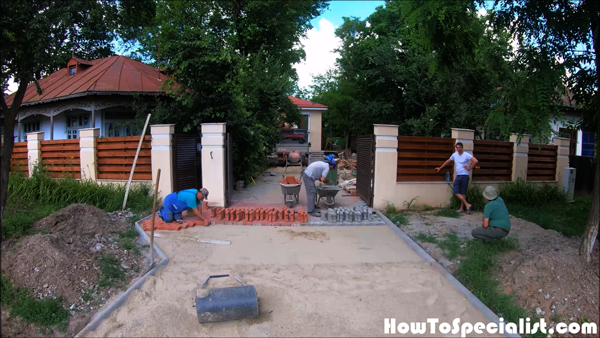
Laying-the-block-pavers—driveway-project
Start installing the block pavers, one by one, following the pattern that is required. There are many types of paving blocks, therefore you need to choose the pattern that is suitable in your case. We used double T paving blocks, so the pattern is straight forward, but we played a little with the colors.
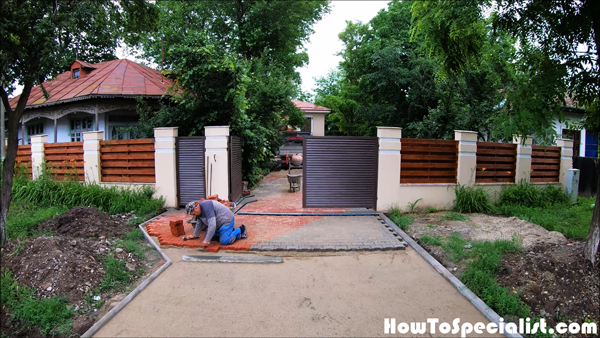
Preparing-the-surface-for-installing-the-block-pavers
Use a rubber mallet to set the paving blocks and make sure they are level one with another. Continue installing the pavers and check regularly if the rows are straight from all directions.
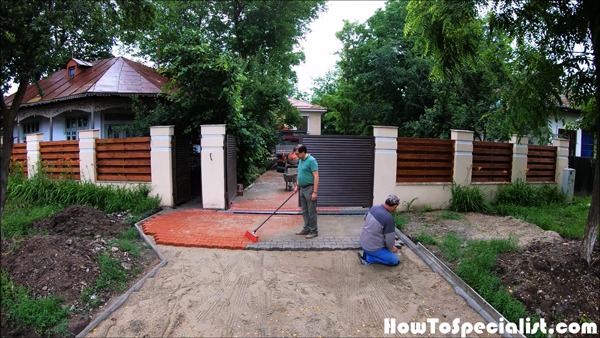
Filling-the-gaps-between-the-pavers—building-a-driveway
Next, you need to spread fine sand over the pavers and use a large brush to fill the gaps. This is an essential step, because the sand will lock all the pavers together and make the surface very rigid.
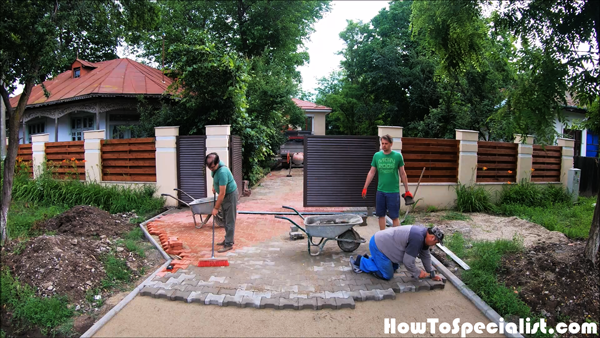
How-to-lay-pavers-on-a-driveway
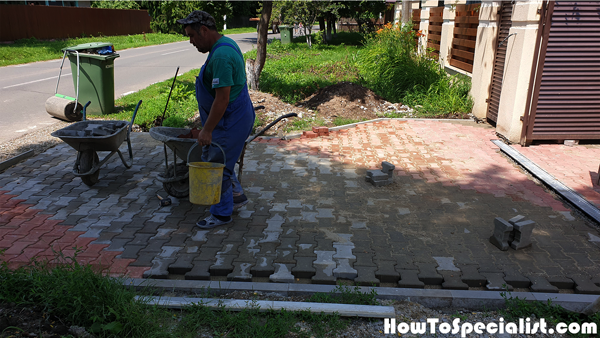
Laying-paver-blocks-on-a-driveway
You need to make some cuts to the block pavers that go along the edges. The easiest method is to use an angle grinder with a diamond blade. Alternatively you can use a paving block cutter (rent it).
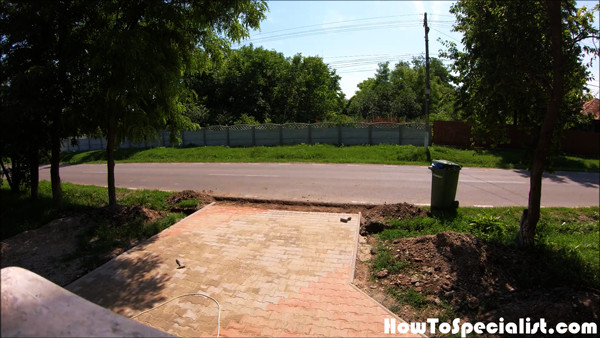
Preparing-to-join-the-driveway-to-the-road
After you lay all the paving blocks to the driveway and spread sand between the gaps, you need to tackle the last part of the project: joining it to the road. We removed 4″ of the top soil and mixed concrete to fill the gap.
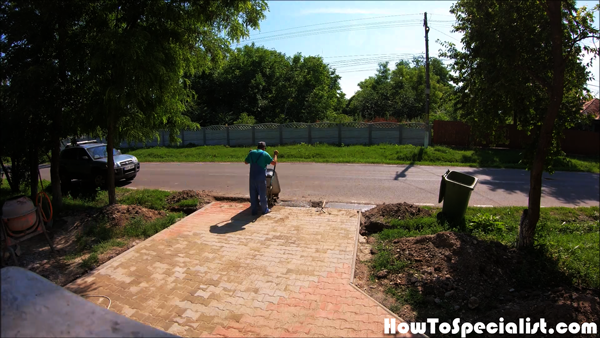
Joining-the-driveway-to-the-road
We poured concrete to the surface, keeping the blocks clean. We used a straight edge and a trowel to smooth the surface and then brushed it.
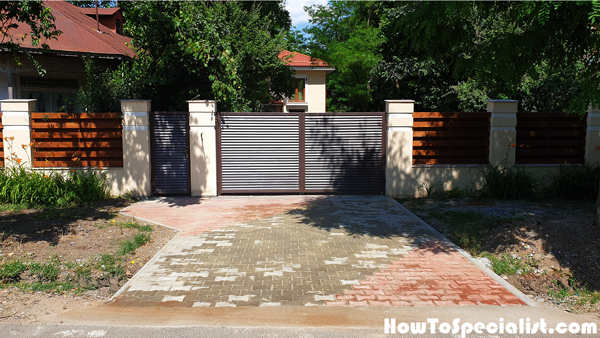
How-to-build-a-driveway-with-pavers
If you enjoyed this project make sure you share it with your friend! That helps a lot and I will be able to share more free tutorials! If you like my projects make sure you take a look over the full list HERE.
My best tips on laying a block paved driveway:
A block paved driveway is a practical and visually appealing addition to any home. Not only does it improve curb appeal, but it also provides a durable and low-maintenance surface for vehicles. While laying a block paved driveway may seem like a large task, with careful planning and execution, it can be a rewarding DIY project. Here are my best tips to help you get started.
1. Plan and Design the Driveway
- Choose the Driveway Layout: Consider the layout that best fits your property. Block paved driveways typically work well with straight, curved, or circular designs.
- Measure the Area: Measure the space where the driveway will be laid, ensuring it’s wide enough to accommodate your vehicles. The standard width for a single driveway is around 9-10 feet, while a double driveway is around 18-20 feet wide.
- Check Local Regulations: Be sure to check with local authorities regarding any necessary permits or regulations regarding driveway construction.
- Decide on the Block Pattern: Choose a block paving pattern such as herringbone, basket weave, or stretcher bond. Herringbone is one of the strongest patterns for driveways because of its interlocking design.
2. Gather Materials and Tools
- Paving Blocks: Choose block paving stones that suit your style and the demands of your driveway. Consider getting about 10% more blocks than required to account for cuts and waste.
- Sub-base Materials: You’ll need crushed stone or MOT Type 1 aggregate for the sub-base, and sharp sand for leveling the surface before laying the blocks.
- Edging Stones or Kerbs: Install edging stones to keep the blocks in place and give the driveway a neat finish.
- Tools: You’ll need a shovel, rake, wheelbarrow, string line, rubber mallet, plate compactor (or hand tamper), spirit level, and a broom for sweeping sand into the joints.
3. Excavate the Driveway Area
- Mark the Area: Mark the outline of the driveway using stakes and string or spray paint. Make sure the layout is straight and aligned properly with the surroundings.
- Dig to the Right Depth: Excavate the area to a depth of 8-12 inches, depending on the soil type and how much weight the driveway will bear. This depth includes the space for the sub-base, sand, and paving blocks.
- Ensure Proper Drainage: The driveway should have a slight slope, around 1 inch for every 4-6 feet, to allow water to drain away from the house.
4. Prepare the Sub-base
- Lay a Layer of Crushed Stone: Spread 4-6 inches of crushed stone or MOT Type 1 aggregate evenly across the excavated area. This is the foundation of your driveway and will help with drainage and load distribution.
- Compact the Sub-base: Use a plate compactor or hand tamper to compact the crushed stone firmly. Repeat the compaction process after every 2 inches of material to ensure a solid, stable base.
- Check for Level: Ensure the sub-base is level but maintains the necessary slope for drainage. This is key to avoiding water pooling on your driveway.
5. Install Edging Stones
- Edge Restraints: Install edging stones or kerbs around the perimeter of the driveway. This will keep the paving blocks in place and prevent them from shifting over time.
- Secure with Concrete: Set the edging stones in a bed of concrete for added stability. Make sure the tops of the edging stones are level and at the correct height relative to the driveway surface.
6. Add a Layer of Sharp Sand
- Spread and Level the Sand: Add 1-2 inches of sharp sand over the compacted sub-base. Use a rake to spread the sand evenly.
- Screed the Sand: Use a straight board or screed to level the sand. Make sure the surface is smooth and at a consistent depth across the entire driveway.
- Do Not Compact the Sand: The sand should remain loose at this stage, as the pavers will compact it when laid.
7. Lay the Block Pavers
- Start in a Corner: Begin laying the blocks in a corner or against a straight edge. Place the pavers on the sand and press them gently into place.
- Maintain Consistent Gaps: Use spacers or carefully adjust the pavers by hand to ensure consistent gaps between each block.
- Cutting Pavers: Use a block splitter or a diamond blade saw to cut pavers as needed to fit around edges or obstacles.
- Check for Level: Continuously check that the blocks are level as you go. Adjust with a rubber mallet if necessary.
8. Compact the Paving Blocks
- Use a Plate Compactor: Once all the pavers are laid, run a plate compactor over the surface to settle the blocks into the sand and create a flat surface.
- Protect the Pavers: Place a piece of plywood or use a plate compactor with a rubber mat to protect the pavers from getting damaged during compaction.
9. Fill the Gaps with Sand
- Spread Jointing Sand: After compacting, sweep fine kiln-dried sand or polymeric sand over the driveway surface. The sand will fill the gaps between the pavers, locking them in place and preventing shifting.
- Work the Sand into Joints: Use a broom to work the sand into the gaps. Continue sweeping and adding sand until all the joints are completely filled.
- Compact and Add More Sand: Run the plate compactor over the surface again to settle the sand further. Add more sand and sweep until the gaps are fully filled.
10. Maintain Your Block Paved Driveway
- Regular Cleaning: Sweep the driveway regularly to remove debris and prevent weeds from growing between the pavers.
- Re-sand if Needed: Over time, jointing sand may settle or wash away, especially after heavy rain. Reapply sand to keep the pavers locked in place.
- Seal the Surface (Optional): Applying a sealer to the pavers can help protect them from stains and make cleaning easier.
Laying a block paved driveway is a durable and stylish way to enhance the look of your home. With careful planning and attention to detail, you can create a driveway that not only looks great but also stands the test of time. By following these tips and steps, you’ll achieve a solid and professional-looking block paved driveway that adds both function and value to your property.
Thank you for taking a look over my article on how to lay a block paved driveway. Make sure you share this project with your friends if you like it and please take a look over the rest of my projects, because I have tons of plans and ideas to choose from. See all my projects HERE.

1 comment
Block paving should be laid uphill. When laying in the downhill direction, you could get some migration down the slope. Also when cutting the paviors, do not use less than say one third of the block as a cut piece – it is too small.