This step by step diy project is about how to remove grout from tiles. If you have installed ceramic tiles in your kitchen or bathroom, you should probably know that removing the hardened grout is maybe more difficult than the actual installation. When grouting tiles, you should always clean them thoroughly, as after the grout dries out it will be a lot harden to remove it off the tiles surface.
Taking into account there are many types of ceramic tiles, you should always read the manufacturer instructions before starting the actual project. For example porcelain tiles will scratch very easily, so you should avoid using abrasive sponges or scrapers. On the other hand, there are tiles with a rough texture that handle well the use of fine sand blocks or abrasive sponges.
If you use a acid cleaner, you should use protective gloves as the product might attack your skin. In addition, make sure you ventilate the room and wear a respiratory mask, as the substances are toxic. Nevertheless, in most of the cases, you don’t need to use these kind of products, as you can remove the hardened gout with just a sponge and clean water. Plan everything from the very beginning and work with attention.
Made from this plan
In order to remove grout from tile surface, you needs the following:
Materials
- Abrasive sponge
- Regular sponge
- Tile cleaner
Tools
- Scrapper
Tips
- Wear safety glasses, when applying the products
- Make sure you don’t scratch the tiles
Time
- 30 Minutes
Before starting read this:
1. Test a Small Area First: If you’re using any cleaning solutions, especially on sensitive tile materials like natural stone or marble, always test in an inconspicuous area first to make sure it doesn’t discolor or damage the surface. Some tiles can be more prone to etching or staining from certain cleaners.
2. Use Grout Sealers: Once you’ve removed any excess grout and cleaned your tiles, applying a grout sealer can help protect the grout from staining and make future cleaning easier. Sealing the grout creates a protective barrier that repels moisture, dirt, and stains.
3. Don’t Rush the Job: Patience is key when working with grout removal. Whether the grout is fresh or dried, working slowly and carefully ensures you don’t damage your tiles or leave unwanted residue behind. Trying to rush through the process can lead to scratches, uneven cleaning, or frustration.
4. Work in Sections: Instead of tackling the whole area at once, work in smaller sections. This allows you to focus more on detailed areas and makes the process less overwhelming. You can tackle tough spots more effectively without missing any areas.
5. Use Gentle Pressure: Whether you’re scrubbing with a brush or scraping with a blade, always start with light pressure. It’s easier to increase pressure as needed rather than risk scratching or damaging the tile right away. Let your tools do the work, and don’t force them.
Removing hardened grout from

How to remove grout from tiles
Removing grout off ceramic tiles isn’t the easiest or the most pleasant project, but it is a common problem when remodeling your kitchen or bathroom. In order to get the job done by yourself, you need to use a scrapper, an abrasive brush and a regular sponge.
How to remove grout from tiles

Preparing the surface
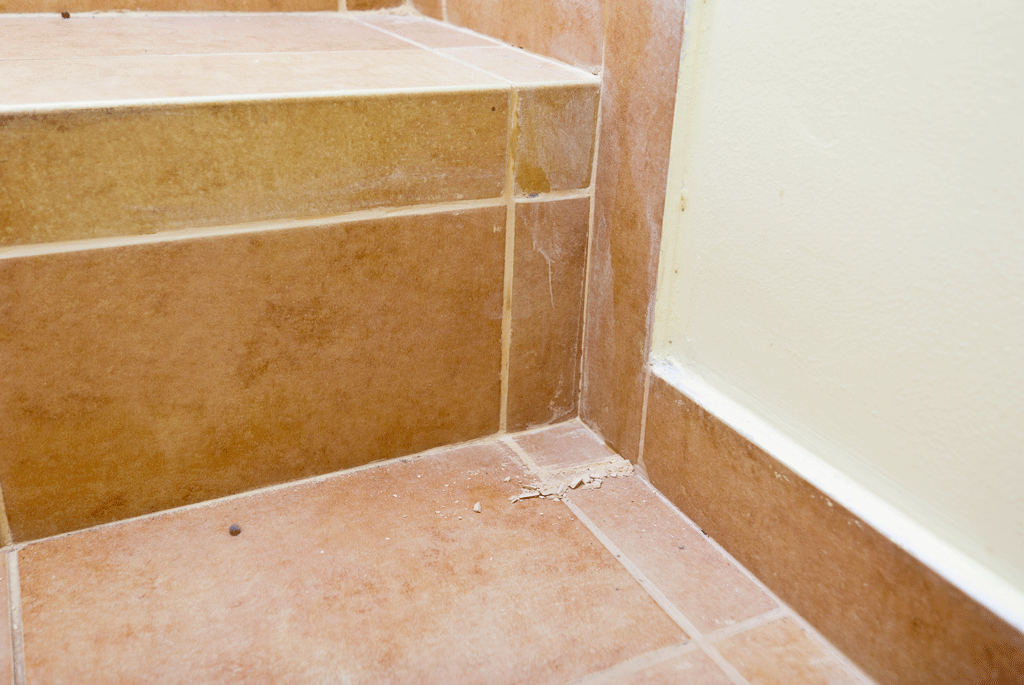
There are many cases when the tile professionals forget to wipe the grout off, because of haste or lack of knowledge. For homeowners this is a completely nightmare, as removing the grout from tiles usually requires a lot of work, time and money spent on appropriate products.

Removing hardened grout from tiles
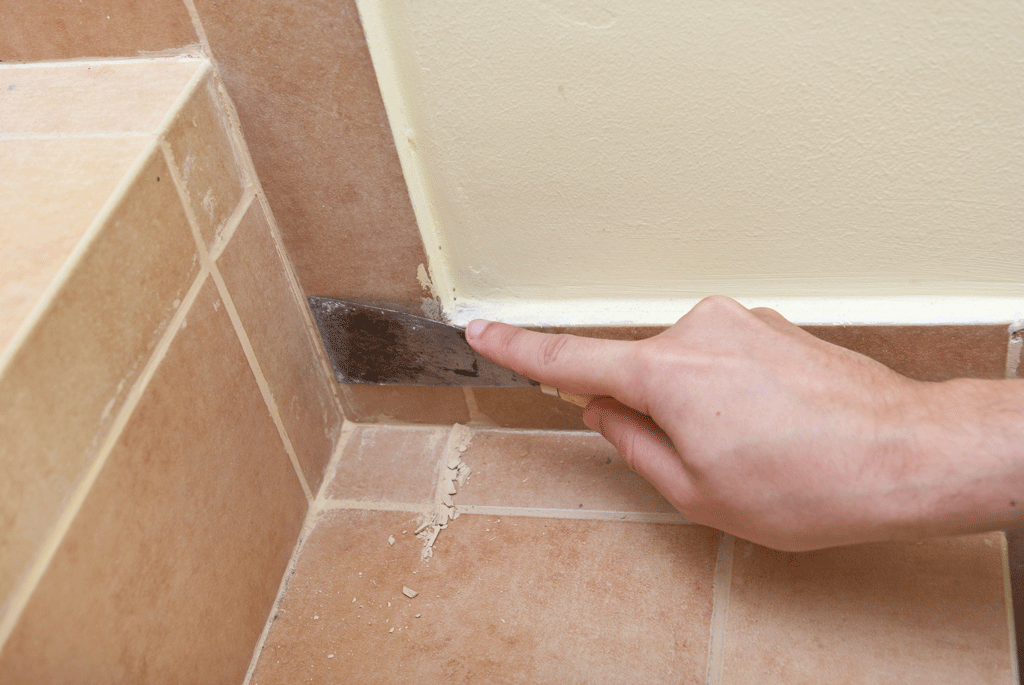
If you have to remove hardened grout from a large area, you should first scrap it with a putty knife. Work with great care and attention, to prevent scratching the tiles. Remember that you don’t have to remove all the grout, but just the surface, as it is impossible to clean the tiles without scratching them.
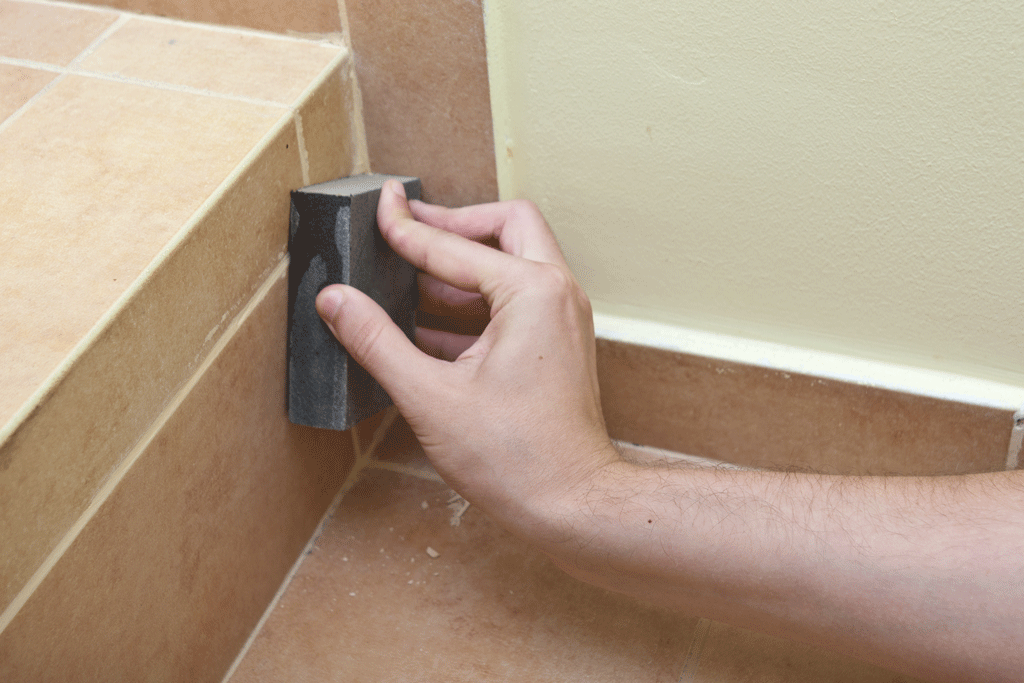
In order to clean the rest of grout from tiles surface, you will use an abrasive sponge.

Cleaning the residues
Removing the rest of the hardened grout can be done in several ways. On one hand, you could use a an abrasive dish sponge (one side should be abrasive, while the other should be just regular sponge) and warm water.

Cleaning grout residues
In order to ease the process, you could also use a professional product, such as a tile cleaner (make sure it is non-acid). You can find these products at any diy store, so if you don’t find them just ask one of the staff.

Cleaning the tiles
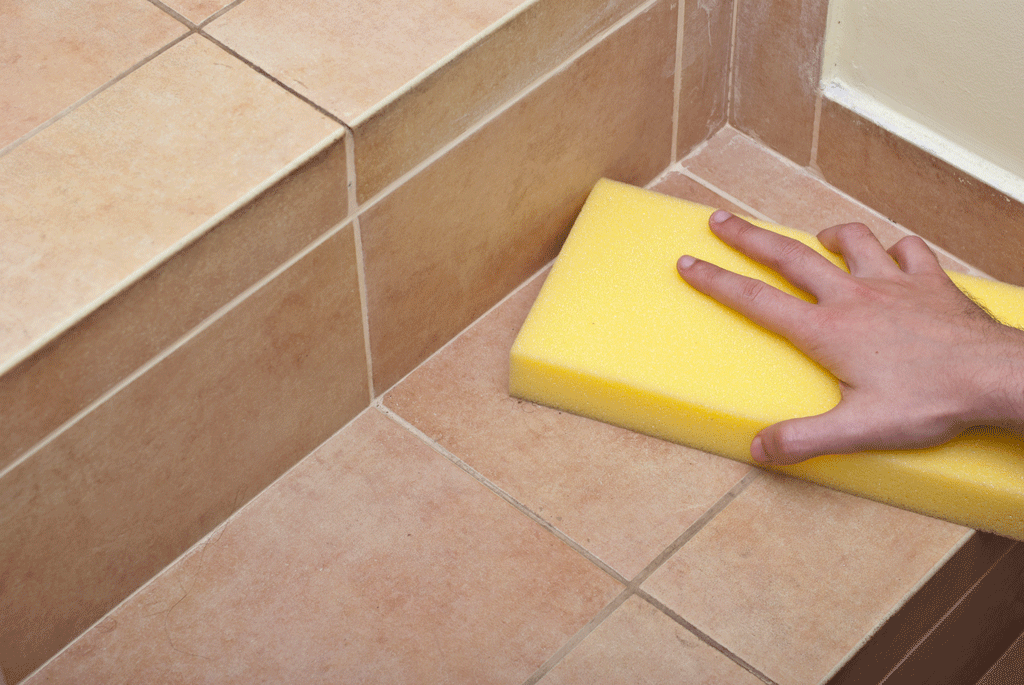
Last but not least, you should take care of the final touches. After removing the largest part of the grout, the chances are that the surface still has a haze on it. Therefore, use a damp sponge to clean the tile surface thoroughly.
My best tips to remove unwanted grout:
1. Act Quickly: If the grout is still fresh, use a damp to gently wipe away the excess. Be sure to wring out the sponge frequently and use light, circular motions to avoid pushing grout into the tile joints. Keep doing this until the tiles are clean.
2. Use a Grout Float at an angle: While the grout is still workable, hold grout at a 45-degree angle and use it to scrape excess grout off the tiles. This helps minimize the amount of grout left on the surface and makes cleaning easier later on.
3. Vinegar and Water for Haze: If the grout has dried and left a hazy film on the tiles, mix a solution equal parts water and vinegar. Use a sponge or cloth dipped in this solution to gently buff the haze off the tiles. Avoid using vinegar on natural stone tiles, as it can damage the surface.
4. Plastic Scraper for Dried Grout: For grout that has dried but hasn’t fully hardened, use a plastic scraper to carefully lift off the excess. Avoid metal tools, as they can scratch the tiles.
5. Grout Removal Tool for Stubborn Grout: If the grout is fully set and stubborn, use a grout removal tool or utility knife to scrape it out carefully. Go slow and steady, working the tool along the edge of the tiles to loosen the grout without scratching the surface.
6. Tackle Corners with a Toothbrush: For grout that’s stuck in corners or along grout lines, a stiff toothbrush or small scrub brush works wonders. Dip it in water or the vinegar solution and scrub gently until the grout is gone.
7. Razor Blade for Tough Spots: For those stubborn areas where the grout has really stuck, carefully use a razor blade at a shallow angle to scrape off the grout. Be extra cautious to avoid scratching the tile.
Thank you reading our article about how to remove grout from tiles and we recommend you to check out the rest of the projects. Don’t forget to SHARE our project wit your friends, by using the social media widgets. LIKE us to be the first that get our latest projects and to help us add more free tutorials.
