This article is about how to install travertine tiles on concrete. This is PART 2 of the project where I show you how to install the 4″x4″ travertine tiles to the raised garden bed’s concrete walls. This is a super easy process you can do by yourself, but very rewarding in the same time. The natural stone will make this flower bed a decorative element of your garden.
You can adjust the size and the shape of the garden bed to suit your exact needs. In this tutorial I focus on the techniques and materials, so you understand the process and made adjustments to suit your needs. If you don’t want to add the travertine tiles to the exterior of the garden bed, you can just cure the concrete and enjoy the rustic look. See all my Premium Plans HERE.
Made from this plan
Materials
- travertine tiles
- adhesive
- waterproof membrane
Tools
- Angle grinder
- Hammer Drill
- Trowel, Trowel
- Paint brushes
- Buckets
Time
- 1 day
How to Install Travertine Tiles on Concrete
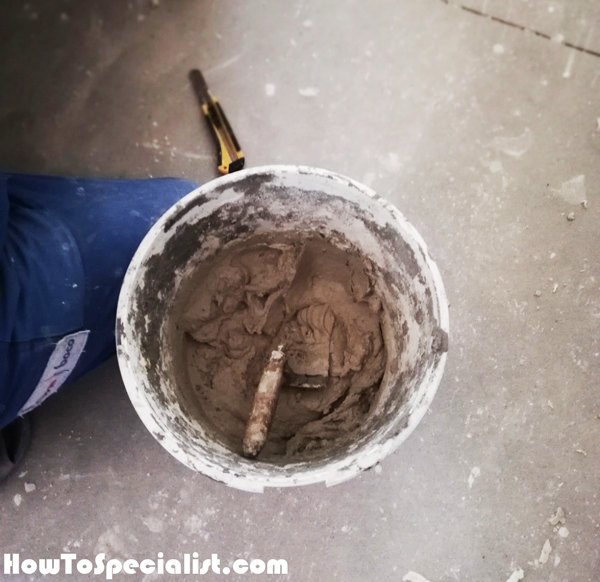
The first step of the project is to mix some natural stone adhesive. Make sure the adhesive is flexible and thus designed for outdoor use. In addition, considering we are going to install travertine, make sure you choose light colored adhesive. Use a bucket, add the adhesive and then mix it with a trowel. After that, let it set for a few minutes and mix it again.
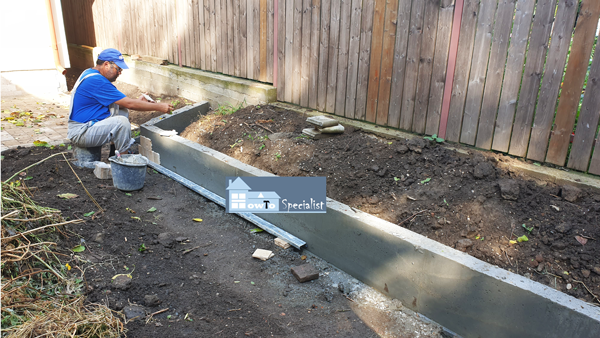
Installing-the-travertine-cladding
Notice the straight edge placed at the bottom of the concrete wall. This will support the tiles and help you set them perfectly horizontal. Next, use a notched trowel to spread the adhesive evenly on the concrete wall. Make sure the surface is clean and dry. Don’t apply the thinset on large surface, because it dries fairly quickly. Align the tiles, without spacers and press them gently against the wall until they are set into place.
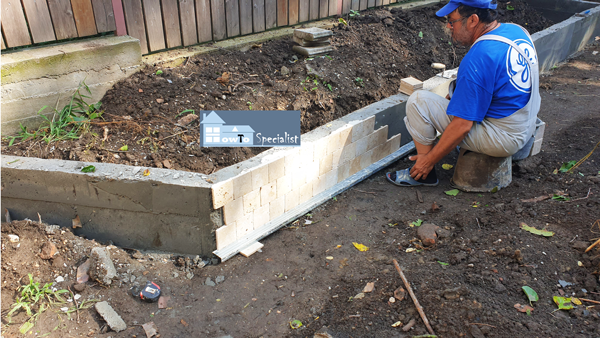
Travertine-cladding
Continue the process step by step, from left to right. If you measure accurately, the top tiles should be about flush with the top edge of the concrete wall.
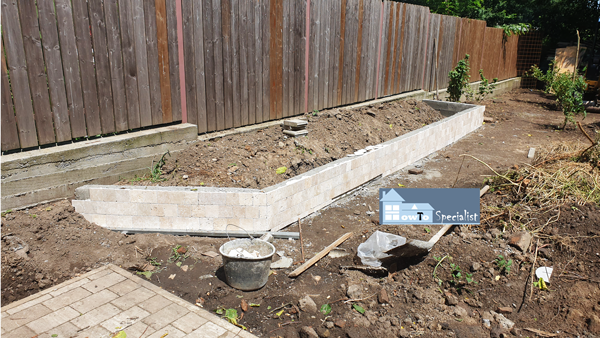
Concrete-flower-bed-with-travertine
Travertine-capping-retaining-wall
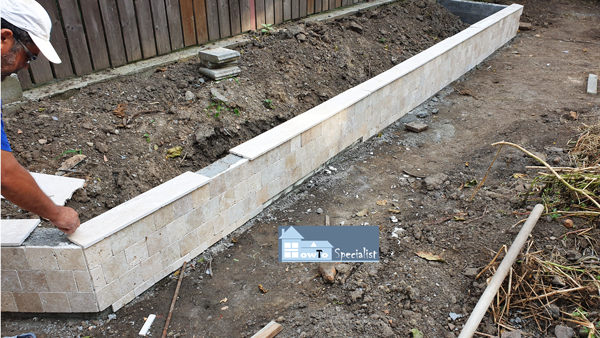
After installing the tiles to the exterior of the concrete wall, ne need to get the job done with setting the capping. We used larger travertine tiles which we cut to proper size so we get 1/4″ overhnags on the exterior and interior.
Miter-cuts-travertine
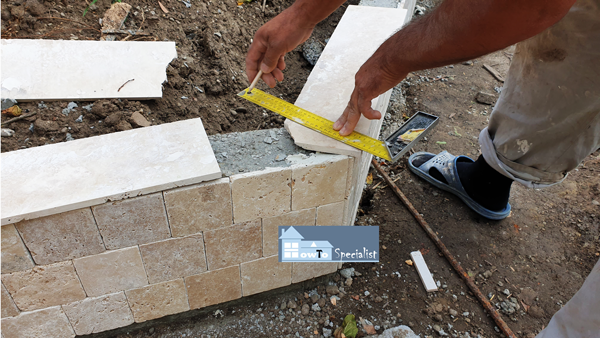
Notice the process for making the miter cuts to the capping tiles. Place them over the joint and mark the line with a pencil and a speed square. Use a diamond blade and a grinder to make the cuts to the tiles.
Natural-stone-adhesive
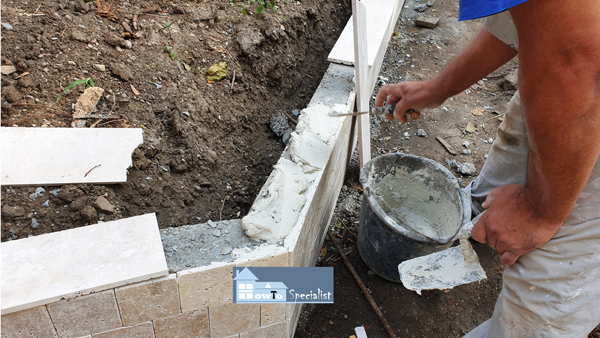
Spread the adhesive into place with a trowel. Then set the tiles making sure the overhang is even to the front. Press the tiles into place (you could give them a slight angle, to help with water drainage).
Waterproof-membrane
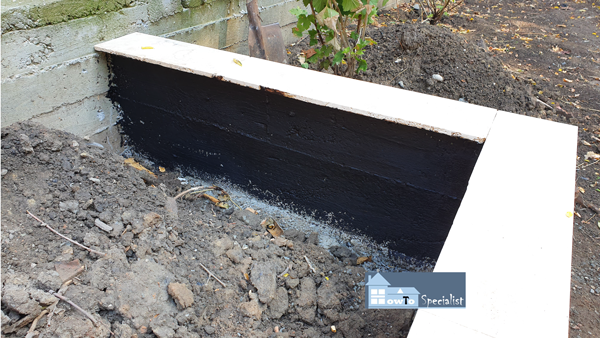
I also spread some waterproof membrane to the interior of the garden bed to limit the water infiltration into the concrete wall. 2 coats of membrane are ideal, provided you leave them dry out before re-application.
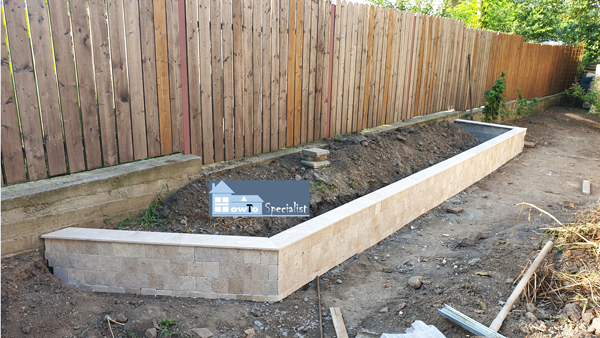
Travertine-retaining-wall
I filled the garden bed with some soil and I leveled it properly.
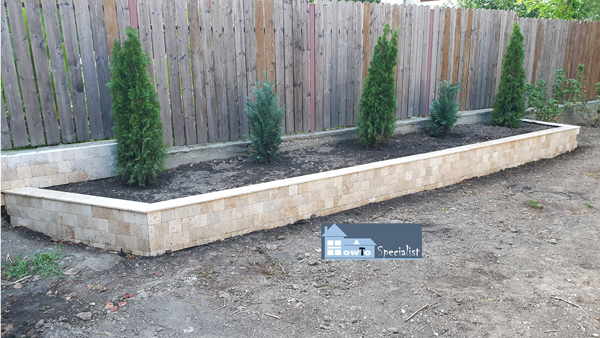
How-to-build-a-flower-bed
In PART 1 of the project I show you how to build the concrete raised garden bed from the ground up.
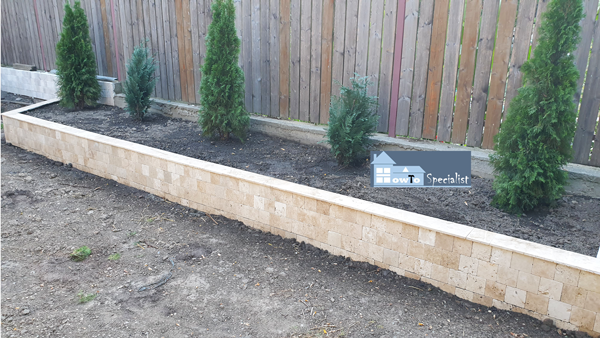
Concrete-flower-bed—retaining-wall
I really enjoyed this project because it was an inexpensive way to add some character to my yard. This concrete raised flower bed will last for more years to come and it makes for a very decorative addition to my property. Make sure you check out the rest of the Episodes of the Fence Series to see how we built the rest of the fences on the countryside property.
Thank you for taking a look over my article on how to build a concrete raised garden bed. Make sure you share this project with your friends if you like it and please take a look over the rest of my projects, because I have tons of plans and ideas to choose from. See all my projects HERE.
