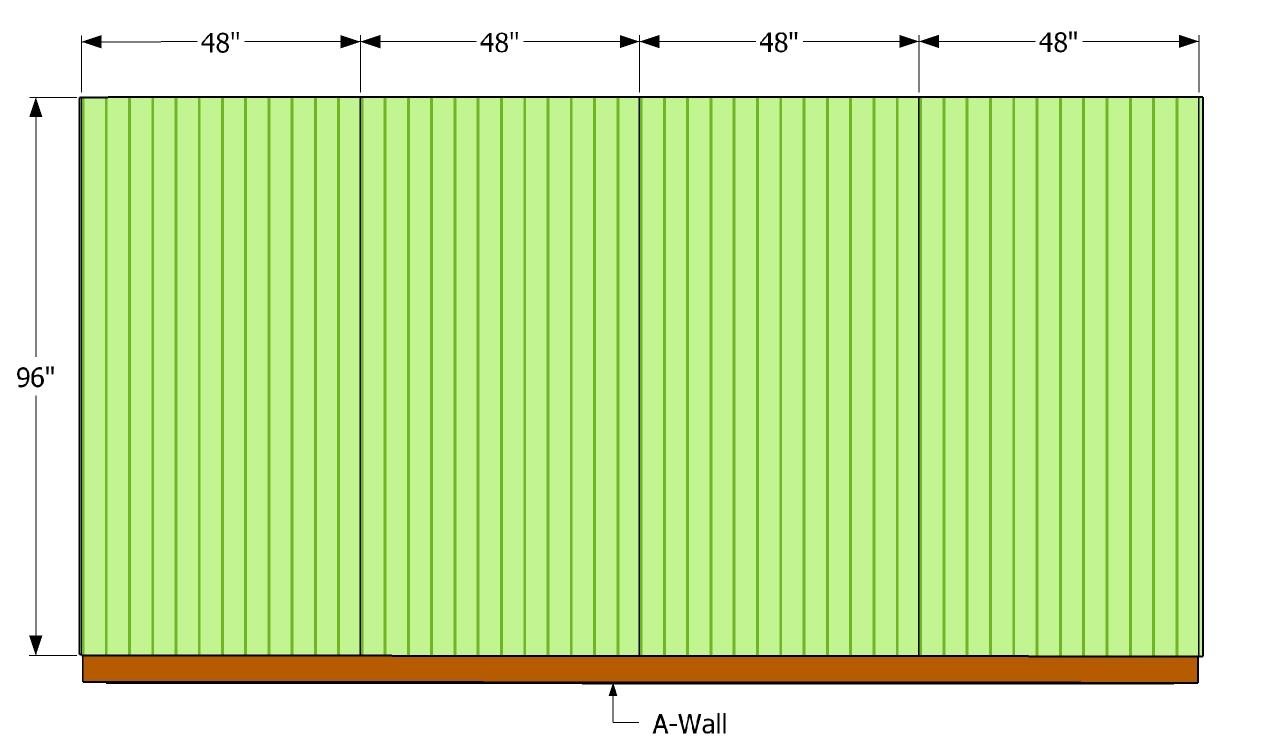
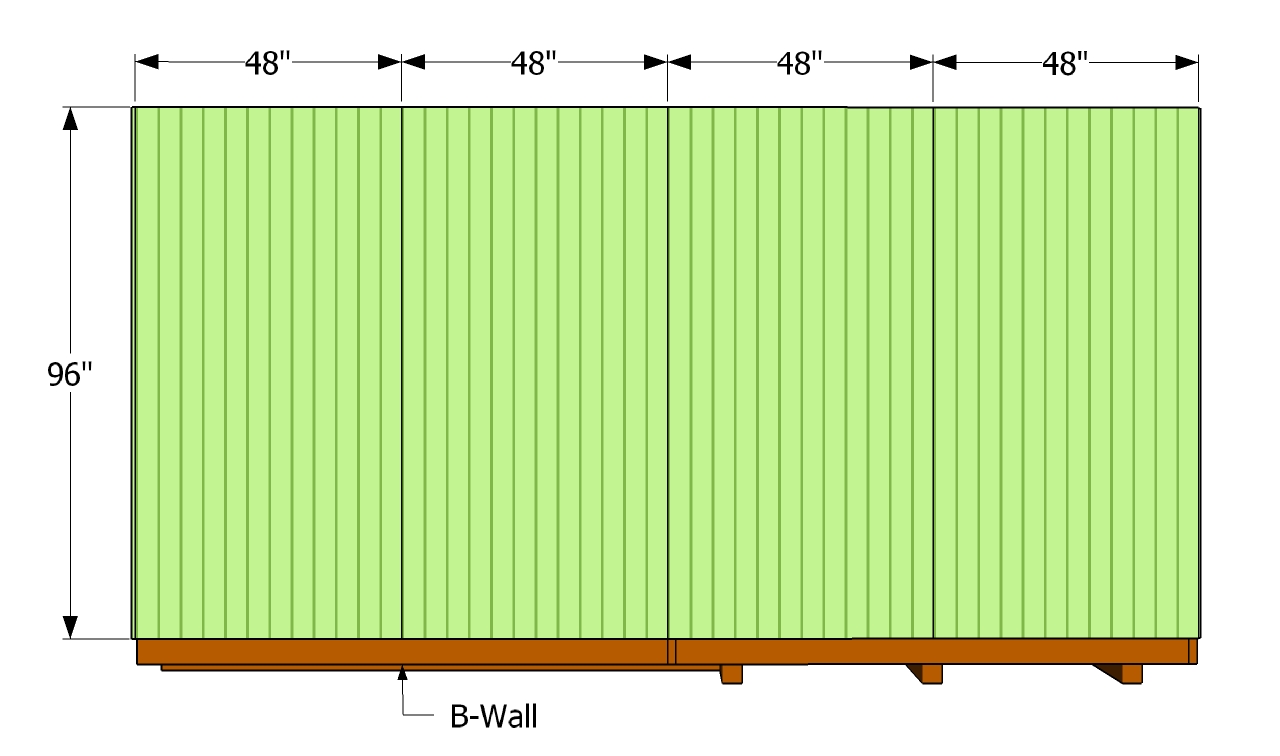
This step by step diy project is about how to install siding on a shed. Installing siding on a shed is easy and can be done by any person with basic woodworking skills. Nevertheless, you should first build a workshop, as you need a proper frame to attach the exterior siding to. Prepare the frame thoroughly and use quality components, if you want to get the job done as a professional.
There are many products you could use for covering the exterior walls of the shed, starting with T1-11 siding to vinyl siding. Irrespective of your choice, there are lots of things you have to take into account when getting the job done by yourself. A thorough preparation would prevent potential issues on the long run, so make sure the walls are level and secured together tightly. Check if there are protruding screws and insert them properly.
We have developed the workshop in such a manner that you need to attach the 4×8′ sheets to the framing vertically. In addition, you should always have the top plates as reference when installing the exterior siding. Therefore, the top of the sheets should be flush with the top plates. Use 1 1/4″ finishing nails to secure the exterior siding into place, after connecting them properly.
Made from this plan
In order to install siding on a shed, you need to use the following:
Materials
- A – 19 pieces of 4’x8′ sheets of T1-11 siding EXTERIOR SIDING
- B – 1 1/4″ finishing nails NAILS
Tools
- Safety gloves, glasses
- Miter saw, jigsaw
- Chalk line, tape measure, spirit level, carpentry pencil
- Drill machinery and drill bits
Tips
- Apply several coats of wood stain to the wooden components
- Align the siding to the top of the wall framing
Time
- One Day
Related
- Part 1: How to build a workshop
- Part 2: How to install siding on a shed
- Part 3: How to build an L-shaped roof
- Part 4: How to install roof decking
- Part 5: How to build a shed door
How to install siding on a shed
The first step of the project is to check if the structure of the shed is even and if all the screws are inserted properly. Afterwards, you could fit house wrap to the exterior frame, making sure the strips overlap several inches. Always start installing the wrap from the bottom of the shed.
Installing the T1-11 4×8′ exterior siding to the framing, using 1 1/4″ finishing nails, after makings sure the top of the sheets are flush with the top plates.In addition, align the sides of the sheets with great attention, if you want to get a professional result. As you can easily notice in the image, the siding should cover about 1 1/2″ of the joists. Moreover, when installing the rest of the sheets, you should connect them together properly.
Continue installing the rest of the exterior siding to the C wall, using the techniques and following the instructions described above. Work with attention and with great care, if you want to get the job done as a professional.
The next step of the project is to install T1-11 exterior siding around the shed windows. As you can easily see in the plans, you need to cut out a small panel inside the 4×8′ piece of plywood, using the information from the image. Drill a starting hole inside the panel and use a jigsaw to make the cuts. Attach the sheets to the framing and secure them into place with 1 1/4″ finishing nails.
Use the same techniques to attach the siding around the other frame of the workshop. Align everything with attention, if you want to prevent potential issues and to get a neat look.
Installing exterior siding around the door opening is a straight forward job. As you can see in the image, you need to cut out a piece of siding, using a circular saw and a jigsaw with sharp blades. Pay attention when making the cuts, as you need to use the cut out piece when assembling the shed door.
Last but not least, we recommend you to take care of the finishing touches. In order to get a professional result, fill the holes and the gaps with wood filler and let it dry out for a few hours. Next, smooth the surface along the wood grain, using medium-grit sandpaper.
Thank you for reading our project about how to build a workshop and we recommend you to check out the rest of the projects. Don’t forget to LIKE and SHARE our projects with your friends, by using the social media widgets. SUBSCRIBE to be the first that gets our latest updates.


