This article is about how to build a simple workbench. I am building a new workshop so I decided to build a workbench, so I can use the miter saw and make lots of projects I really need. This is a simple design and I only used materials that I already had in the yard. You need to know that I used just the materials that I had in the shop from other projects so this wasn’t an expensive build. You can see FREE PLANS for this workbench on MyOutdoorPlans.com HERE.
Remember that I show my techniques and experience, on this blog, so you can use other methods, as well. I have lots of workbench plans on this blog so you can choose the one that suits your needs best. This workbench features a lower shelf and caster wheels, so you can move it from one place to another with ease. I also added braces to the bench, so the frame is really sturdy and durable. See all my workbench plans HERE, so you can choose the design that suit your needs. See all my Premium Plans HERE.
Made from this plan
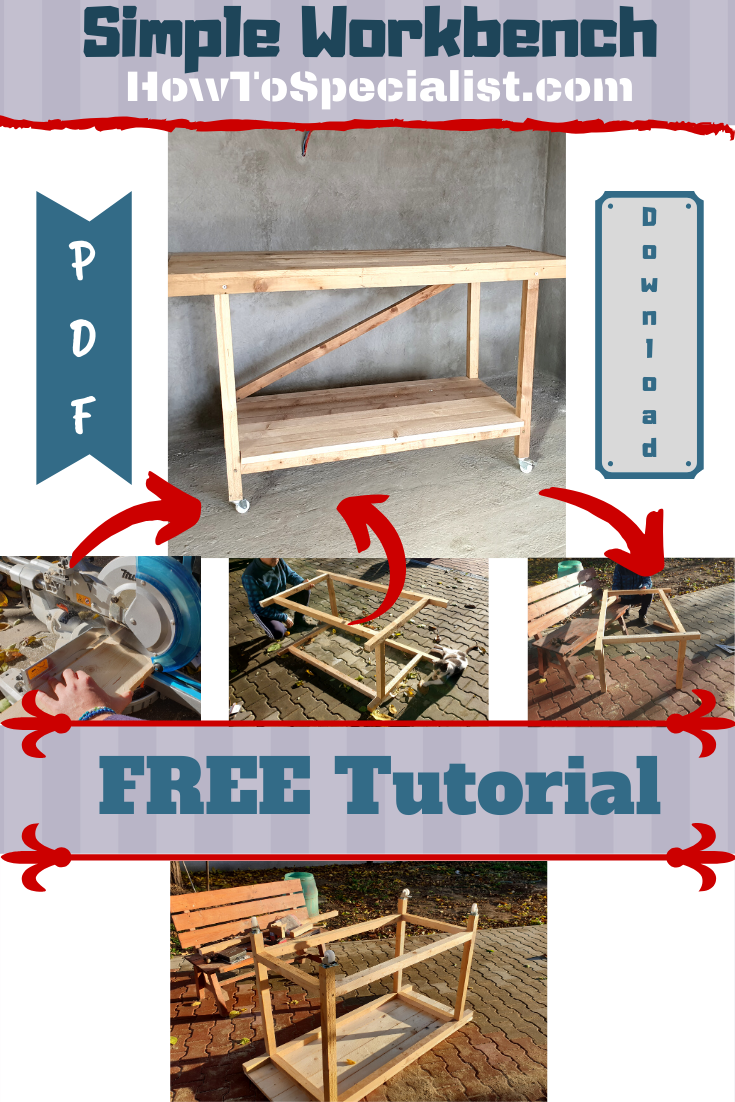
Materials
- 1 1/2″ screws
- 2 1/2″ screws
- 3 1/2″ screws
- 2×2 lumber
- 5/8″x5 1/2″ boards
- 1×2 lumber
- caster wheels
Tools
- Safety gloves, safety glasses
- Measuring tape
- circular saw
- drill
- carpentry square
How to Build a Simple Workbench
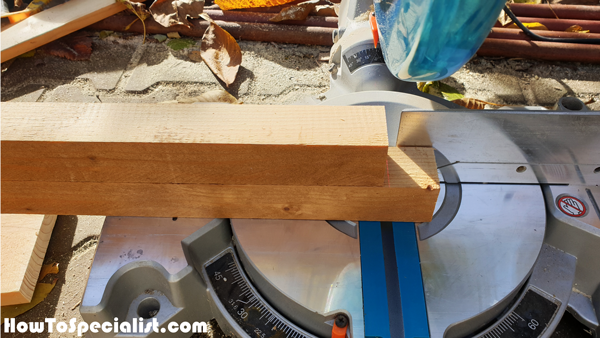
First of all, you need to cut the components for workbench. I recommend you to use a miter saw, because you will make accurate cuts quickly.
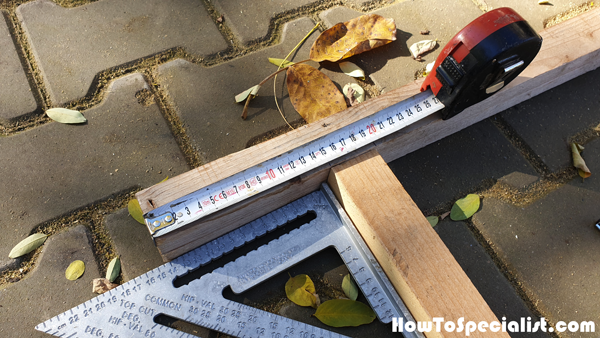
Next, you need to assemble the sides for the workbench. Use a ruler and a carpentry square to make sure the corners are square.
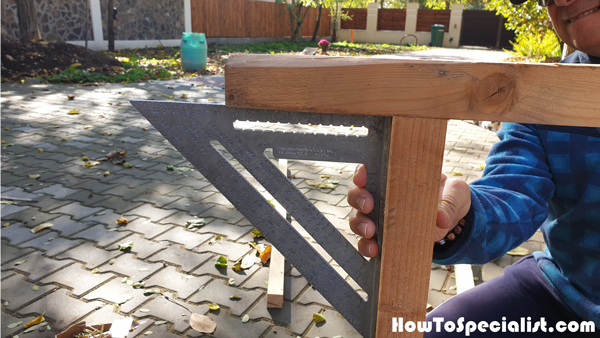
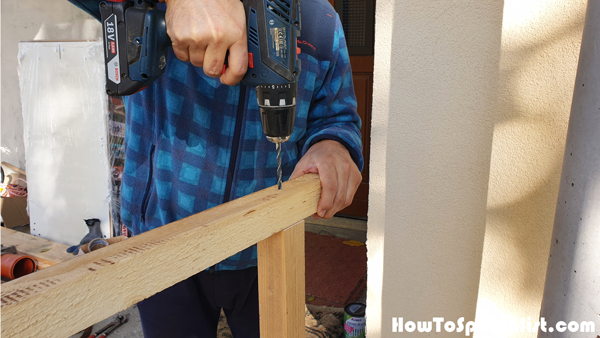
We drilled pilot holes through the top support, before inserting the screws to prevent the wood from splitting.
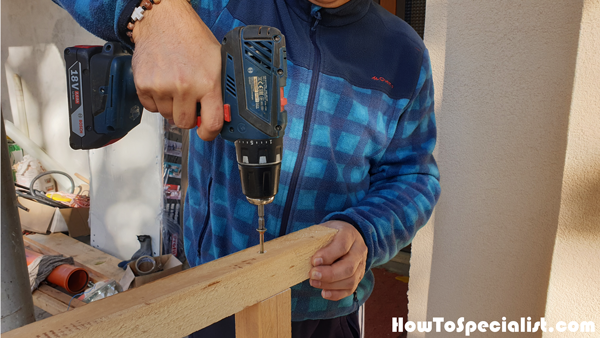
Insert the 3 1/2″ screws to assemble the sides of the workbench.
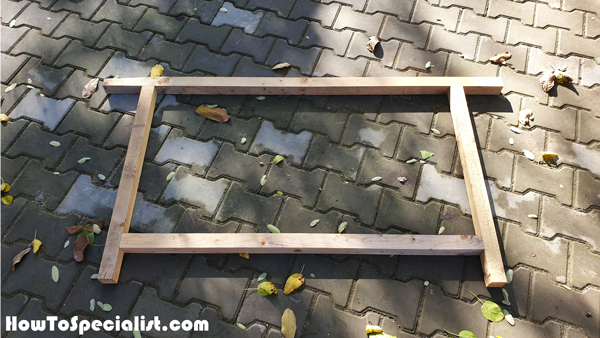
Attach the support to the bottom of the workbench. Make sure the corners are square and align the edges flush.
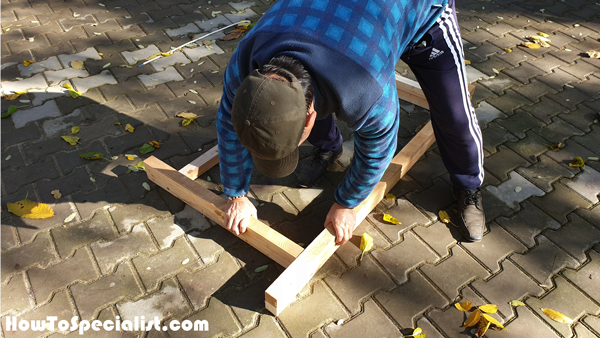
Building the opposite side of the workbench is easier, because you have to follow the previous pattern.
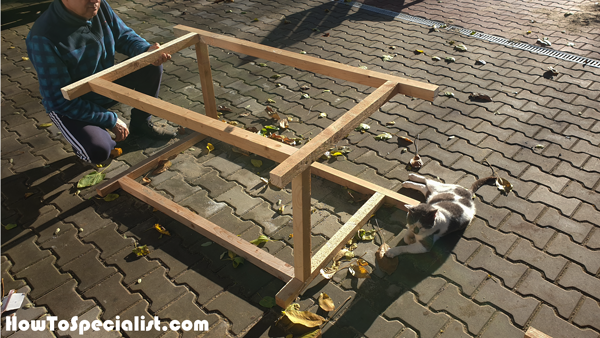
Now, it is time to assemble the frame of the workbench, by joining the two sides together tightly.
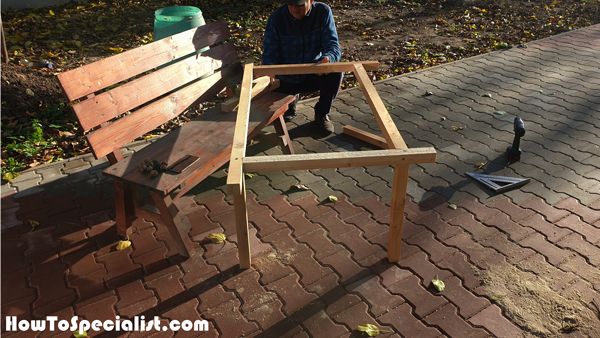
Drill pilot holes through the sides and insert 3 1/2″ screws into the supports. Align the edges flush and make sure the corners are square.
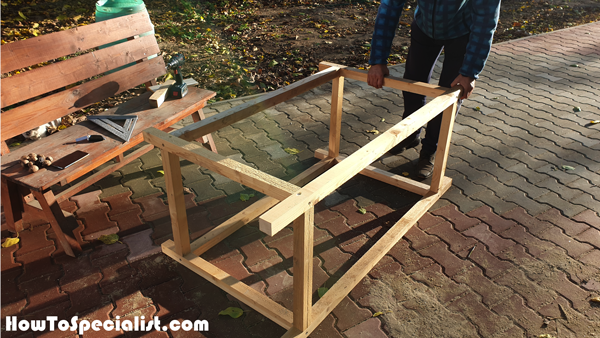
Turn the frame of the bench upside down and attach the other side to the frame. Attach the frame with screws.
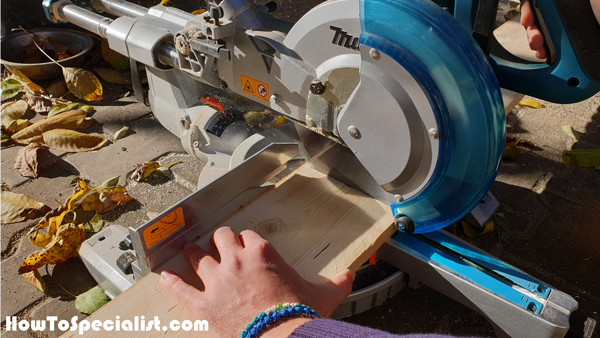
Next, I cut the slats for the tabletop of the workbench. Again, I used the miter saw because this makes accurate cuts.
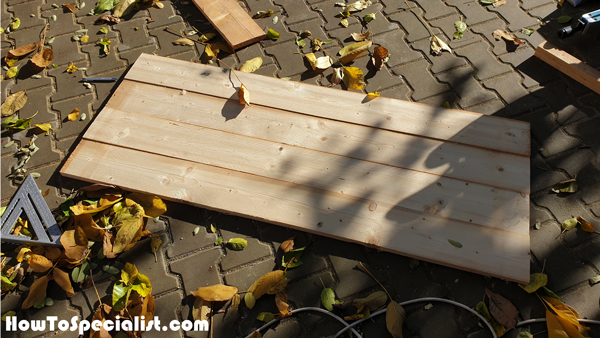
These slats will become the tabletop for the workbench.
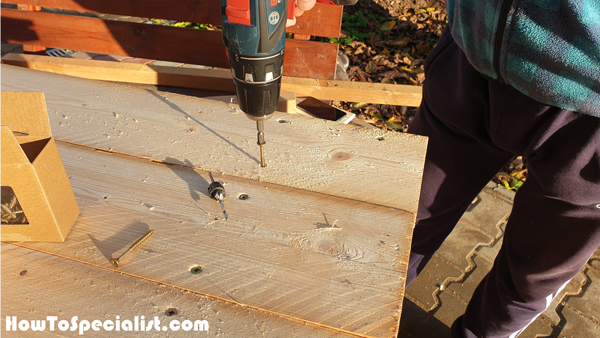
Attach the slats to the top of the frame and align the edges at both ends. I drilled pilot holes then inserted the screws (two screws at both ends for each slat). Leave no gaps between the slats.
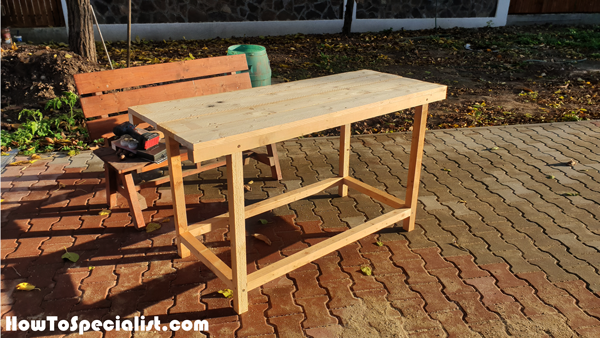
This starts to look like a workbench. I already love it!
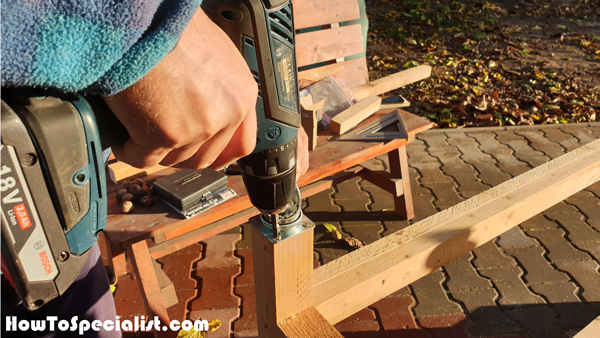
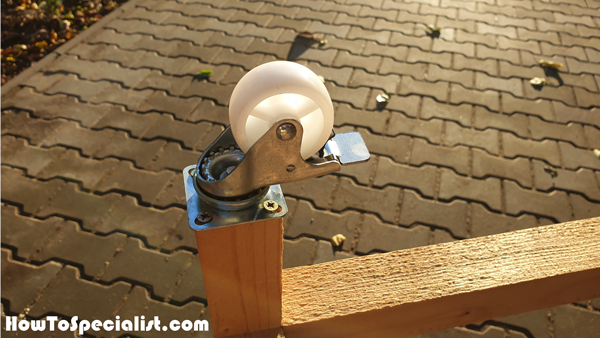
I attached caster wheels to the legs of the workbench. I used casters with brake so I can move the workbench in the shop and outside the shop with ease.
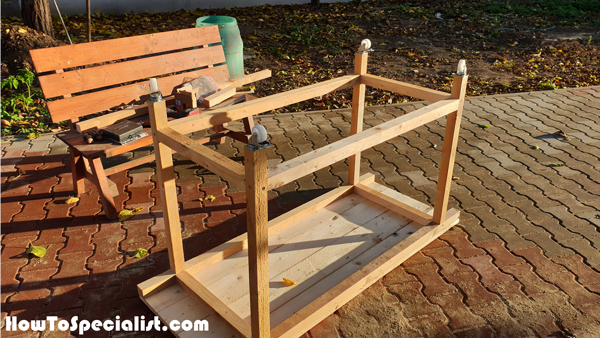
I attached the other casters to the workbench. Drill pilot holes before inserting the screws, to prevent the wood from splitting.
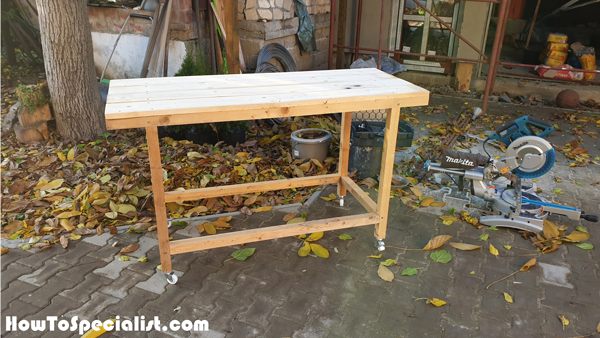
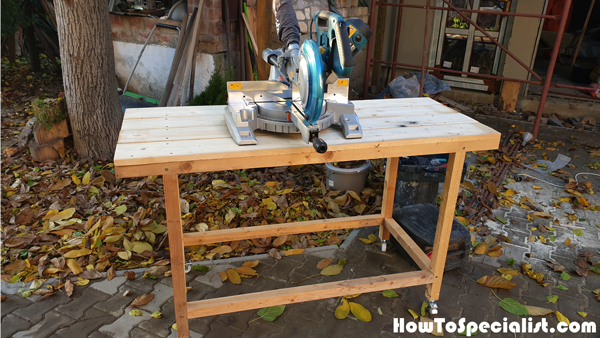
Just checking if the miter saw fits properly on the workbench. I works really good…

Now it is time to build the lower shelf for the workbench. Use a carpentry square to mark the cutouts for the slats that go around the legs.
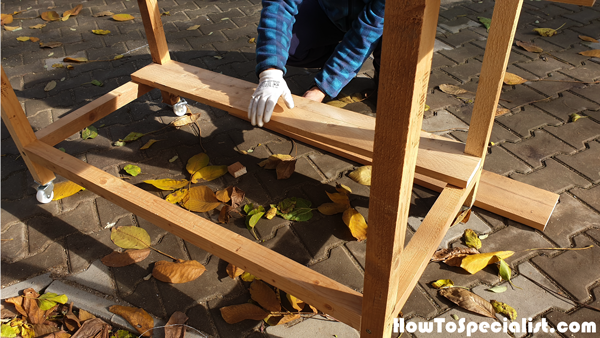
We attached the slats to the lower frame, we drilled pilot holes and inserted the screws to lock them into place.
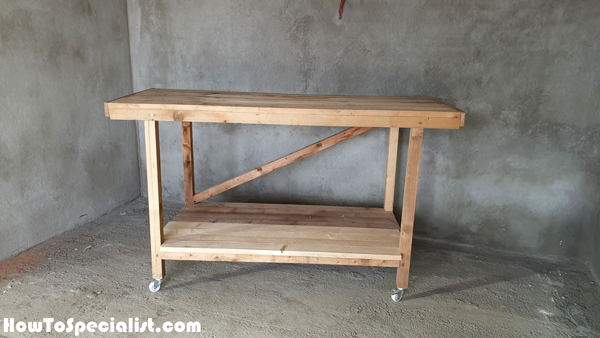
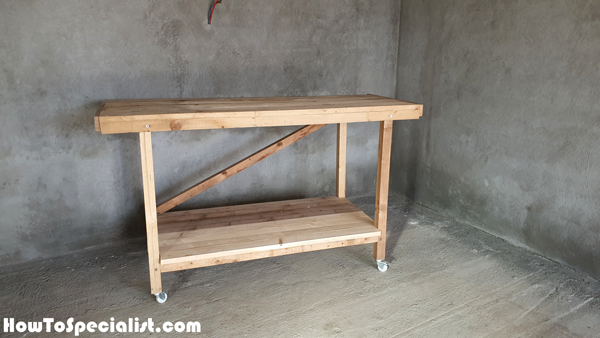
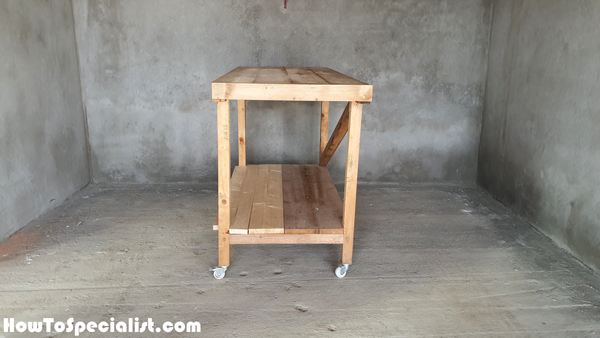
This is a super easy to build workbench and it will help me make a lot of projects. I hope you will find it helpful and build lots of projects, as well. This is a basic workbench so that you don’t have to sped a fortune on the materials. If you want to build a workbench with storage, take a look over these free plans.
Thank you for reading our article about how to build a simple workbench and we recommend you to check out the rest of my projects HERE.

2 comments
This is an awesome build. I am going to build a similar one with scrap when I get home today. Thanks!
Good job. How to know measurement (cut list)?