This article is about how to build a concrete fence with wooden panels. This is Episode 1 of the Fence Series. I built this fence for my countryside property and I am sharing a few pics during the construction along with a few thoughts. If you are interested in building a concrete fence I think you will find this helpful. This is not by any means a step by step tutorial, because building a concrete fence is complex and it depends on a few things such as: the soil structure, design considerations and budget.
If you are on a tight budget, this type of fence will not probably be exactly what you need, because it requires a significant investment. A concrete fence of this kind will require s strong foundation and rebars to keep everything rigid. Therefore, you should keep in mind this project is time consuming because the concrete needs to cure before applying the cement render, the plaster and the paint. Keep this in mind before deciding whether you need a concrete fence or a regular wooden fence. See all my Premium Plans HERE.
Made from this plan
Concrete Fence with Wooden Panels – Video!
Materials
- cement, sand, gravel
- render, plaster
- rebars, construction wire
- flexible electrical tubing
- decorative paint
- construction lumber
- decking boards
- stain
Tools
- Concrete mixer
- Angle grinder
- Hammer Drill
- Drill / Screwdriver
- Miter saw
- Hammer, Tape measure, Safety glasses
- Trowel, Trowel
- Wheelbarrow
- Paint brushes
- Buckets
- Shovel, Shovel
Time
- 1 month
Related
- Episode 1: How to build a concrete fence with wooden panels
- Episode 2: How to build wooden fence with concrete base
- Episode 3: How to build a block fence
- Episode 4: How to install natural stone to fence
How to Build a Concrete Fence with Wooden Panels
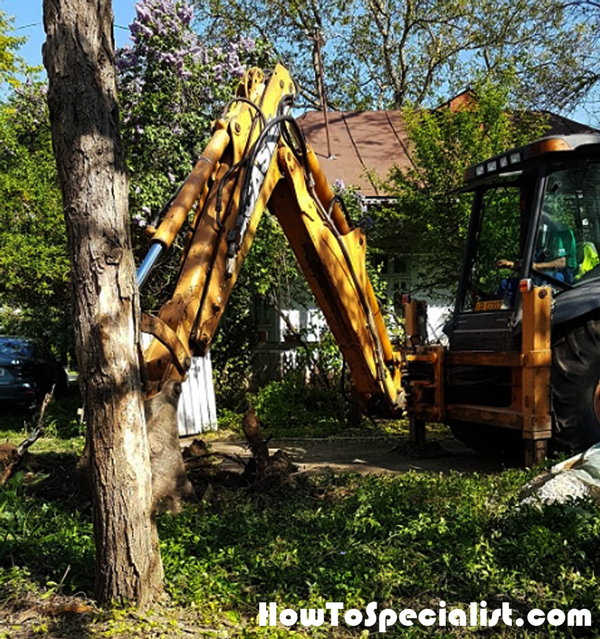
First of all, we had to clean the area and prepare the site for the concrete fence. We used a backhoe digger to remove the trees and the stumps. There were lots and lots of roots and the backhoe was of great help. It was also fun, as you can imagine!
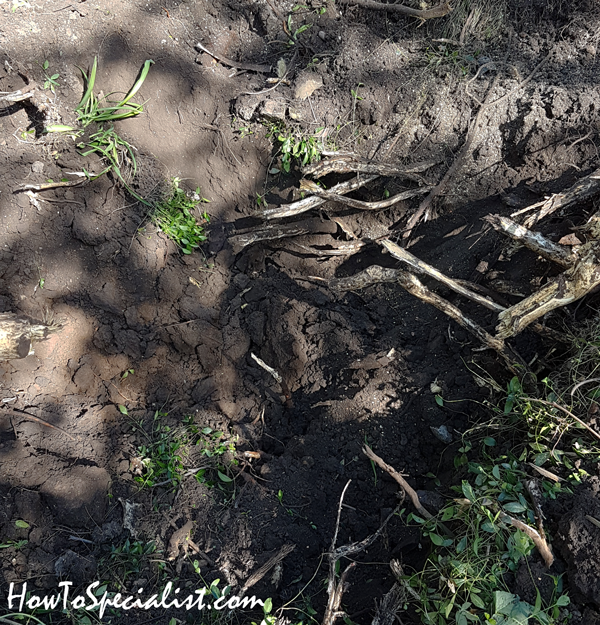
Taking-out-stump
This is the aftermath of the process. Luckily we had the big machinery and we could fill the holes and press the ground down to give it some structure.
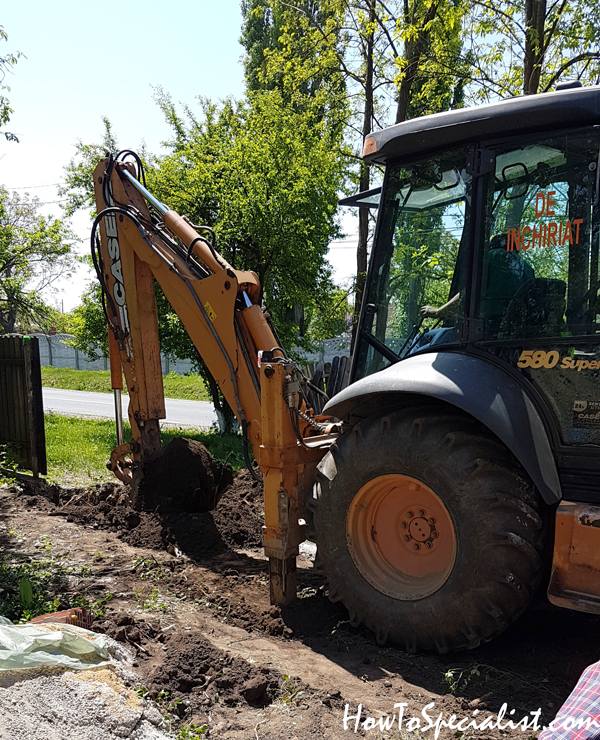
Digging-out-foundation-for-concrete-fence
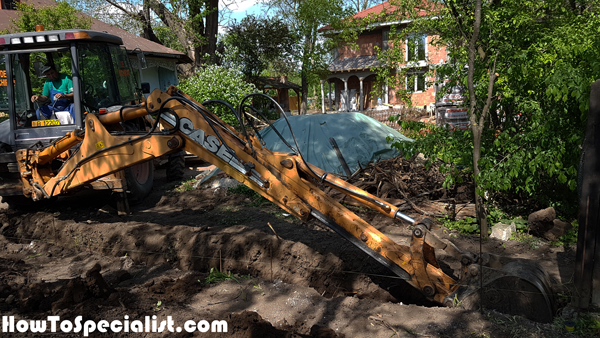
After removing the vegetation and leveling the surface, we dug the trenches for the foundation. Make sure you go deeper than the frost line. We used the backhoe digger to make the trenches and to be honest it was an overkill. The trenches for the foundation ended up very wide and we had to use more concrete than estimated.
If you have the possibility, just use a mini-excavator with a smaller bucket. Our digger had only 16″ and 24″ buckets so we used the 16″ one, but the trenches ended up about 20″ wide because of the ground structure, which wasn’t the greatest.
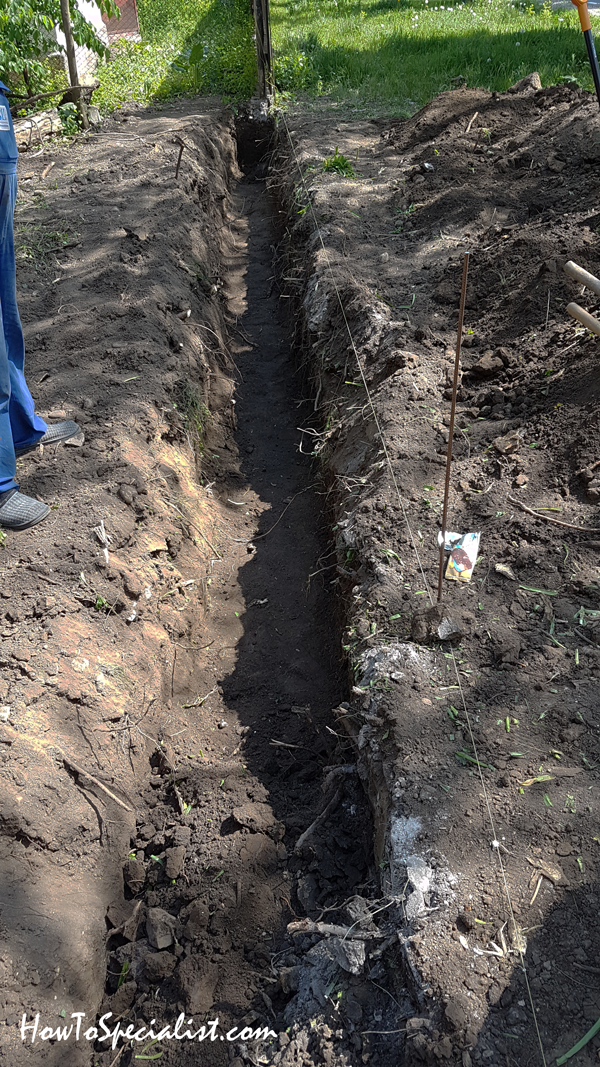
Foundation-for-fence
But that’s not bad either.
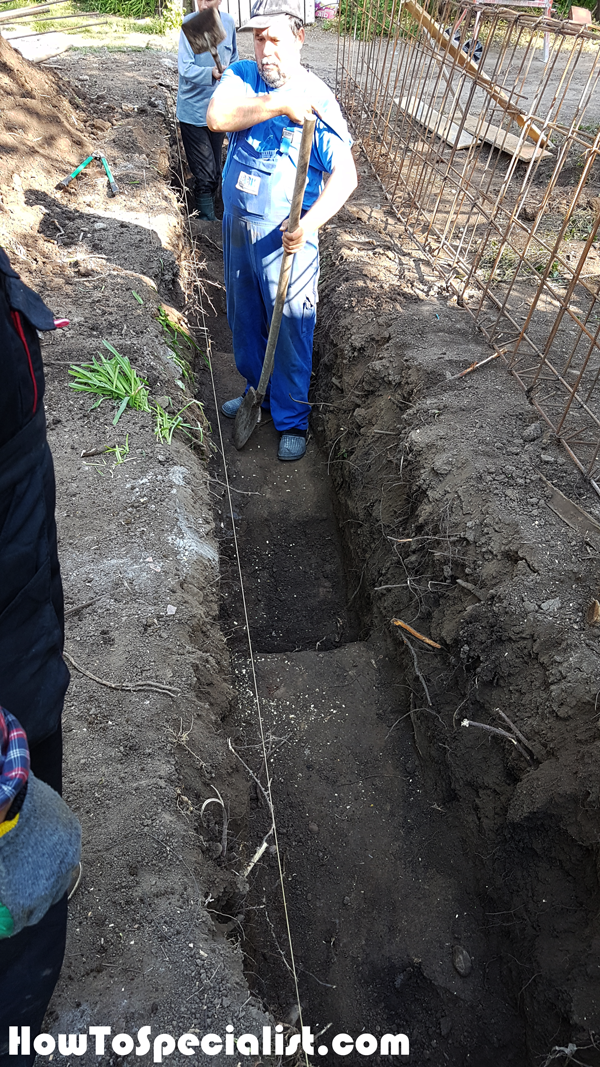
We dug deeper in the locations of the columns. Having pillars with strong foundations is essential, because they basically hold the concrete structure of the fence tightly together.
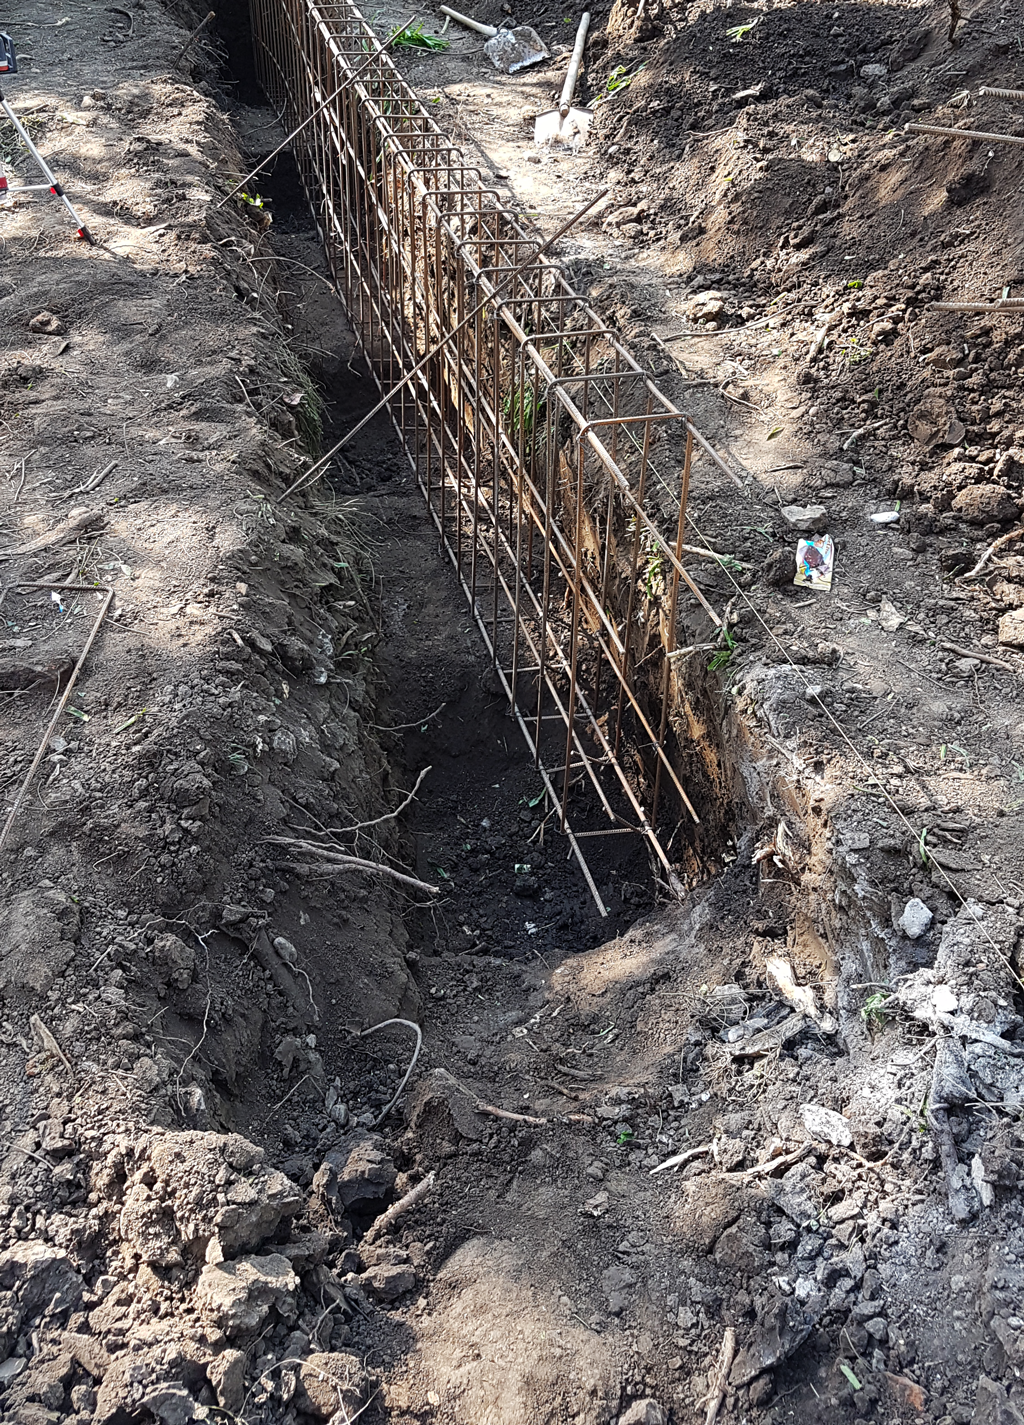
Assemble the rebar beams for the fence and then lay them in the trenches. Use string to align the beam properly.
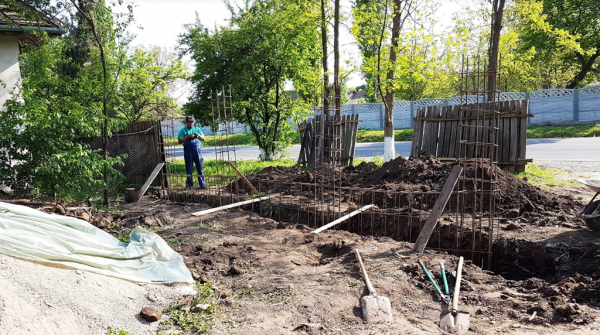
Next, fit the rebars to the pillars. Use the tape measure to make sure the distance between the pillars is equal.
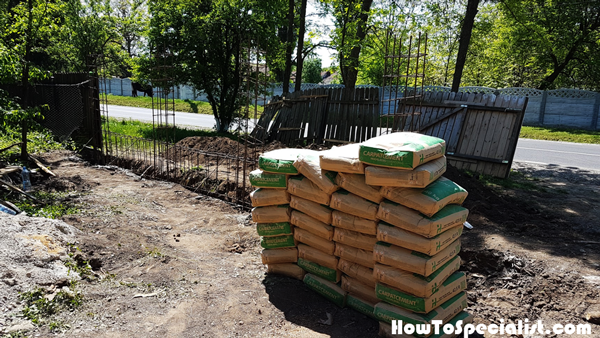
We had to mix the concrete on site so we had to buy a few bags of cement.
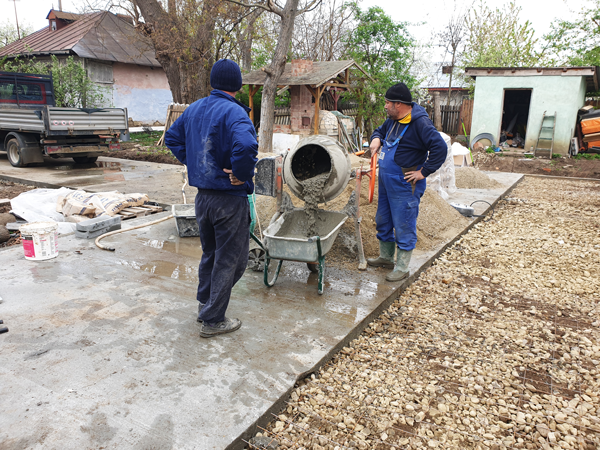
We used a concrete mixer to prepare the concrete on site. The procedure is super simple: you mix the cement with sand, gravel and water. Then you use a wheelbarrow to carry the concrete to the foundation of the fence. You repeat the process.
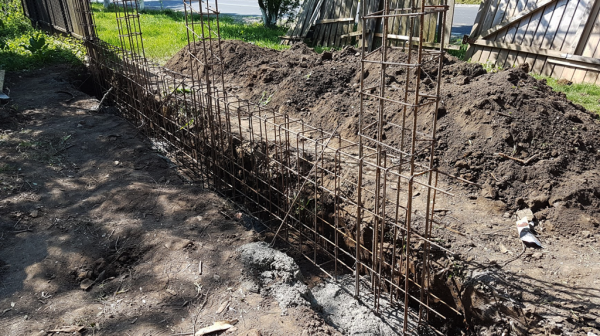
First of all, you need to fill the holes of the pillars so you can set the rebars into place tightly. Use a spirit level to make sure the rebars are vertical.
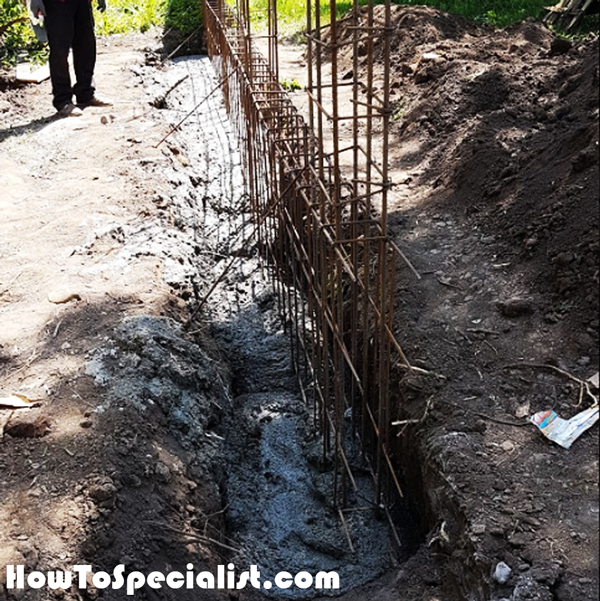
Next, fill the trenches up to the surface of the ground. Let the concrete to dry for one day until you can continue with the formwork.
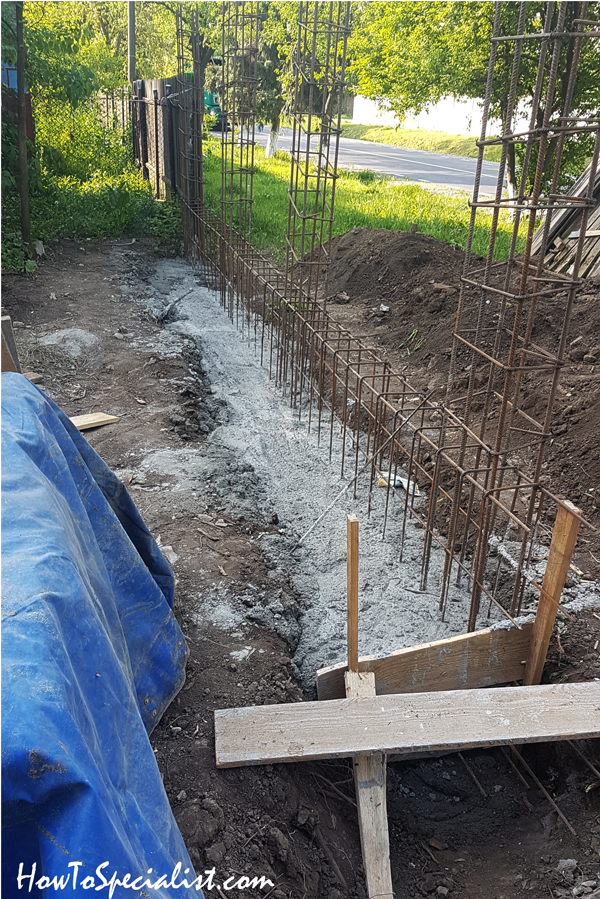
Foundation-filled-with-concrete
The concrete is set so we can start building the formwork for the elevation.
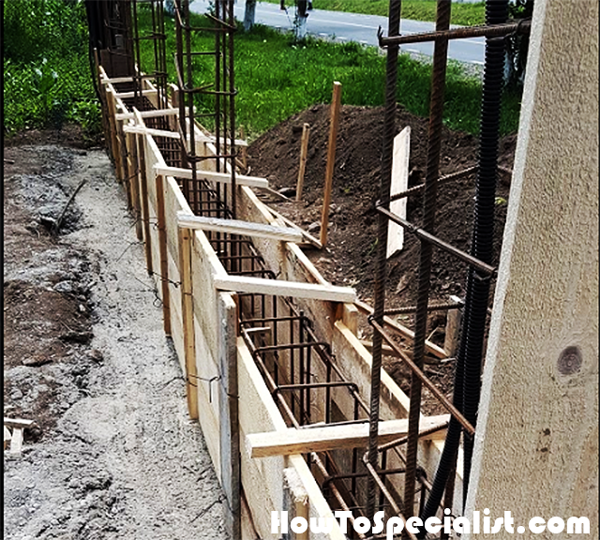
Use construction lumber for make the forms for the fence elevation. As you can see you need to make panels that go on both sides of the rebar beam. Plumb the panels vertically and then reinforce the formwork with construction wire and supports.
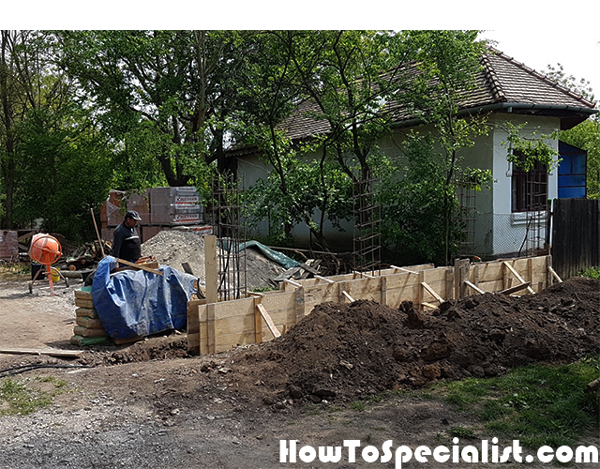
Add diagonal braces to the forms to keep them locked together tightly while filling them with concrete.
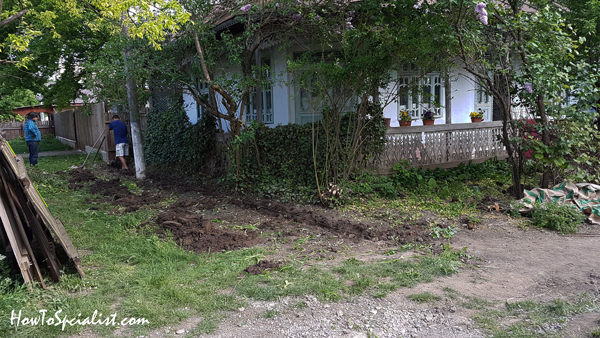
Digging-out-foundation-manually
Meanwhile, we started digging out the foundation for the other section of the fence. We dug the foundation manually because it’s very close to the old house on the property and thus there’s not enough room for the backhoe to operate.
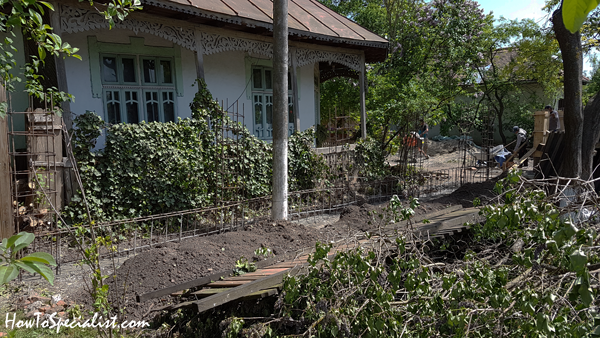
Rebars-for-concrete-fence
The rebar beams and columns are set into the trench. Time to fill the trench with concrete up to ground level.
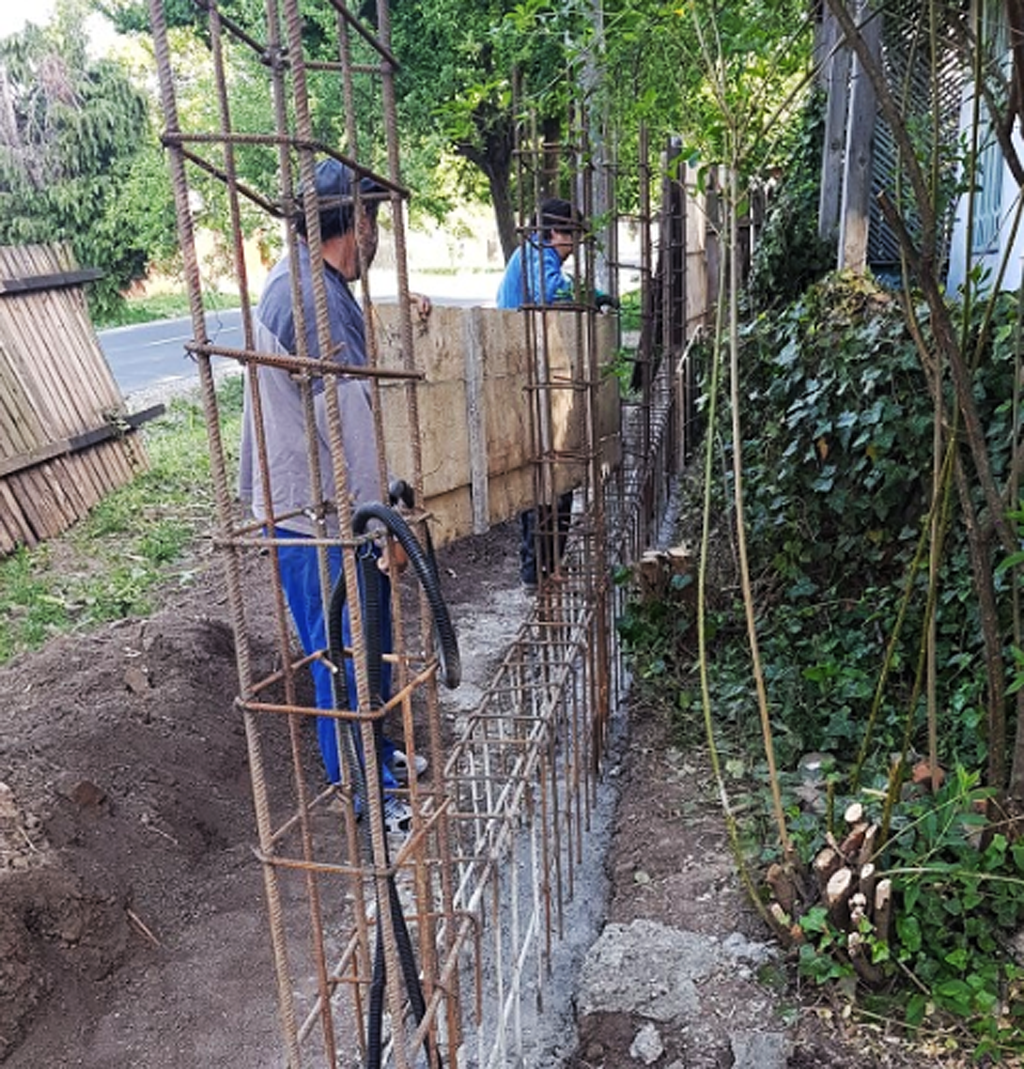
We added the form panels to the other section of the fence.
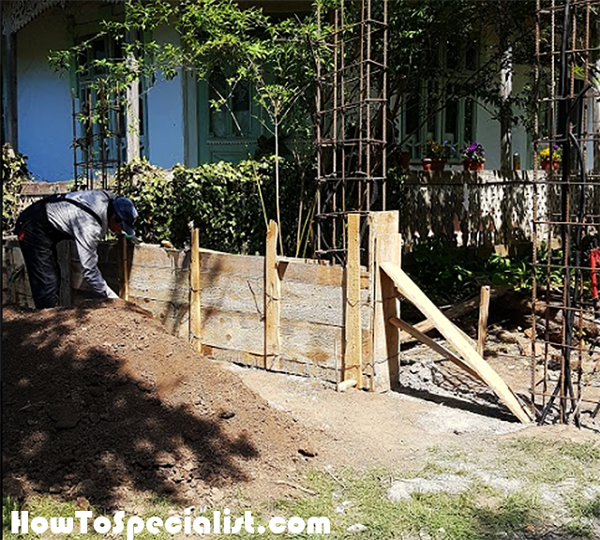
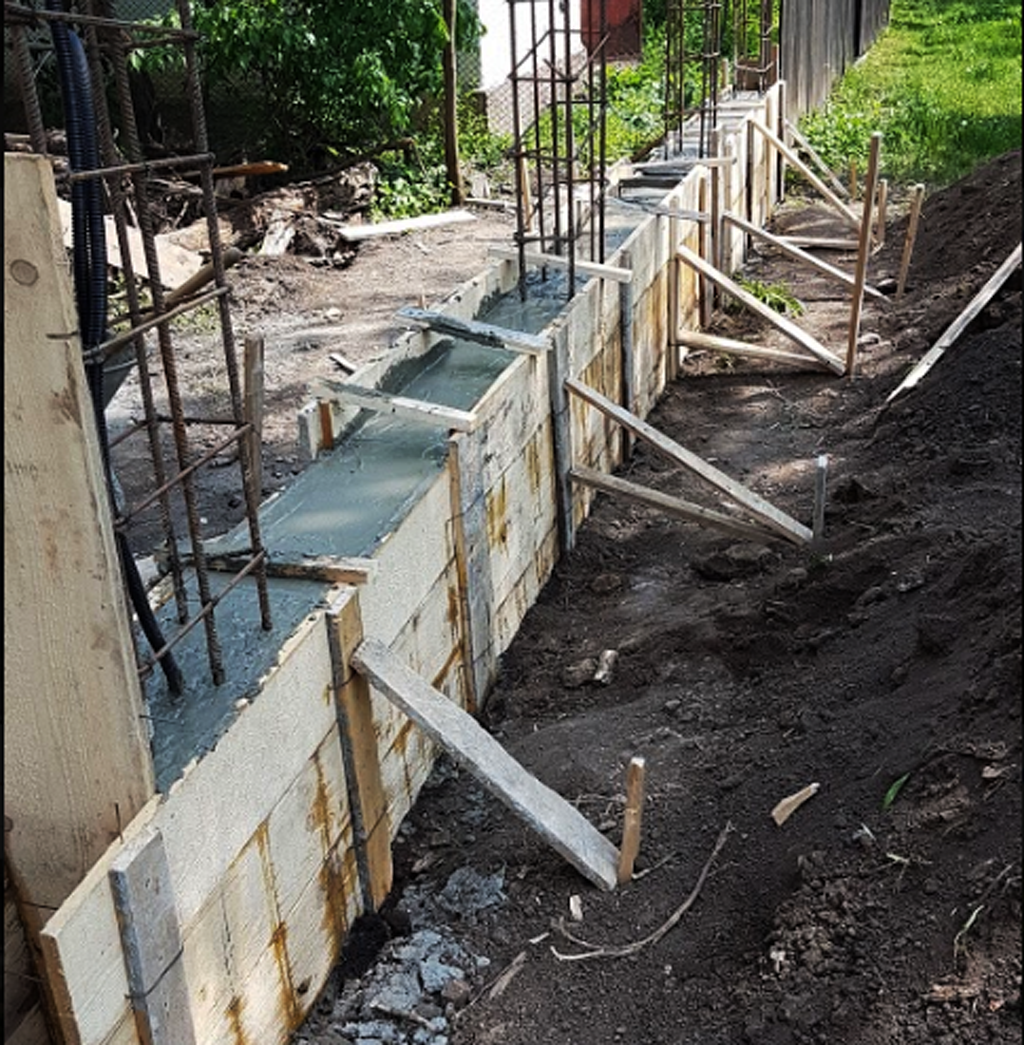
You can notice the braces that go on both sides of the formwork, keeping the panels plumb. When you fill the formwork with concrete, it will exert pressure and the panels will tend to move outward. That is why, the diagonal braces will keep the panels vertical.
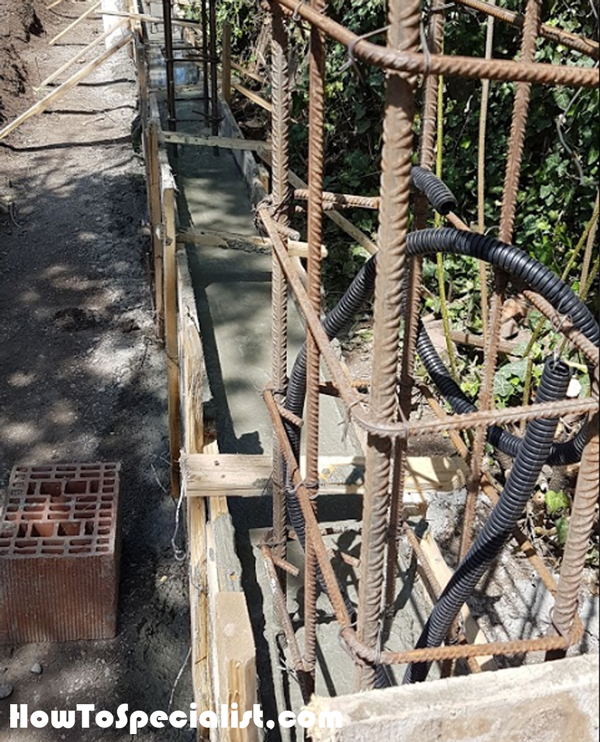
We also added electrical flexible tubing through the elevation, because we plan to automate the gates in the future.
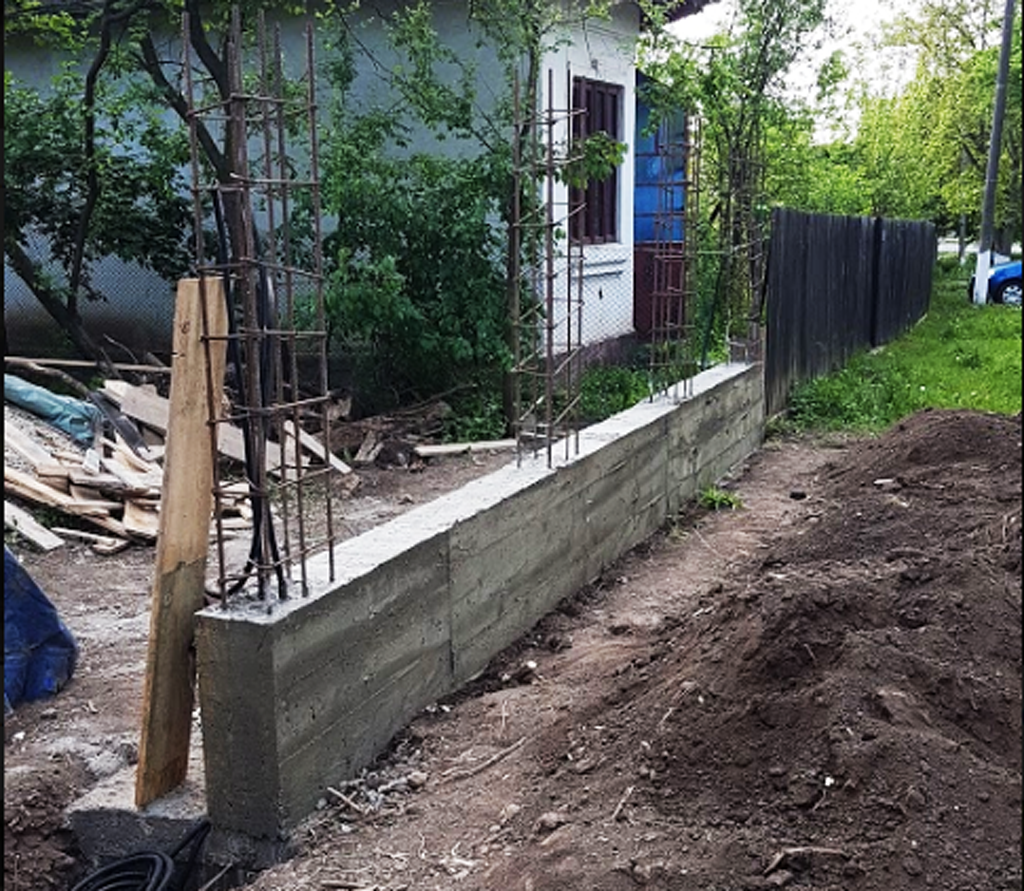
After a few days we removed the formwork panel, so we can reuse them for the pillars. In addition, the concrete will cure a lot faster with the panels removed.
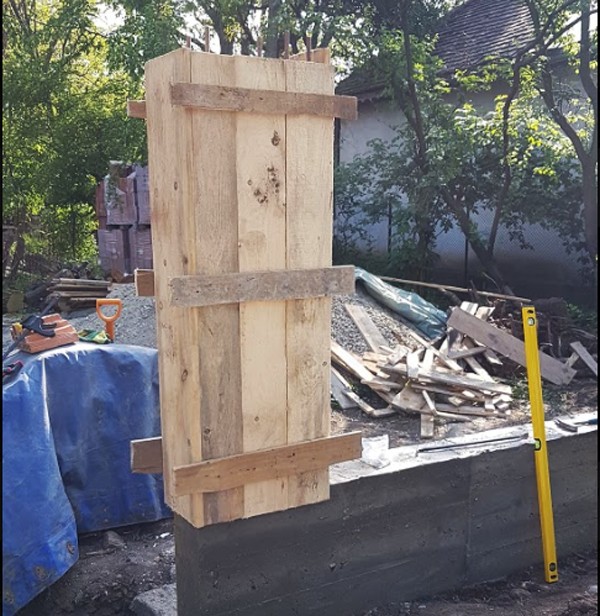
We made the forms for the pillars reusing the slats. Use a spirit level to plumb the forms, on all directions.
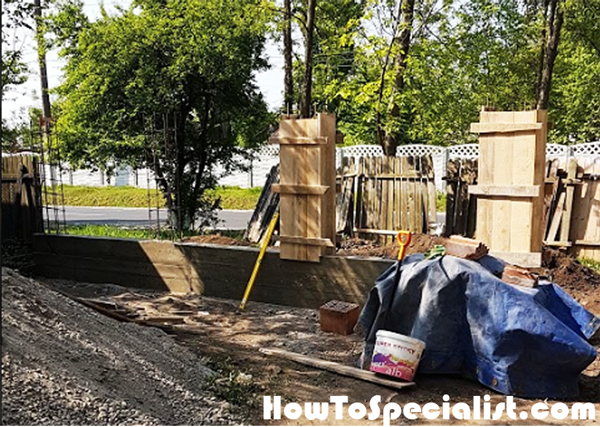
Repeat the process for the other pillars. Make sure you adjust the distance between the pillars to get equal spaced.
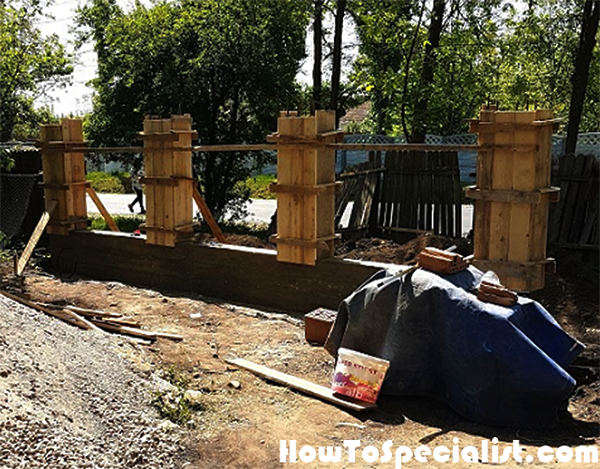
Add braces between the pillars to keep them locked together.
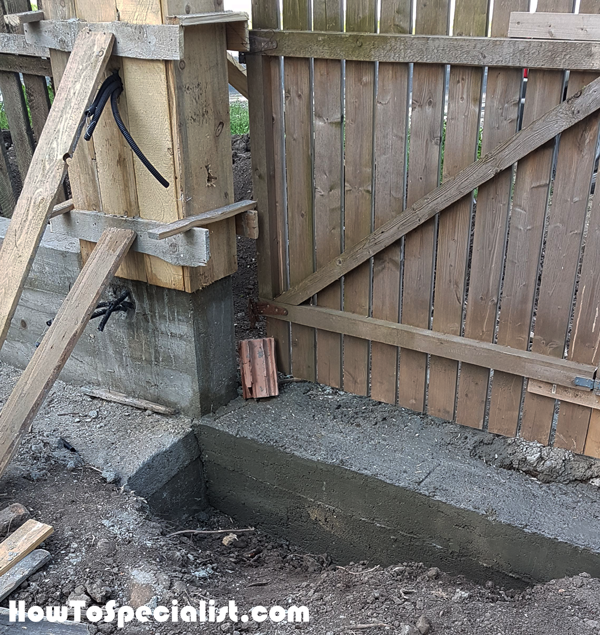
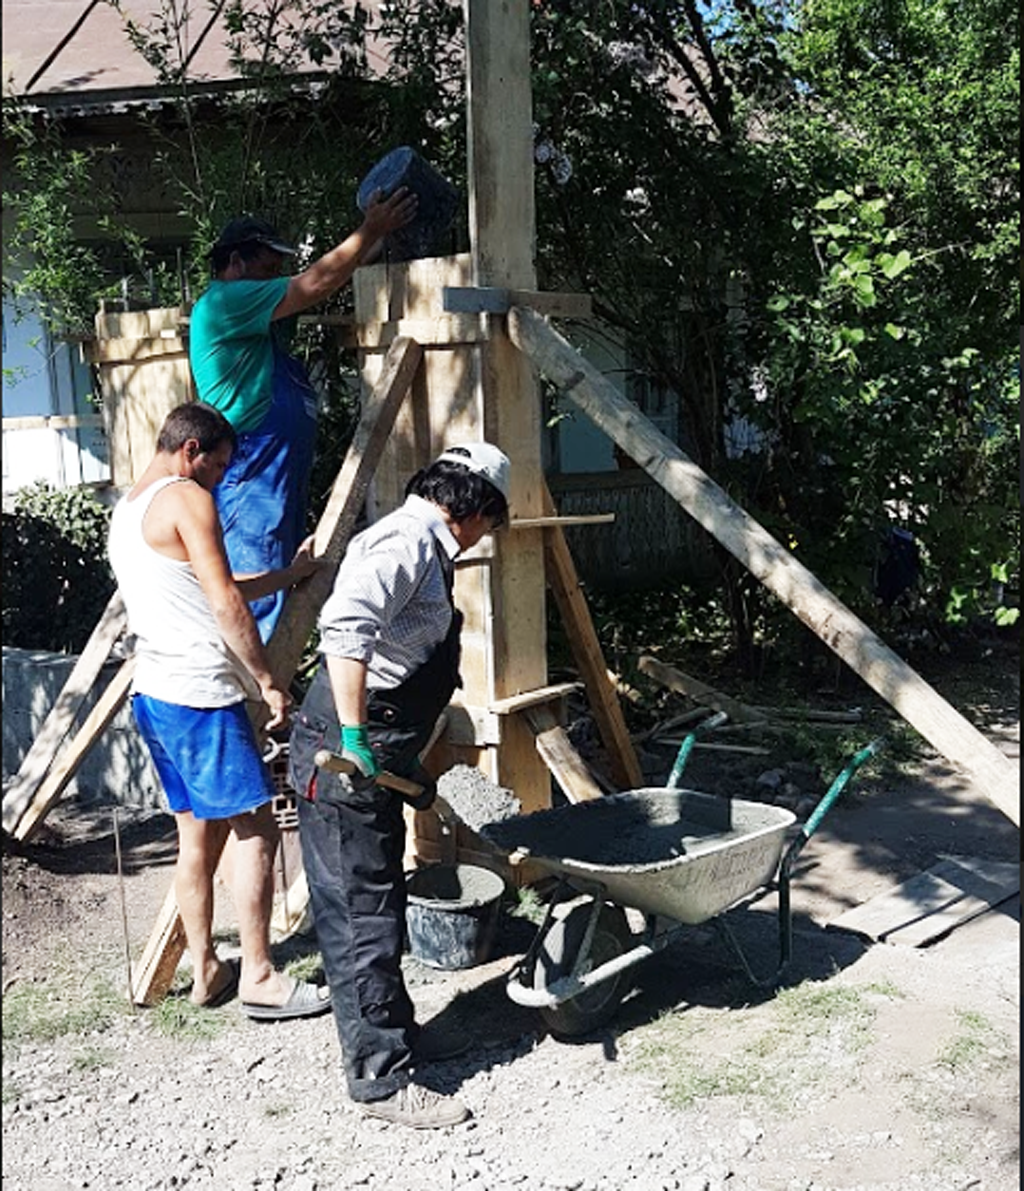
Add diagonal supports to the posts before filling them with concrete.
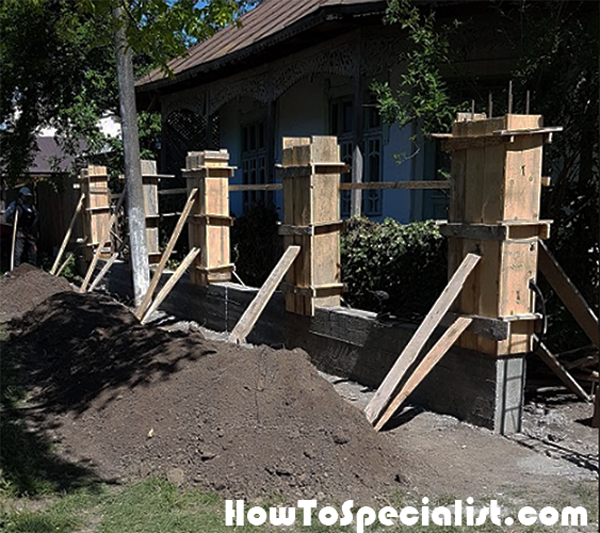
Adding the supports to the pillars is important, as the pressure exerted by the concrete will tend to move them.
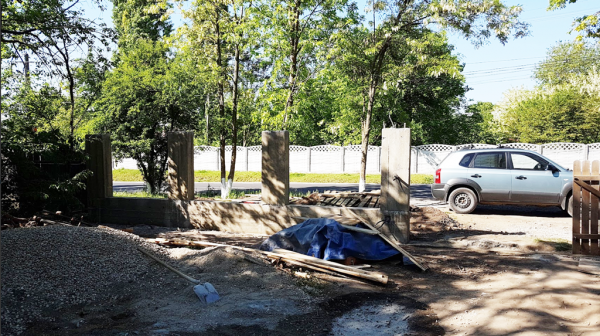
Remove the formwork panels after a couple of days. Let the concrete to cure for one week.
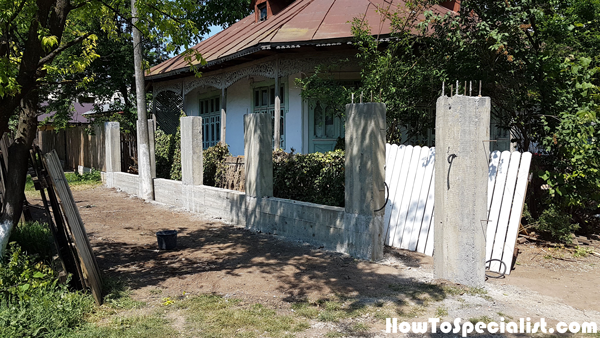
You can tell the concrete is dries out when it changes the color and becomes lighter.
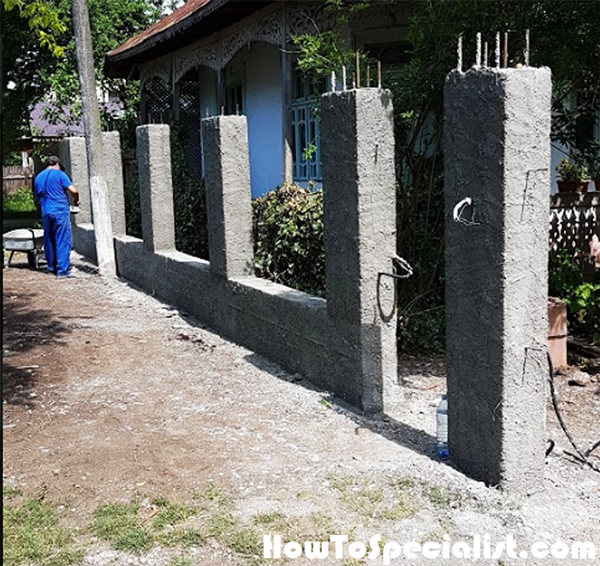
The next step is to cement render the concrete fence. Make sure you use string and batter boards to check if all pillars are properly aligned. If there are differences between the pillars, this is a great opportunity to fix that issue.
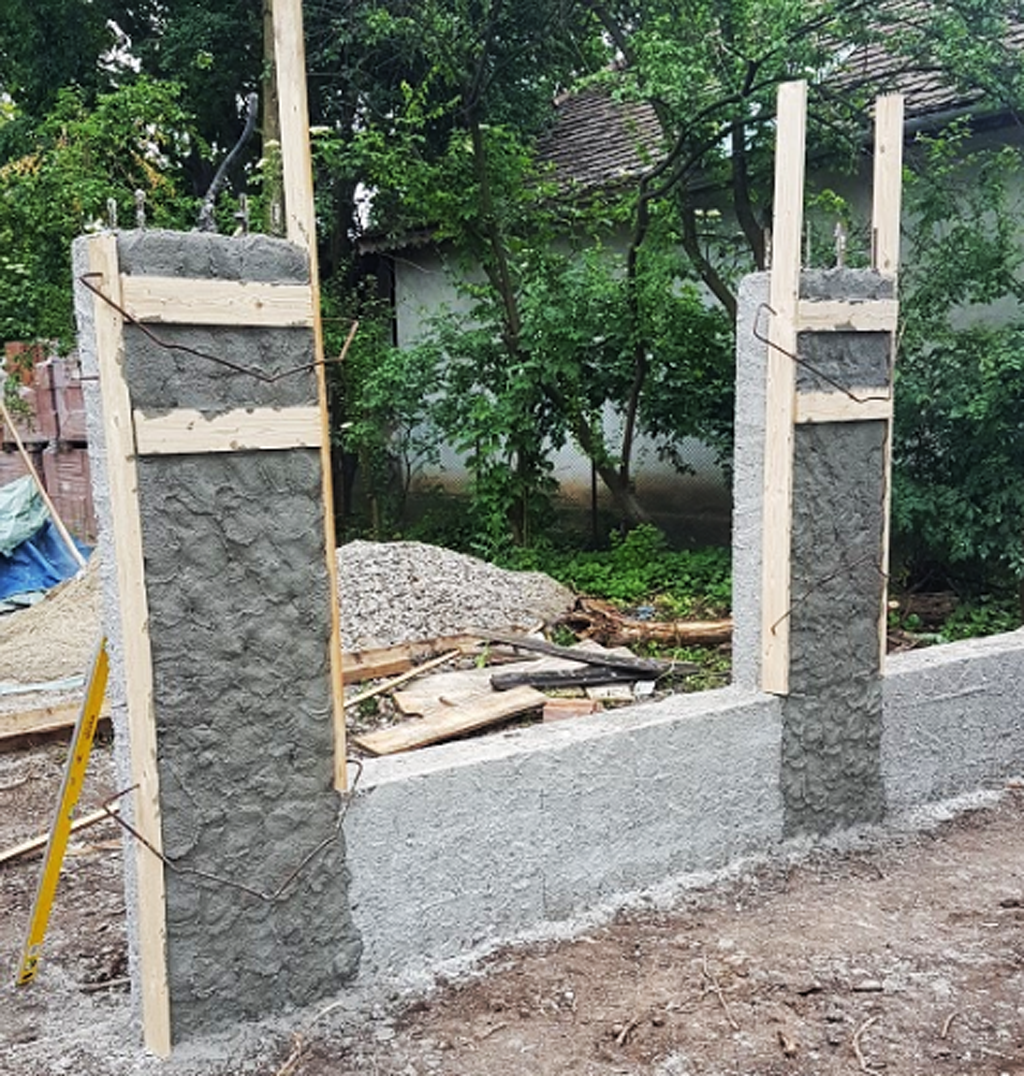
Use straight edges so you can cement render the fence properly. Fill the pillars with render and then use a shorter straight edge to level the surface and remove the excess. Mix the excess again so you can reuse it and reduce the waste. Make sure all straight edges are perfectly aligned one with another.
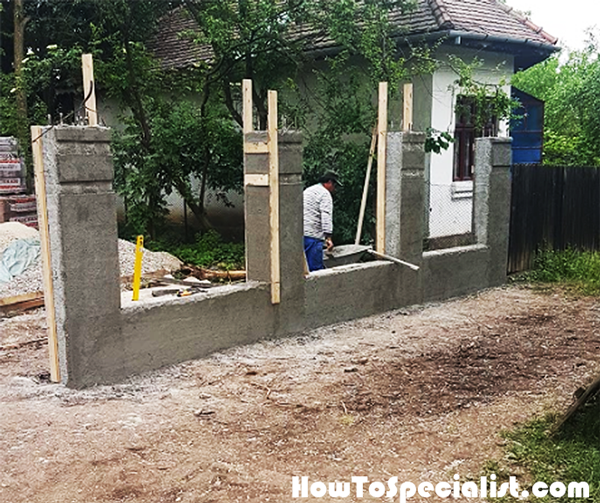
Repeat the process for the other side of the fence. Notice the decorative slots to the top of the pillars.
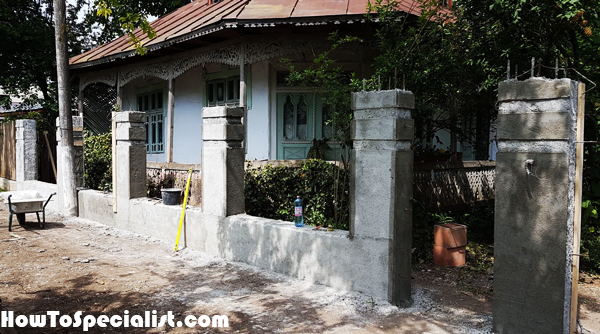
We cement rendered the other section of the concrete fence.
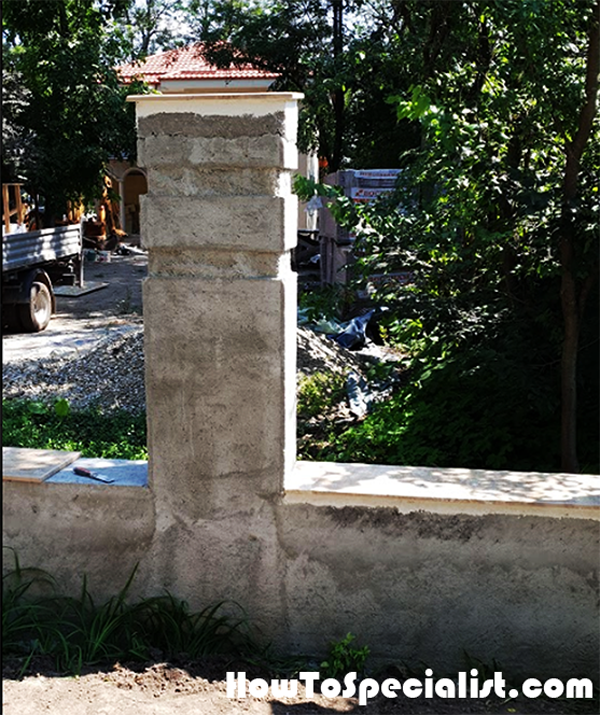
After a few days, we attached the travertine cappings to the concrete fence. The cappings will not only enhance the look of the fence, but they will also protect the pillars and the elevation from the elements and water infiltration.
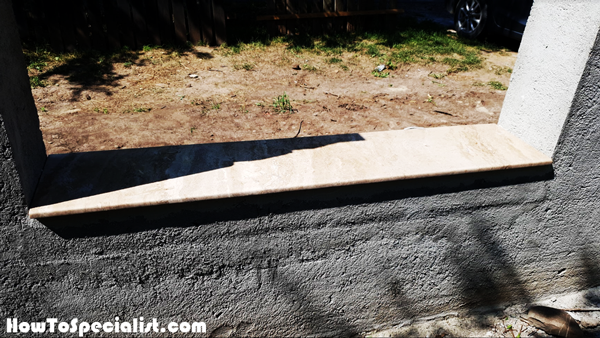
Use a dedicated mortar to fix the travertine to the fence elevation. As you can see the capping overhangs on the front and back of the elevation. In this manner, the water won’t drip directly on the fence, protecting it efficiently.
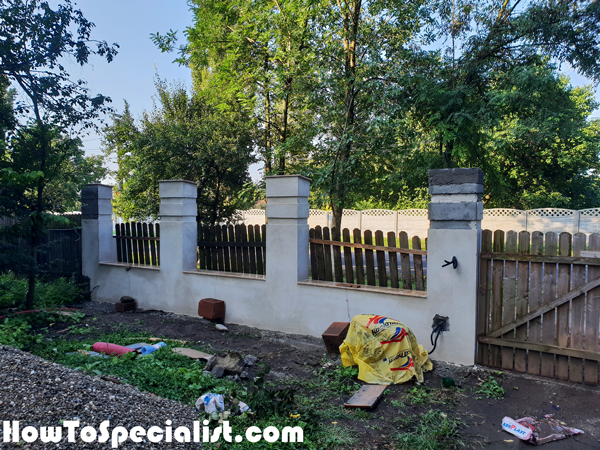
The next step of the project is to apply the fine plaster to the concrete fence. We used white plaster, because we will apply a light color paint to the fence.
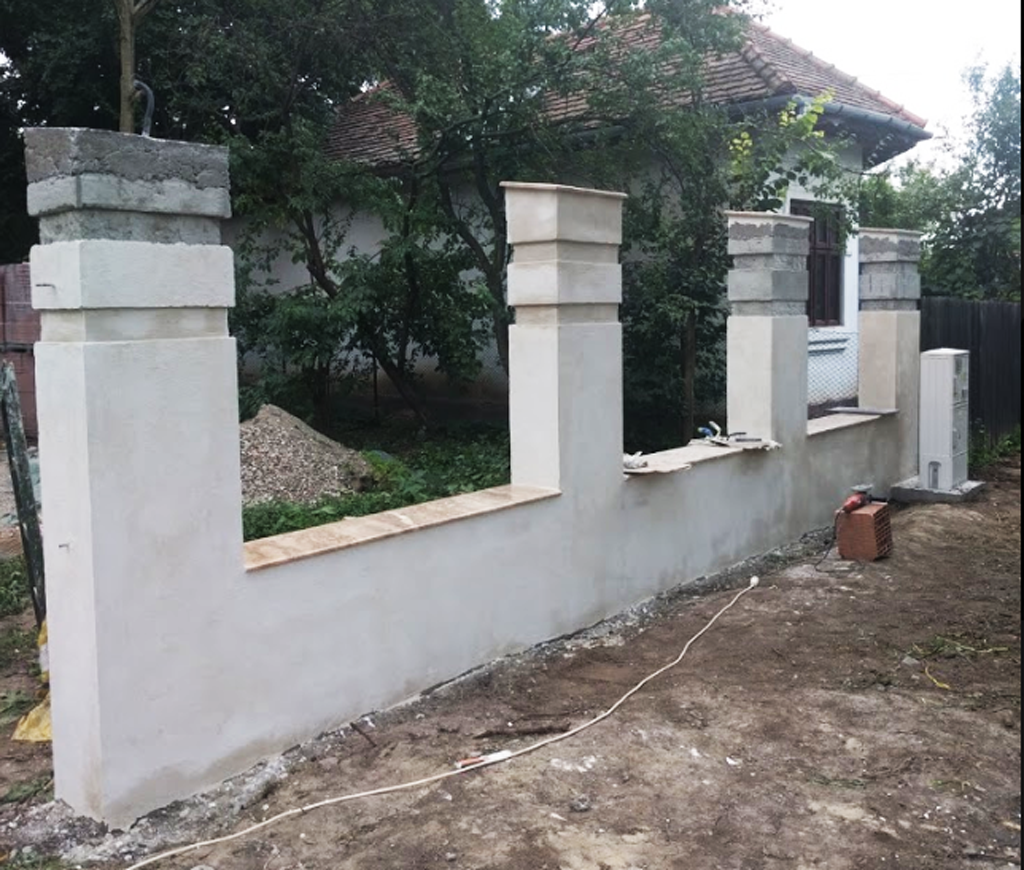
Apply the plaster making sure you even out the surface.
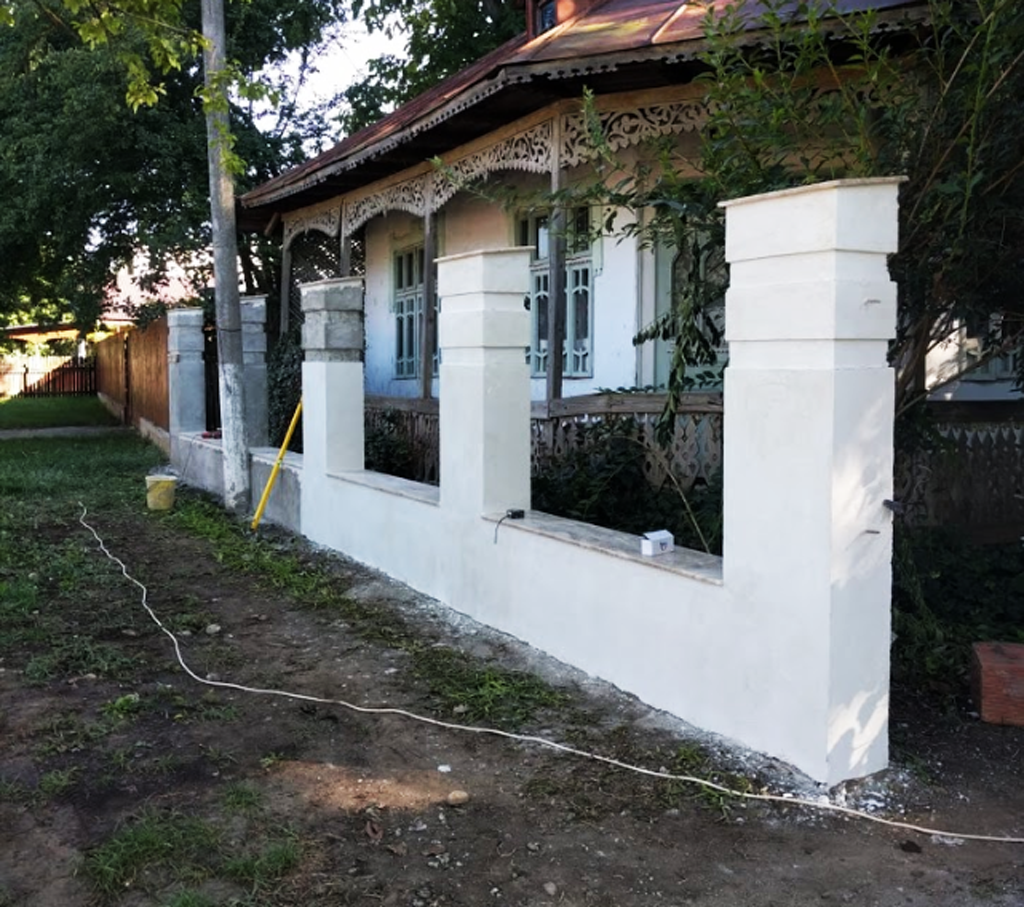
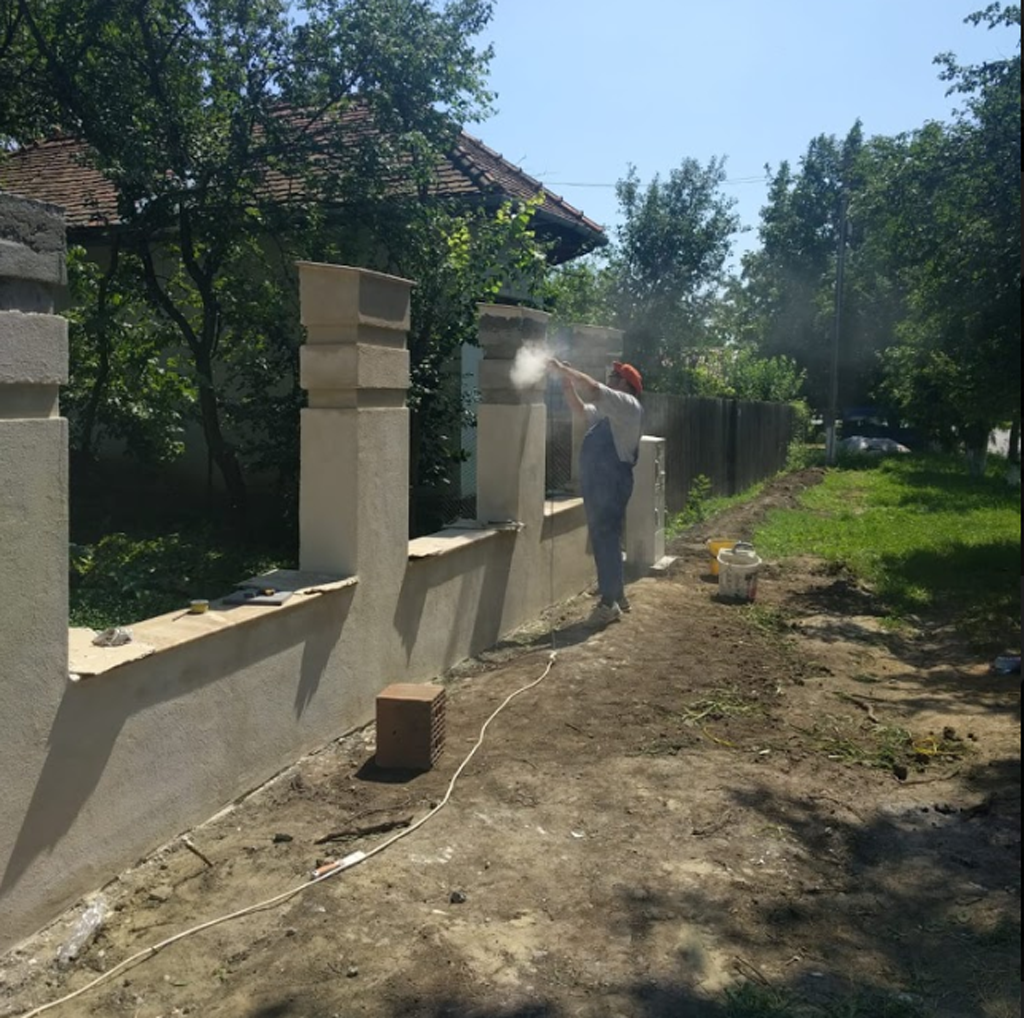
Some slots were not aligned so we used a grinder and a diamond blade to even them out. Make sure you wear safety glasses and a respiratory mask, because there will be lots of debris and dust. It’s useful to have a laser level so you can align everything accurately.
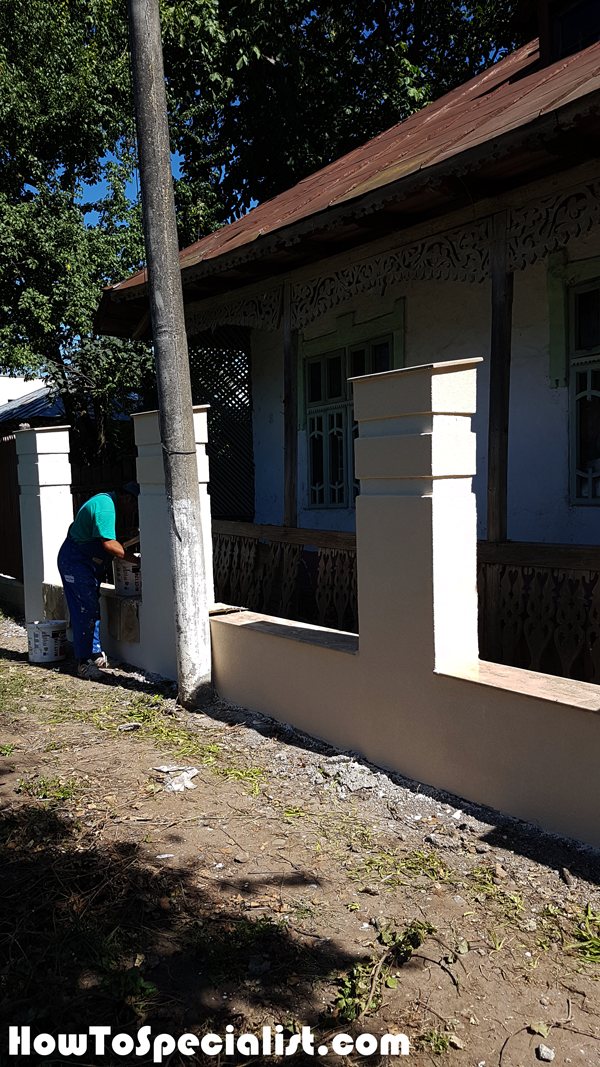
Next, we applied the decorative paint. We used a light yellow for the fence and white for the slots. We chose these colors to match the color scheme of the house and the travertine.
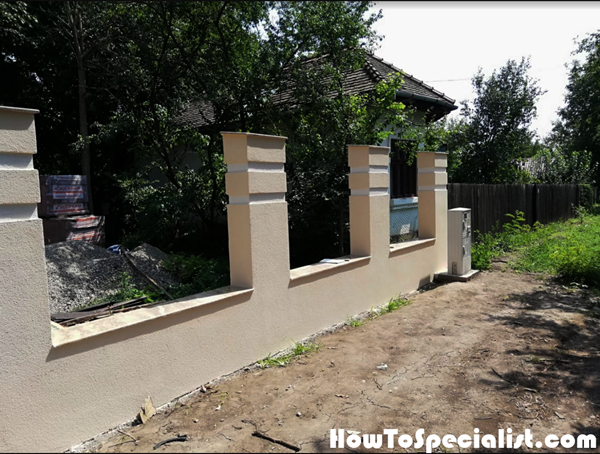
Make you are consistent when applying the textured paint.
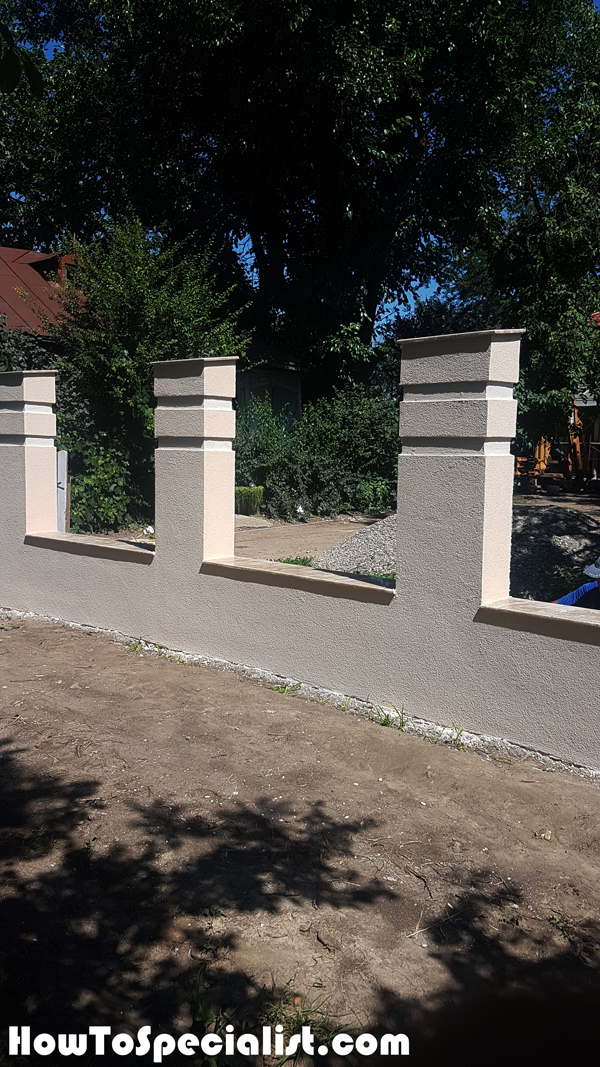
Starting to look like a fence… :)
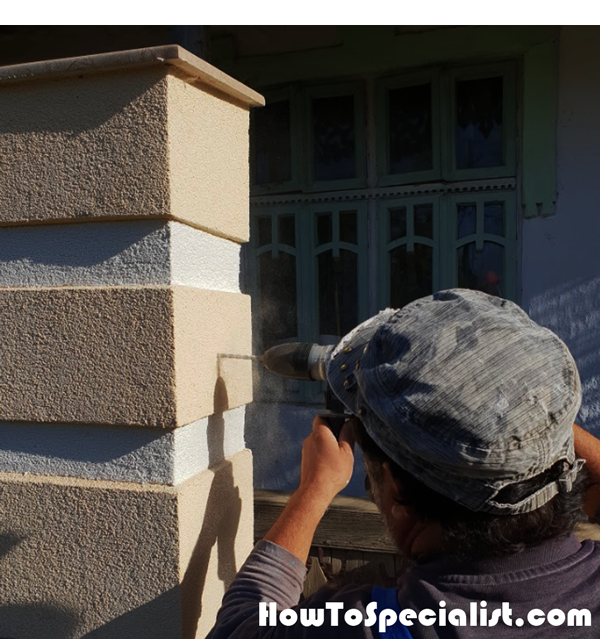
We used our hammer drill to make holes in the concrete pillars, so we can attach the wooden supports into place. The supports will hold the horizontal slats for the wooden panels.
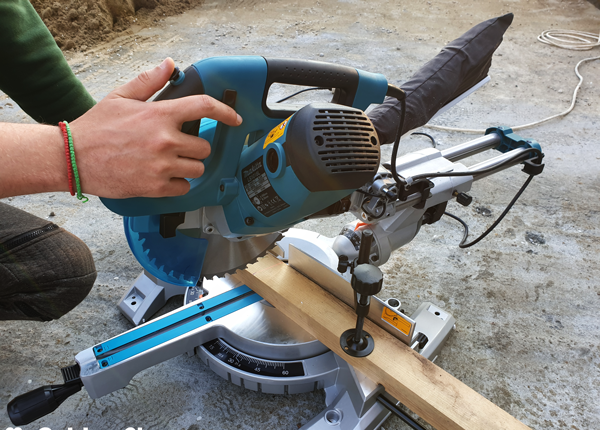
We used the miter saw to make the cuts for the supports that will hold the wooden panels.
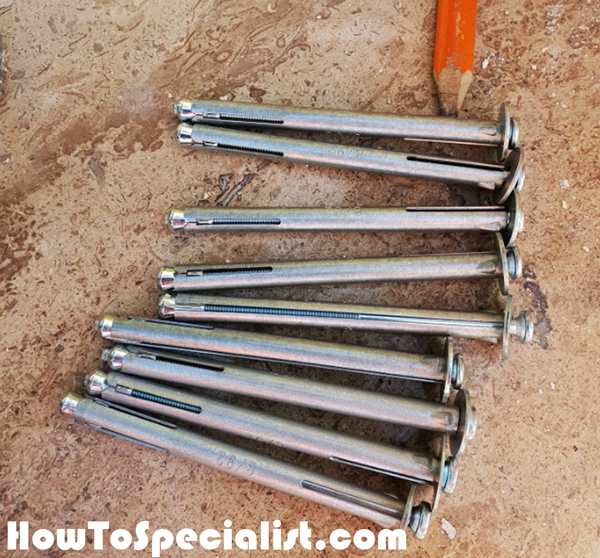
These are 4″ sleeve anchors that will hold the supports to the concrete pillars.
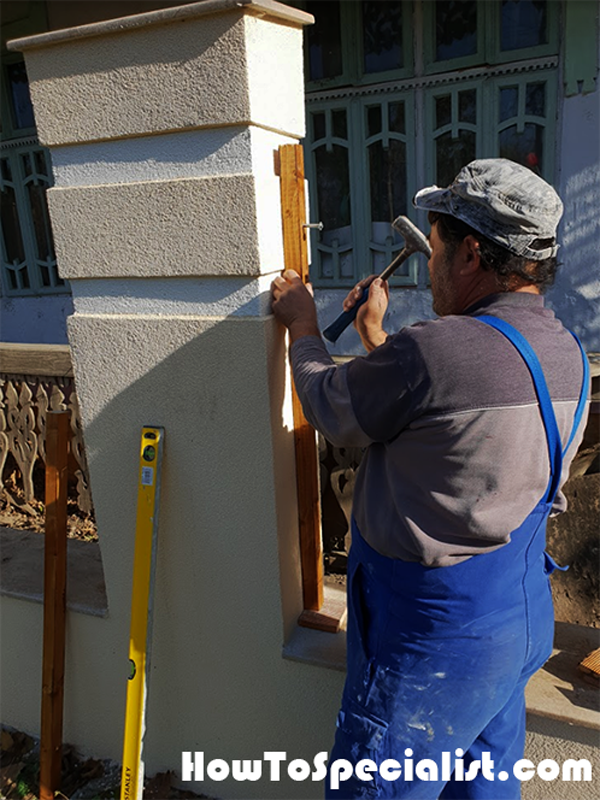
Use a hammer to slide the anchors through the support into the pilot hole. Then use a screwdriver to tighten the screw.
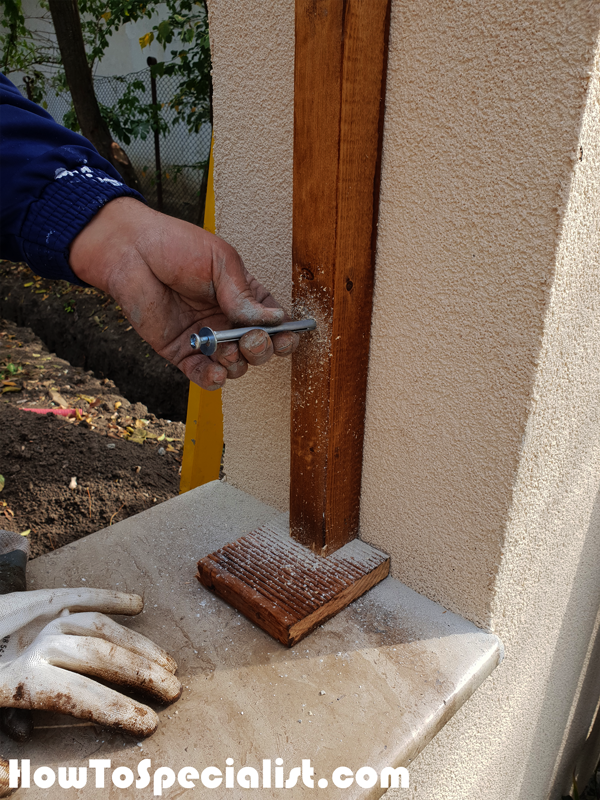
We repeated the process for the other supports.
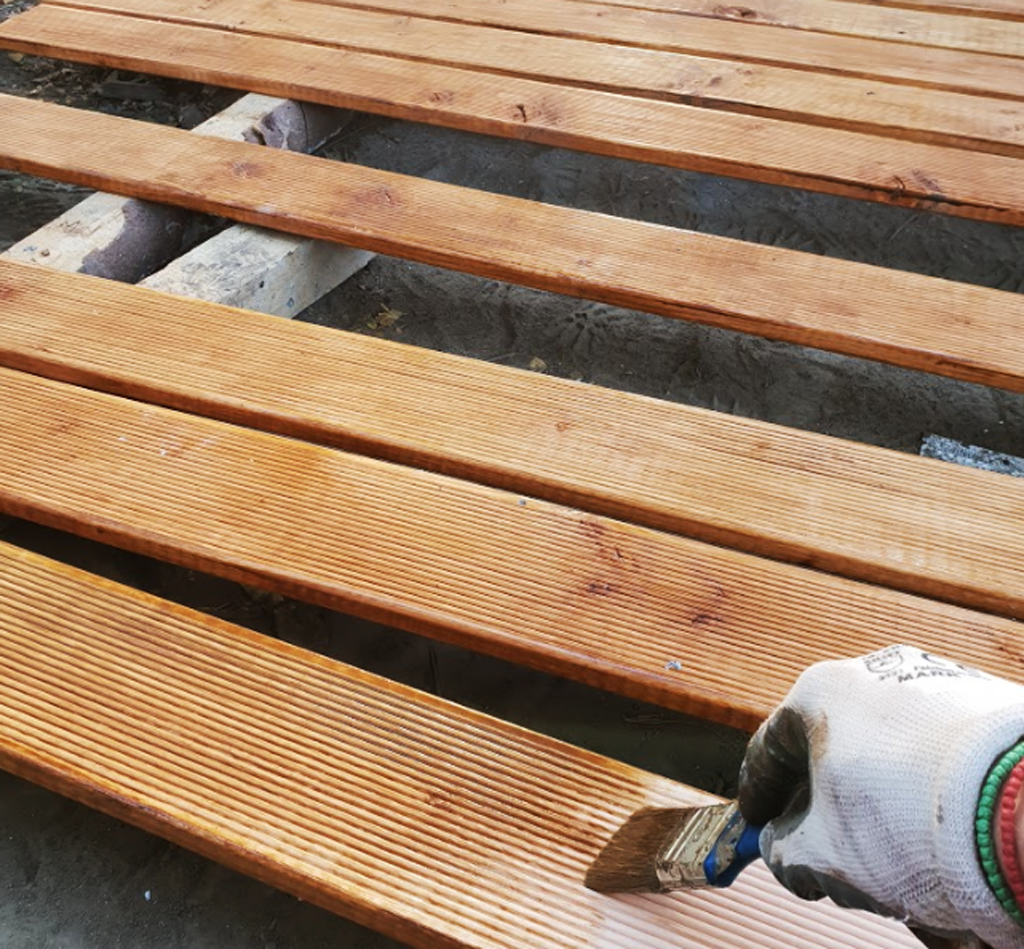
We used decking boards for the fence panels. We applied a few protective coats of 3 in 1 stain. It took a few days to complete all boards.
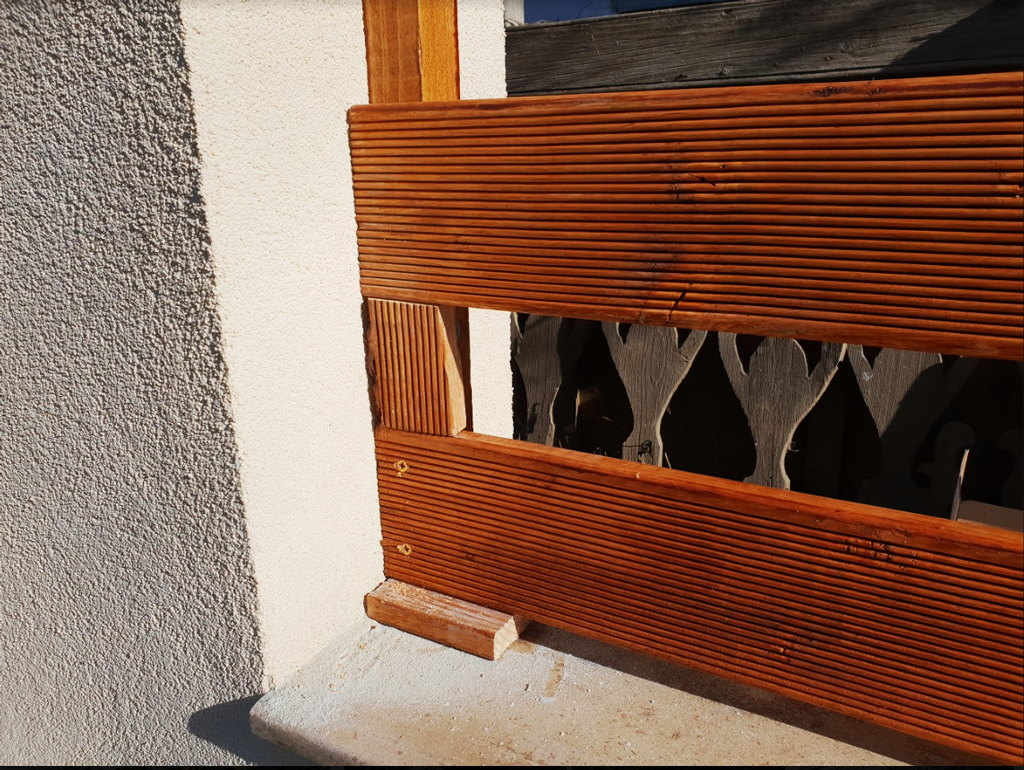
We used spacers between the slats to create even gaps. We drilled pilot holes through the slats and then inserted screws to secure them into place tightly. It is handy to have one drill and one screwdriver when attaching the slats, so you don’t have to take the drill bit off and then attach the screwdriver bit. That would be waste of time.
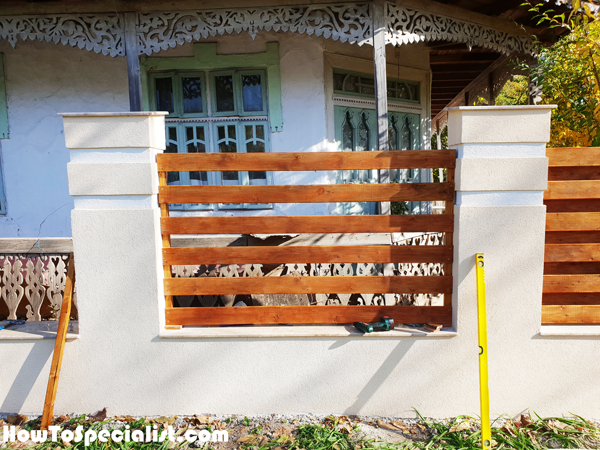
Attach the boards to the front of the fence panels.
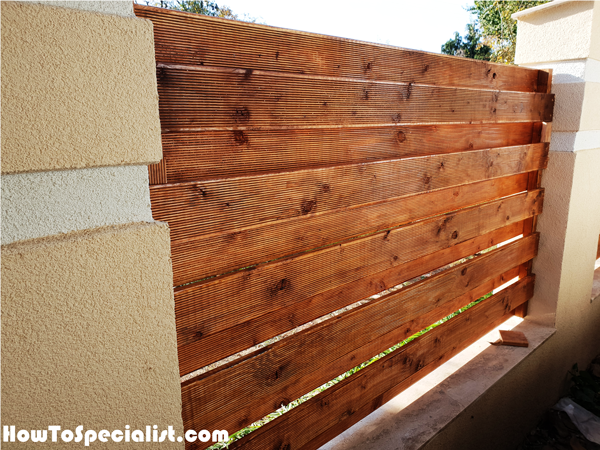
Then attach the boards to the interior of the fence panels.
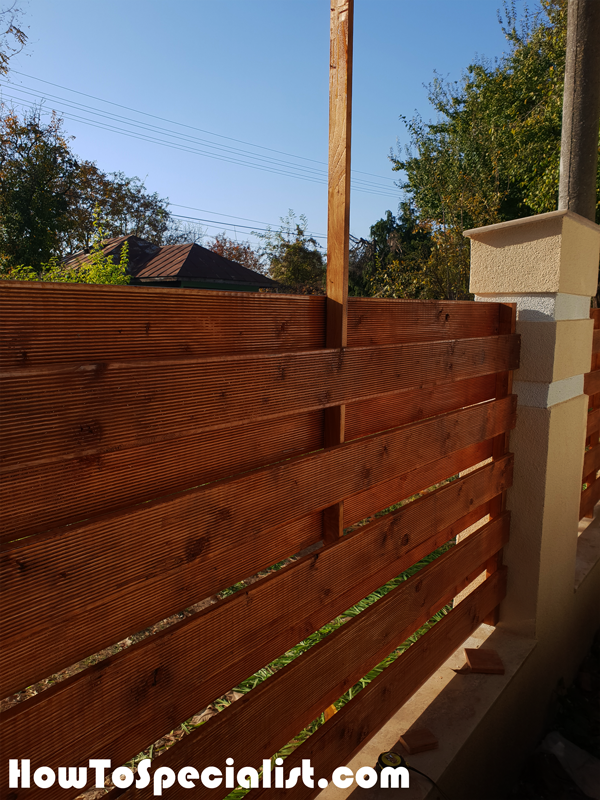
Insert a small board between the front and back slats, making sure it is centered. Insert screws to lock the support into place tightly, This small slat will reinforce the rigidity of the panel and keep the boards straight, on the long run.
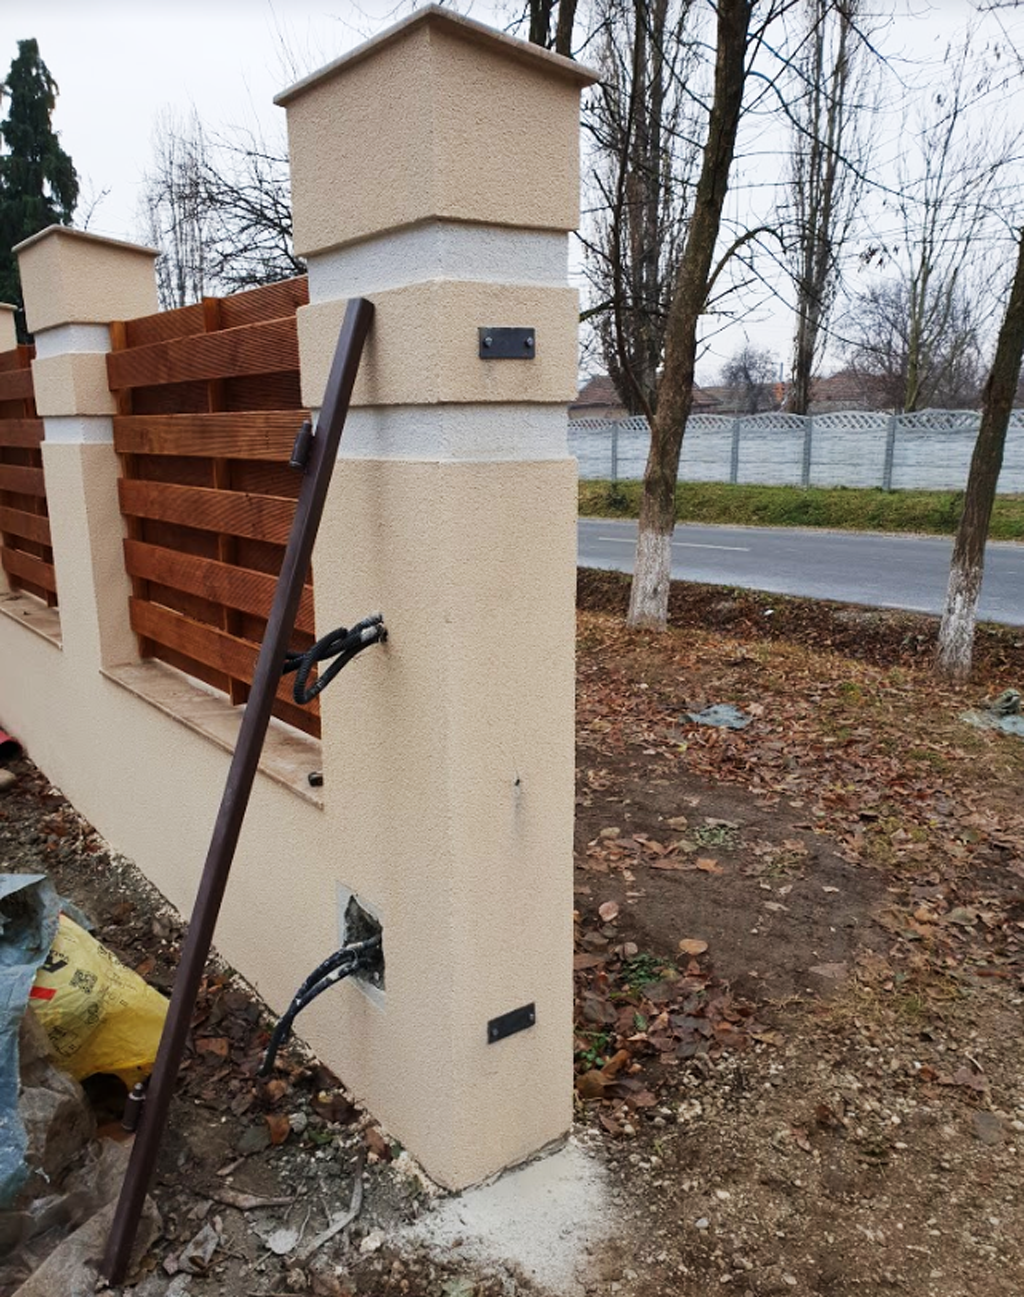
Fit the metal hinges to the fence. We used heavy duty hinges because we’re gonna install metal gates, which are extremely heavy. For reference 4 big guys were needed to move the doors in and out of the truck.
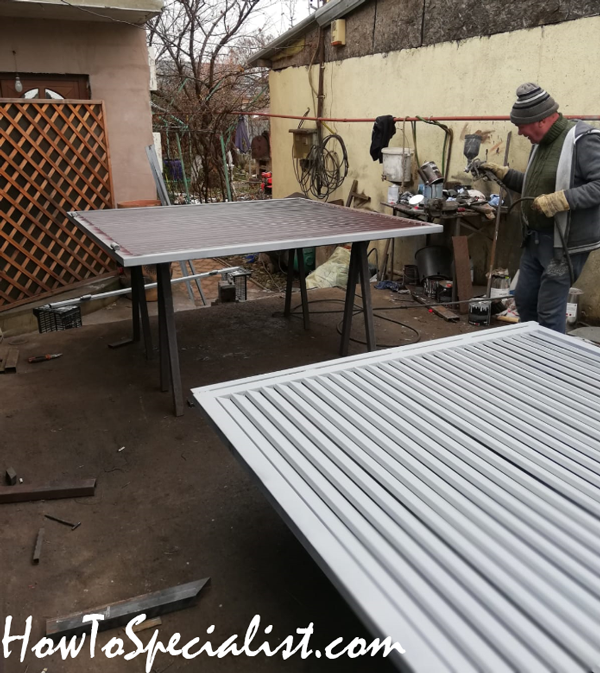
Metal-gates
The manufacturing process of the gates. This is a small shop near us which gave us the best offer for the gates. I am very pleased with the result.
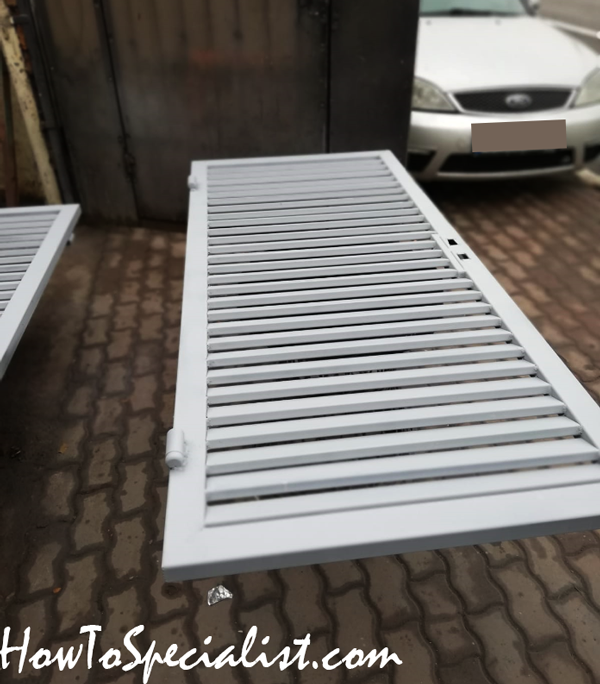
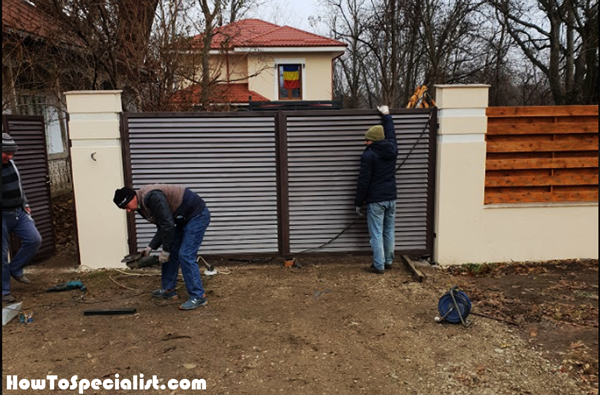
Afterwards, we attached the metal gates.
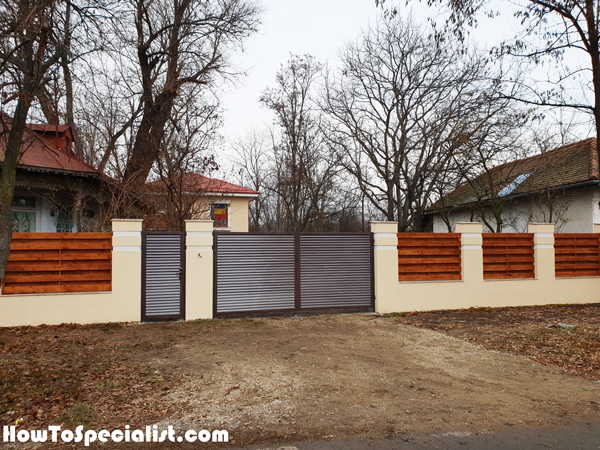
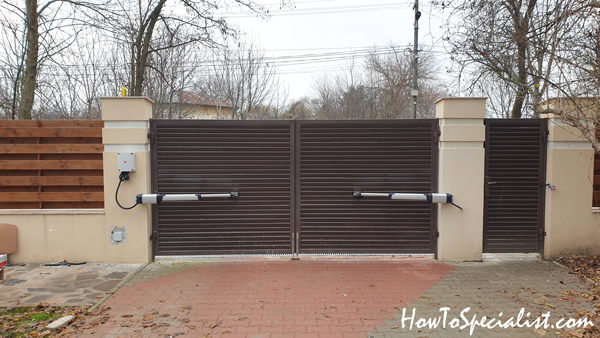
Automated-metal-gates
We also installed automation for the gates.

Remote-for-gates-and-garage-door
This remote has two buttons: one is for the door and the other one is for the garage door. Sweet… although the cost for the motors and installation was about 1k.
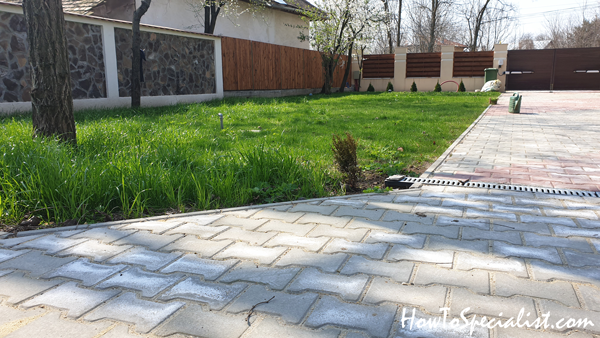
Fence-seen-from-interior
This was a complex project that required all my attention and turned out to be more expensive than I initially budgeted. The fence (including the gated) is aprox. 72 ft long and it costed more than $7000 to make. We saved money by making and installing the wooden panels by ourselves. We also had the equipment used in this project, so we had 0 renting costs. Make sure you check out the rest of the Episodes of the Fence Series to see how we built the rest of the fences on the countryside property.
Thank you for taking a look over my article on how to build a concrete fence with wooden panels. Make sure you share this project with your friends if you like it and please take a look over the rest of my projects, because I have tons of plans and ideas to choose from. See all my projects HERE.

1 comment
Can we buy the unstamped plans for the concrete fence with wooden panels?