This step by step diy woodworking project is about how to frame a metal stud beam. This project is part of my house construction and I was so pleased with the result that I had to share it with you guys. Using metal studs you can build decorative or structural beam, arches and other shapes. In this short tutorial I show you how we built this awesome beam so we can lower the ceiling for installing some sliding doors for the dressing room.
Make sure you take a look over the rest of my drywall projects, so you can see simple techniques to help you cut and install drywall, as well as interesting ideas to freshen up your home. All my drywall projects can be seen HERE. If you worked with metal studs, I would be more than glad to read your feedback! More drywall projects to come!
Made from this plan
How to Frame a Metal Stud Beam
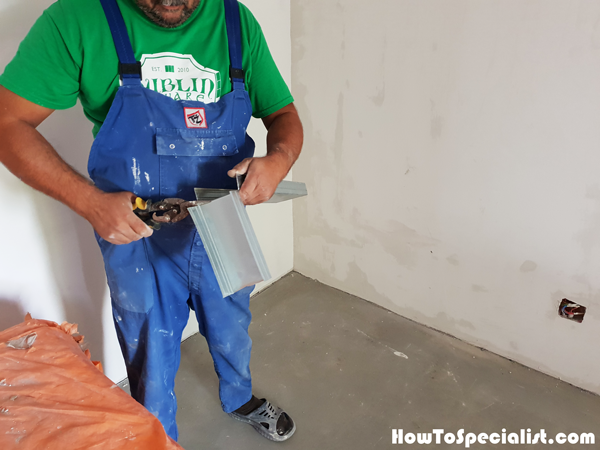
The first step of the project is to cut the metal studs at the right dimensions. Use tin snips and a ruler, so you can make accurate cuts.
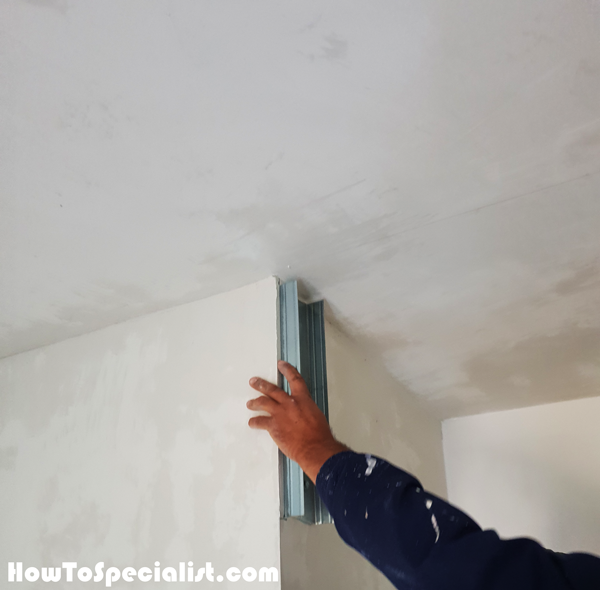
Attach the track to the wall and then secure it into place with the appropriate screws (take into account the nature of the supporting wall, either wood frame or concrete).
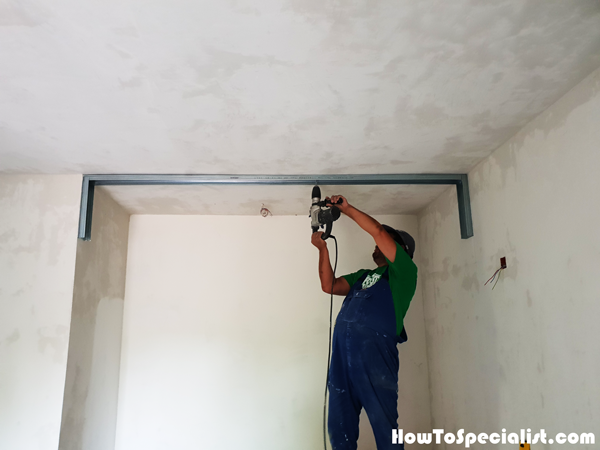
Next, attach the track to the opposite side of the opening. Install the track the the ceiling, making sure it is aligned inside the side wall tracks. Use screws to secure the track to the ceiling. In addition, secure the track to the side wall tracks.
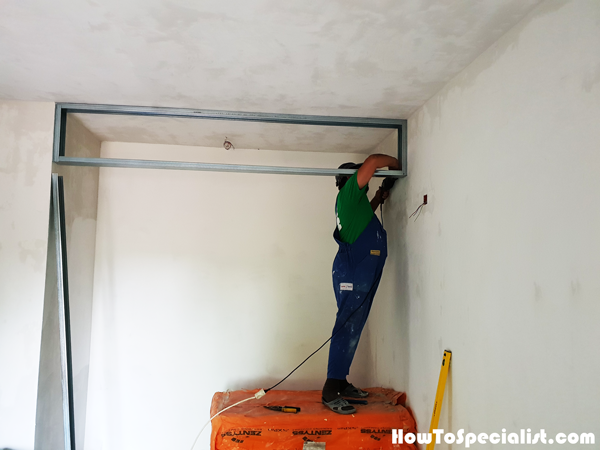
Fit the track to the bottom of the wall partition. Use a spirit level to make sure the track is perfectly horizontal. Use screws to secure the track to the side metal studs.
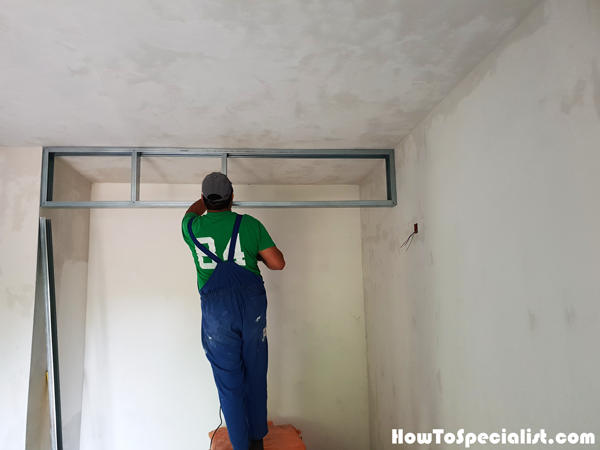
In order to enhance the rigidity of the beam, you have to attach intermediary studs, every 24″ on center. Use screws to secure the studs to the tracks.
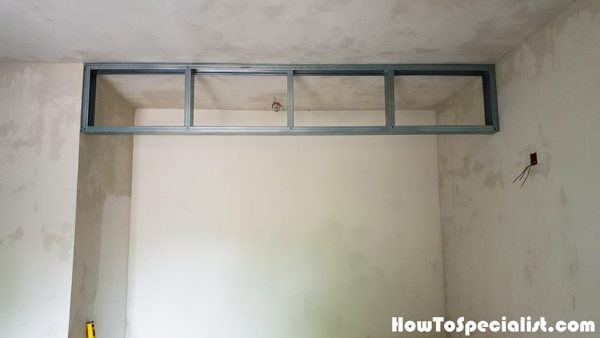
This is the beam after all the metal studs have been installed. Trust me, it is extremely sturdy.

The next step is to attach the drywall to the beam. Take accurate measurements and then cut the drywall sheets at the right dimensions. Align the edges with attention and then secure them to the framing with screws.

Fit the rest of the drywall sheets to the front and back of the beam.

Attach the drywall under the beam, as shown in the image.
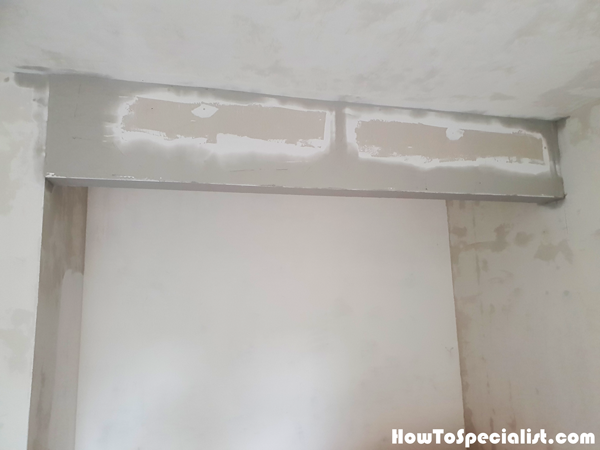
Attach tape over the joints and then fit corner beads over the exposed edges. Apply a few coats of drywall mud until the surface gets perfectly even and cover all the beads and tapes.
Thank you for reading our project about how to frame a metal stud beam and I recommend you to check out the rest of the projects. Don’t forget to LIKE and SHARE our projects with your friends, by using the social media widgets. SUBSCRIBE to be the first that gets our latest projects.
