This step by step diy project is about how to build a wooden bench. If you want to learn more about building a simple wooden bench, pay attention to the instructions shown in this tutorial. This project is ideal for any backyard, as it creates a cozy area for relaxation during the summer days. I teamed up with Julian for this project, so you can see the full plans along with a cut list here.
You should always plan everything from the very beginning, in order to prevent costly mistakes and to save time. If this is your first project, you need a friend to give you a hand when assembling the wood bench. Invest in high quality lumber and plywood, as the components will be exposed to bad weather. Protect the components with appropriate paint or stain.
There are a few tips that you should take into account, if you want to get a professional result. Therefore, take accurate measurements and use professional tools when making the cuts or when drilling pilot holes. Align the components at both ends and add waterproof glue to the joints, if you want to create a rigid structure. See all my Premium Plans in the Shop.
Made from this plan
It’s that easy to build a 2×4 bench!
How to build a wooden bench

Building a 2×4 farmhouse bench
For full plans and a cut list visit Julian’s blog. His 2×4 bench plans are really straight forward and really detailed so I recommend you to take a look if you want to build this bench.
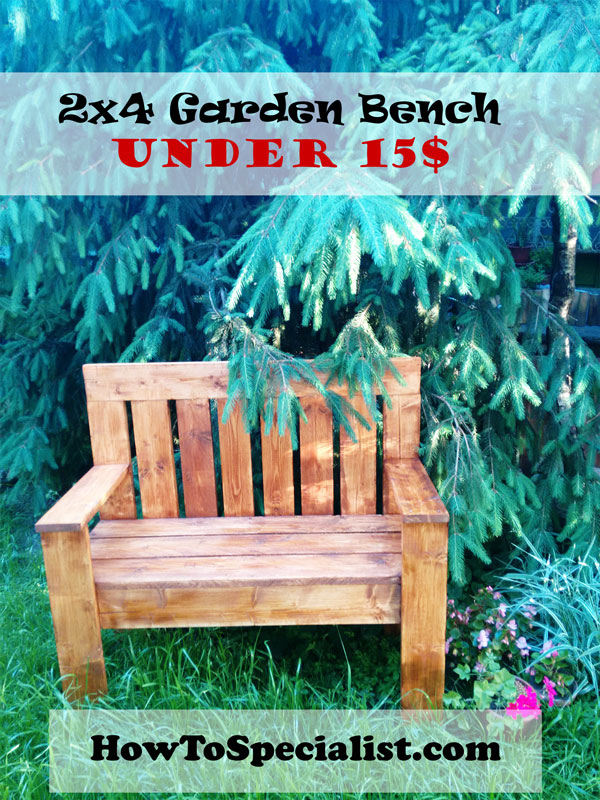
Garden-Bench-Plans
What do you say? Is this bench worth the 15$ for the lumber? If the answer is YES, than I kindly invite you to check out the following step by step tutorial. Go ahead and build this simple bench! It is sturdy, it looks nice and you can get any cheaper than that!
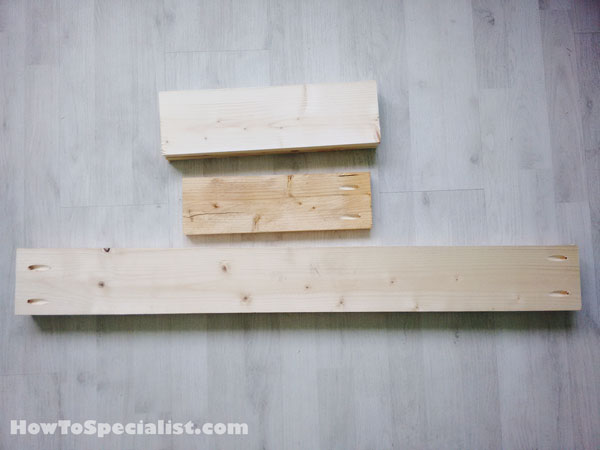
Seat frame components
The first step of the project is to cut the components at the right dimensions. You can see in the image the components for the seat frame. I used my pocket jig to drill the pocket holes needed for the assembly.
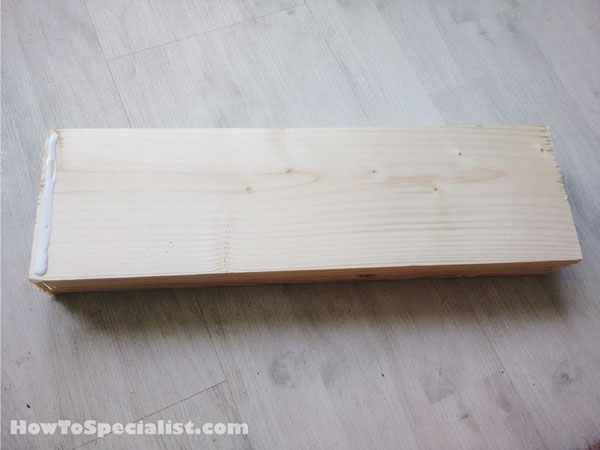
Adding-glue-to-the-joints
Add glue to the joints before locking them together with screws, to prevent the wood from splitting.
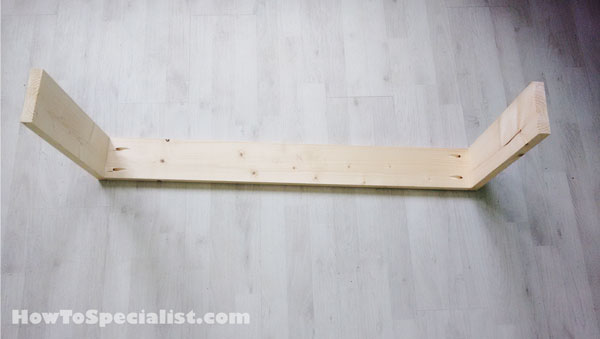
Assembling the seat frame
Attach the components of the seat frame together and insert 2 1/2″ screws to secure the joints. Make sure the corners are square before inserting the screws, to get a professional result.
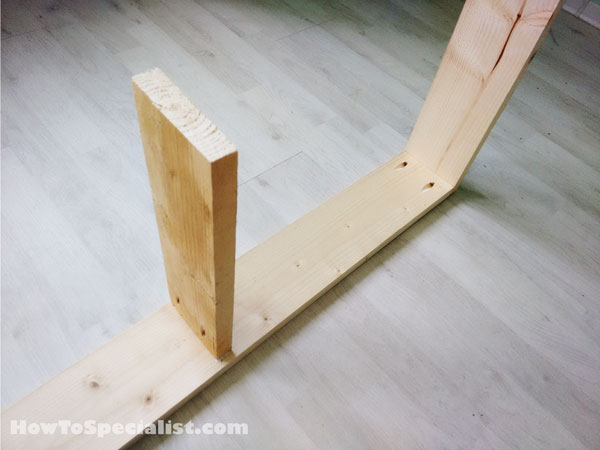
Fitting the middle support
Fit the middle support to the frame. I drilled pocket holes and inserted 2 1/2″ screws.
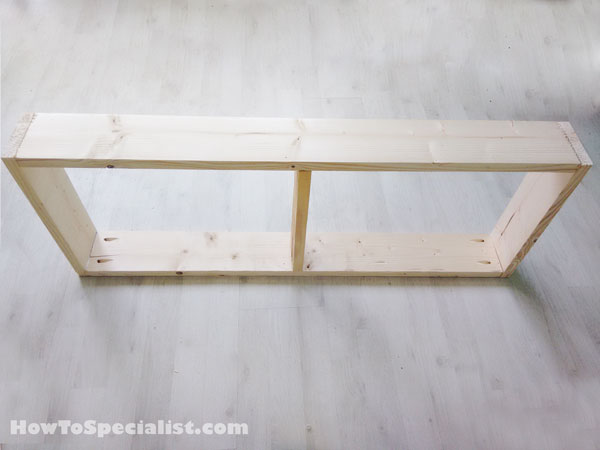
2×4 bench seat
Attach the rest of the seat frame, making sure the corners are square. Add glue to the joints and remove the excess before it dries out.
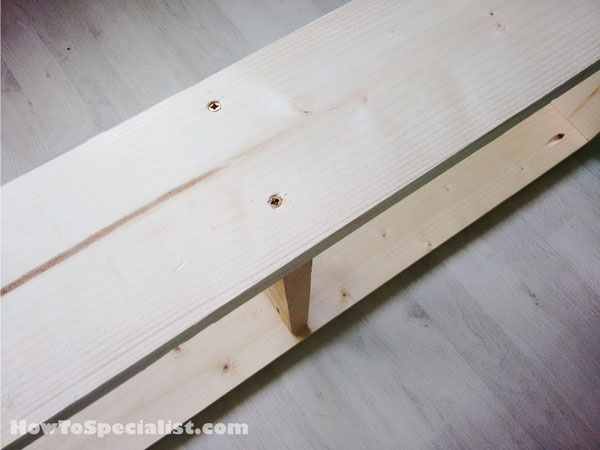
Securing the middle support
The frame was too tight to secure the other end of the middle end to the frame using pocket screws, so I drill pilot holes and inserted 2 1/2″ screws, as you can easily notice in the image. Make sure the corners are square and check if the edges are perfectly aligned.
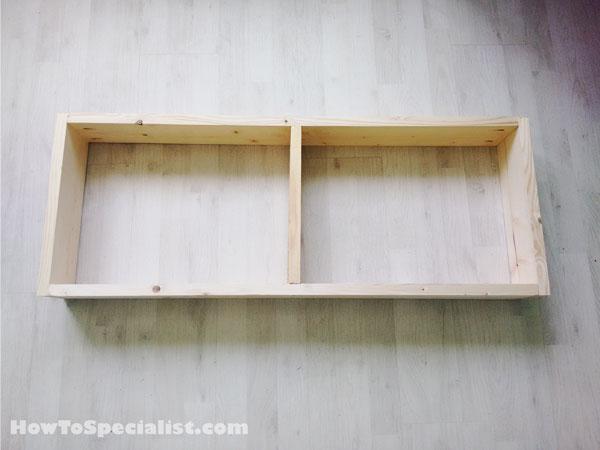
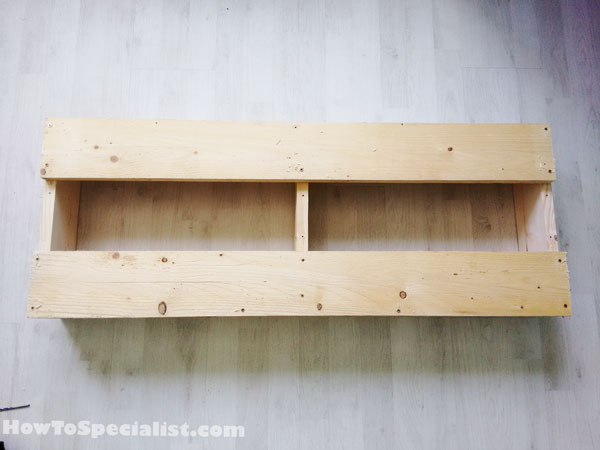
Seat frame
The seat frame is not assembled and it looks pretty square.
Fitting the seat slats
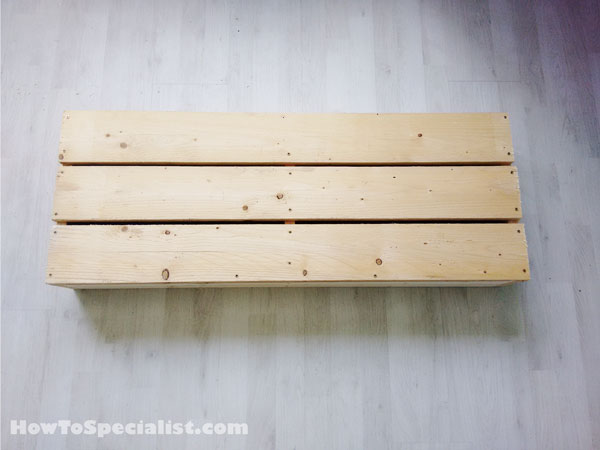
Next, I attached the slats to the seat frame. In the initial plans provided by Julian, all components are made out of 2×4 lumber. I had some scrap wood, so I used wider boards. All techniques are the same, but you can choose the most convenient materials for your needs. I drilled pilot holes at both ends of the slats and inserted 2 1/2″ screws to lock them to the frame. I also inserted a few screws into the middle support.
Bench seat slats
I centered the middle slat, making sure the gaps were equal and I inserted 2 1/2″ screws to lock it into place. I also made sure the edges were flush before driving the screws in.
Fitting the front legs
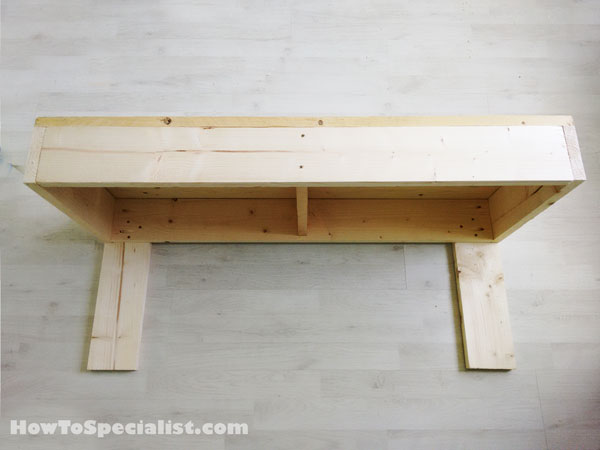
The next step is to attach the legs to the wooden bench. Lay the legs on a level surface and attach the seat frame, as shown in the diagram. Align everything with attention, making sure the corners are square. Drill pilot holes and insert 2 1/2″ screws to create rigid joints. Add glue to the joints for a better bond.
Attaching the back legs
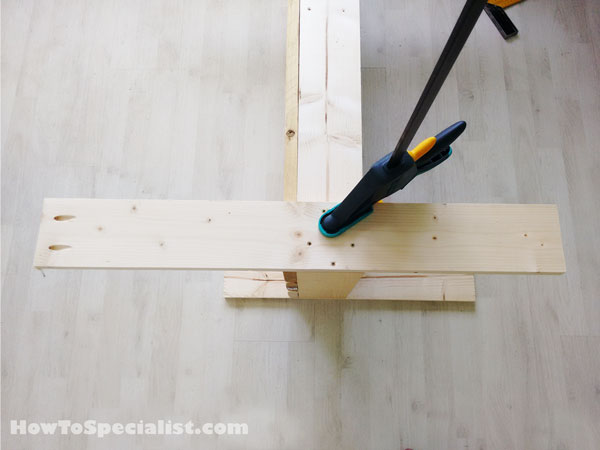
Continue the project by attaching the back legs. As you can easily notice in the image, I drilled pocket holes along the top edge of the back legs to secure the top support. Clamp the back legs to the seat frame after aligning everything with attention.
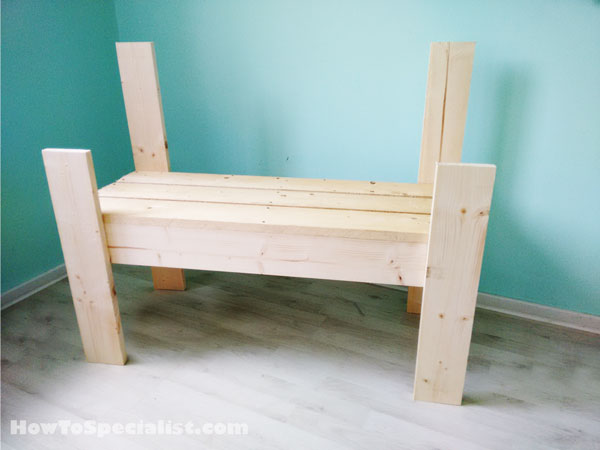
2×4 Farmhouse bench with legs
The simple wooden bench started to take a nice shape after attaching the legs to the seat frame.
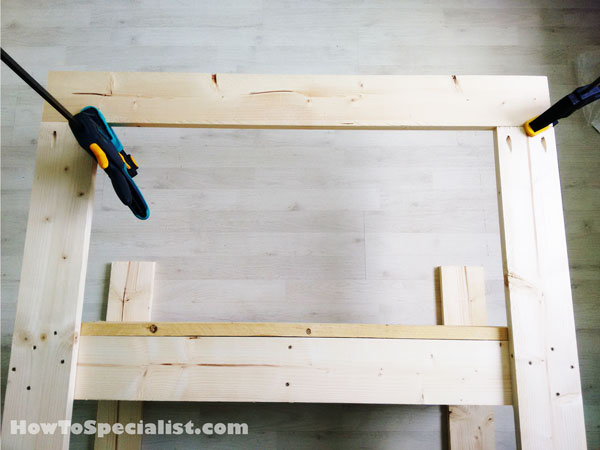
Attaching the top backrest slat
Next, I attached the top slat to the back legs, in order to frame the backrest. I clamped the components together after aligning everything together in a professional manner. The corners are square and there are no gaps between the components. I inserted 2 1/2″ screws to create rigid joints. Adding glue to the joints also helps on the long run.
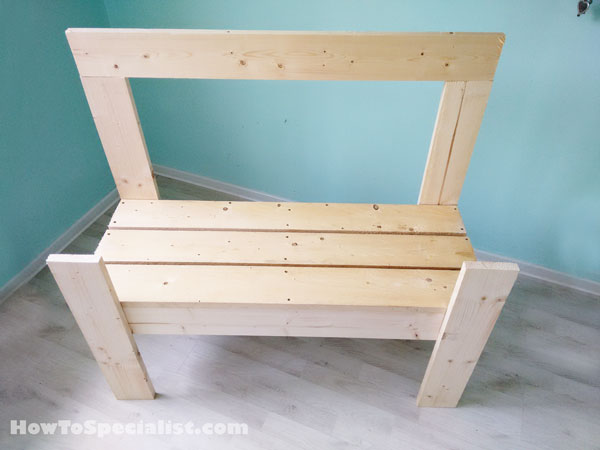
Building a simple garden bench
Now, all I have to do is attach the backrest slats and the armrests.
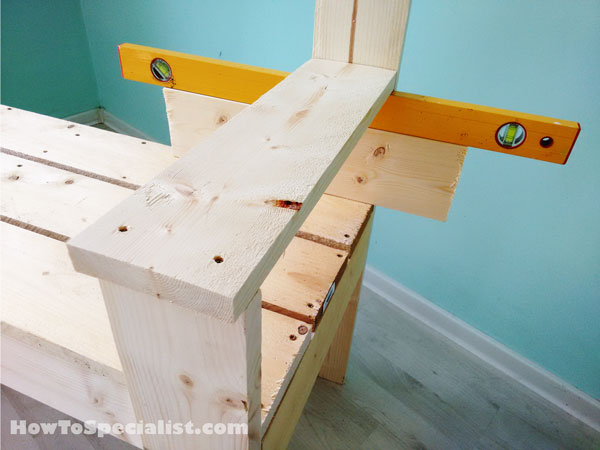
Attaching the armrests
I used 2 1/2″ screws to attach the armrests to the front leg. Drill pilot holes through the slat before inserting the screws, to prevent the wood from splitting. Make sure the corners are square and align everything with attention.
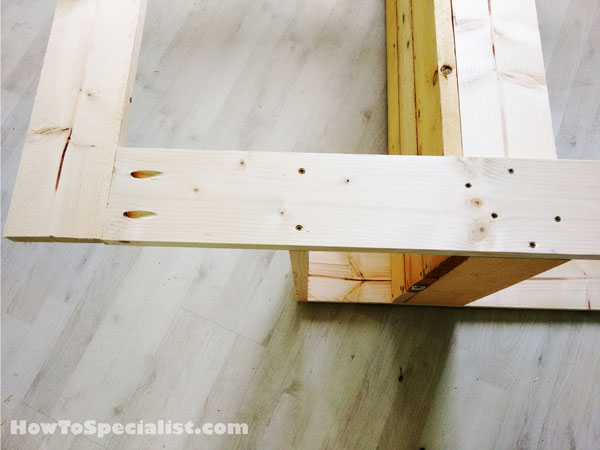
Attaching the armrest
Secure the other end of the armrests with 2 1/2″ screws. Make sure the corners are square before drilling the pilot holes and inserting the screws.
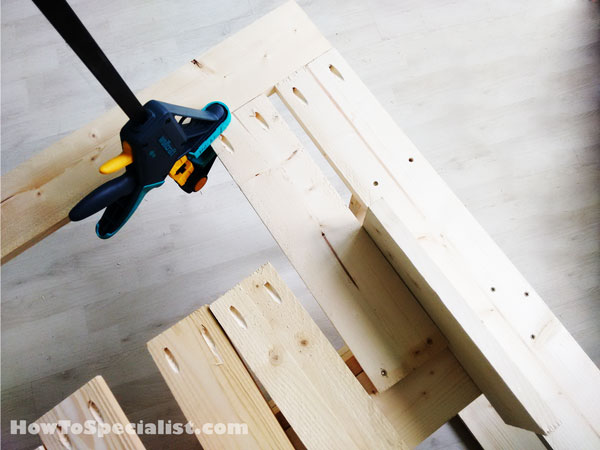
Fitting the backrest slats
Continue the project by attaching the backrest slats. Drill pocket holes at one end and clamp them tightly to the top slat. Place a wood block between the slats to create even gaps. Insert 2 1/2″ screws though the pocket holes into the top slat. At the opposite end, drill pilot holes and insert 2 1/2″ screws into the seat frame. Add glue to the joints and remove the excess with a damp cloth.
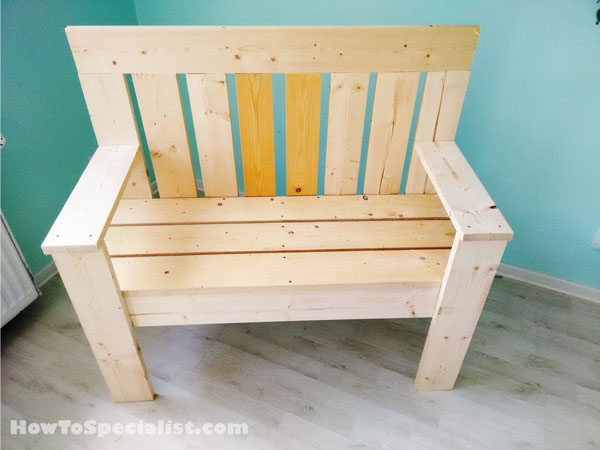
How to build a wooden garden bench
I really enjoy my new wooden bench and it looks beyond my expectations. It is amazing what a few slats and screws can make and it also took me a few hours to assemble everything.
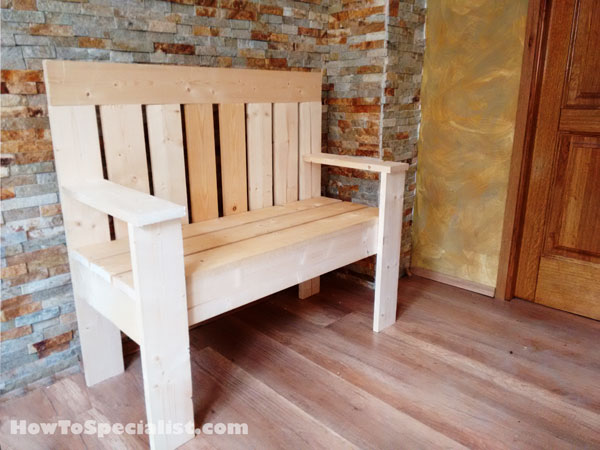
Wooden garden bench
You can use the bench in your entryway, if you like the rustic farmhouse appearance.

2×4 Wooden Bench
Or you can use the bench in your yard, after protecting the components with appropriate products. I applied wood preservative, teak stain and a few coats of lacquer.
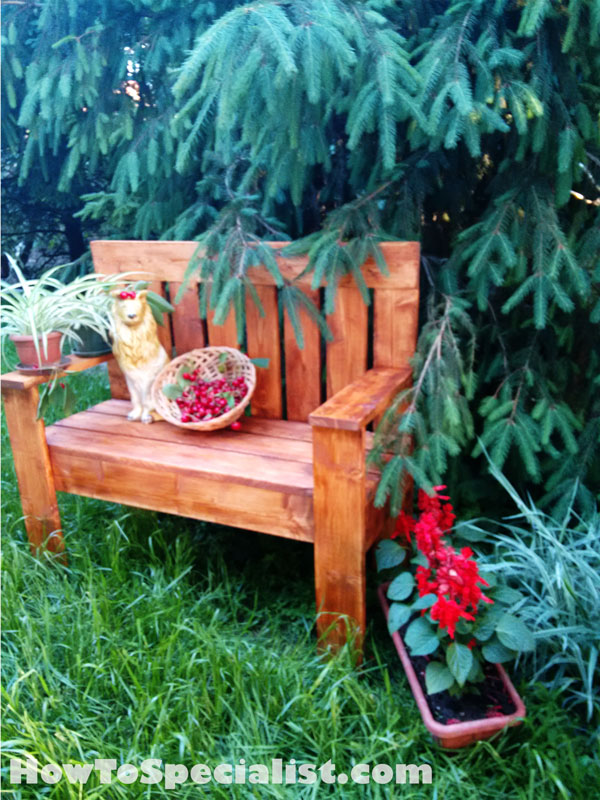
Backyard bench
Doesn’t it look pretty? I am thrilled with the end result and so are my friend. Don’t forget to pin and share this post if it has given you inspiration for a future project.
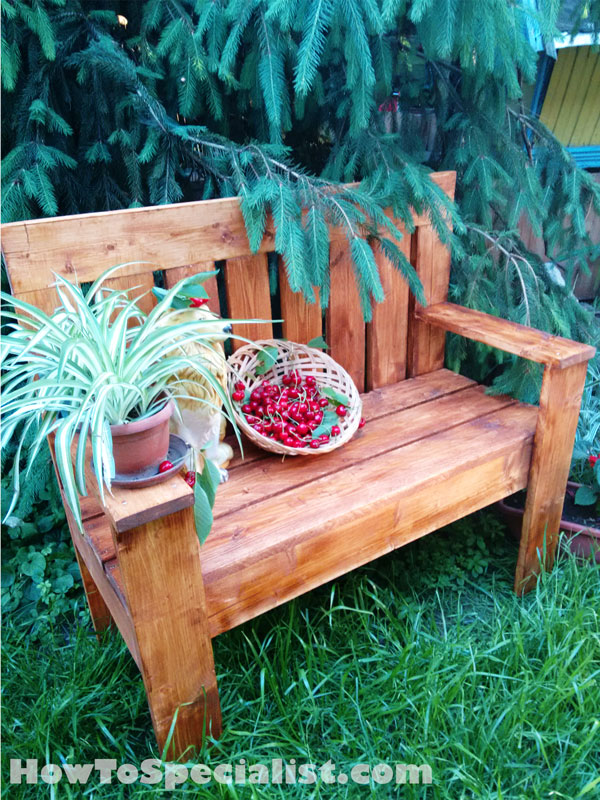
Diy bench plans
If you want to build this garden wood bench, see the step by step plans with detailed measurements here. I hope you enjoy the plans and this step by step tutorial, as well. I would love to hear your feedback and to see your pins and likes. If you build this simple bench with backrest don’t forget to send a few pics.
Thank you for reading our project about how to build a wooden bench and we recommend you to check out the rest of the projects. Don’t forget to SHARE and LIKE our projects with your friends, by using the social media widgets, if you want to help us keep adding free woodworking plans.

6 comments
Hello. I’m not in the slightest experienced with outdoor projects. I was thinking about working on this project, but looking at the materials needed and looking around the lowe’s website, it appears the materials would be worth well over a thousands. Maybe I’m looking at a different wood type or using the wrong terms, but if you could show me where you found the price to be under $15, it would be greatly appreciated.
It is common sense that a bench like this will not cost $1000 in materials. I want to believe you are joking by saying that. This bench only requires 2x4s and screws. You do the math.
I just bought the materials yesterday it takes 7 2×4 8 feet long and I paid $3.40 each board at Lowe’s. I didn’t buy the box of screws but they are around $6. So you would really be around the $30 mark for one of these. They take me about 4 hours to build and I am currently making number 3.
Awesome. Looking forward to seeing your project!
All the images showing the assembly of the Tiered Plant rack and Benches appear to be made from thinner timber tha 2 x 4 inches!!.
I have cut all the timber to the correct lengths and they all look very bulky. Surely, the size should be 1 x 4 inches.
Please advise
2×4 is 1 1/2″ x 3 1/2″