This step by step diy project is about how to build a wood bar stool. If you want to learn more about building a wooden bar stool, pay attention to the instructions. This project is ideal for any home, as it adds a rustic appeal. I teamed up with Julian from MyOutdoorPlans for this project. You can see the step by step plans here.
You should always plan everything from the very beginning, in order to prevent costly mistakes and to save time. If this is your first project, you need a friend to give you a hand when assembling the wood bar stool. Invest in high quality lumber and plywood, as the components will be exposed to bad weather. Protect the components with appropriate paint or stain.
There are a few tips that you should take into account, if you want to get a professional result. Therefore, take accurate measurements and use professional tools when making the cuts or when drilling pilot holes. Align the components at both ends and add waterproof glue to the joints, if you want to create a rigid structure.
Made from this plan
How to build a wood bar stool

Cutting-the-components
The first step of the project is to cut the components for the frame. As you can easily notice in the diagram, we recommend you to use 2×2 lumber. Drill pocket holes at both ends of the supports and smooth the cut edges with sandpaper. I used these plans for the bar stool project, so e sure you check them out, as well.

Assembling-the-sides
The next step of the project is to build the sides for the wooden bar stool. Add glue to the joints and align all the components together before clamping them together. Check if the corners are right-angled before inserting the 2 1/2″ screws into place.

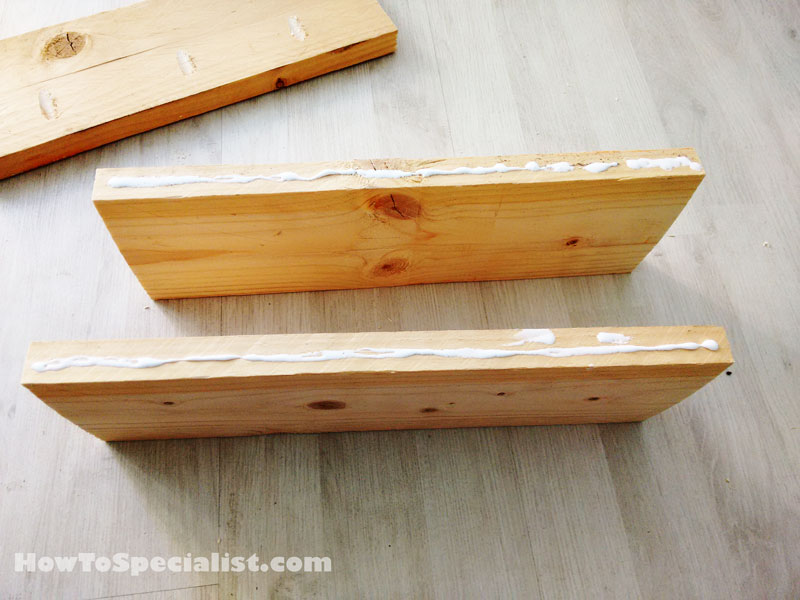
Adding-glue
Add glue to the frames before attaching the rest of the 2×2 supports.

Building-the-supports
As you can easily notice in the diagram, I drilled pocket holes only to one end of the supports. You will see why in the next steps of the woodworking projects.

Assembling-the-chair
Fit the supports to one side of the bar stool and align the edges with attention. Make sure the corners are square and insert 2 1/2″ screws to create rigid joints.

Assembling-the-bar-stool
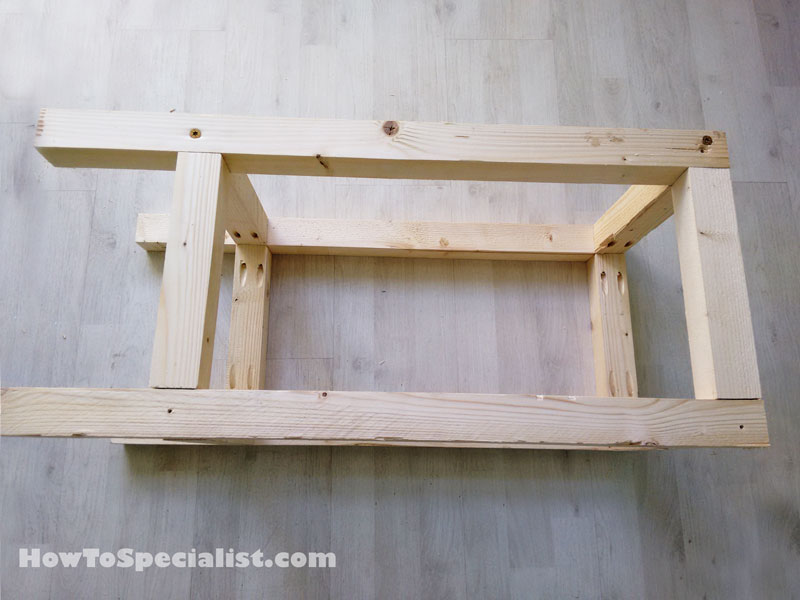
Attach the opposite side to the frame of the bar stool. As you can see in the image, the space is very tight so it is impossible to insert the pocket screws without a 90 degree screwdriver. Therefore, I chose to drill pilot holes and to insert 2 1/2″ screws to secure everything together tightly. Inserting the screws without pre-drilling pilot holes will split the wood.

Bar-stool-frame
You can see the bar stool taking shape quite nicely. The best part about this project is that it doesn’t require complex skills nor is time consuming.

Bar-stool
Another angle with the frame of the bar stool. Now is a good time to fill the holes and dents with wood putty. Let it dry out and smooth the surface with 120-150 sandpaper.

Adding-glue-to-the-seat-slats
I used 3 slats for the seat. The slats are 4 3/4″ wide, as I got them from a previous project. You should follow the initial plans and use four pieces of 1×4 lumber. Smooth the edges and apply glue, after drilling the pocket holes.

Assembling-the-seat
Align the edges with attention and clamp the slats together tightly. Insert 1 1/4″ screws to secure the slats together. Meanwhile, you should apply stain or paint over the stool frame. This is the best time, if you aim for a professional result.

Attaching-the-seat
Stain the seat and lay it on a level surface. Center the frame of the stool to the seat, as you can notice in the diagram. Add glue to the joints, drill pilot holes through the supports and insert 2″ screws into the seat.

Diy-bar-stool
Apply a few coats of poly to the bar stool, in order to enhance its appearance and to protect it properly. I am satisfied with the end result, especially that it cost me under 10 dollars. I also managed to get the job done in less one day, including painting it.

How-to-build-a-bar-stool
I really love the rustic look of the wood bar stool. It really adds character to any home.

Bar-stool-plans
If you want to build this bar stool, see the step by step plans with measurements here. Julian did an amazing job with these plans, so don’t forget to check his projects out. I would love to hear your feedback and to see your pins and likes.
Thank you for reading our project about wood bar stool plans and we recommend you to check out the rest of the projects. Don’t forget to SHARE and LIKE our projects with your friends, by using the social media widgets, if you want to help us keep adding free woodworking plans.
