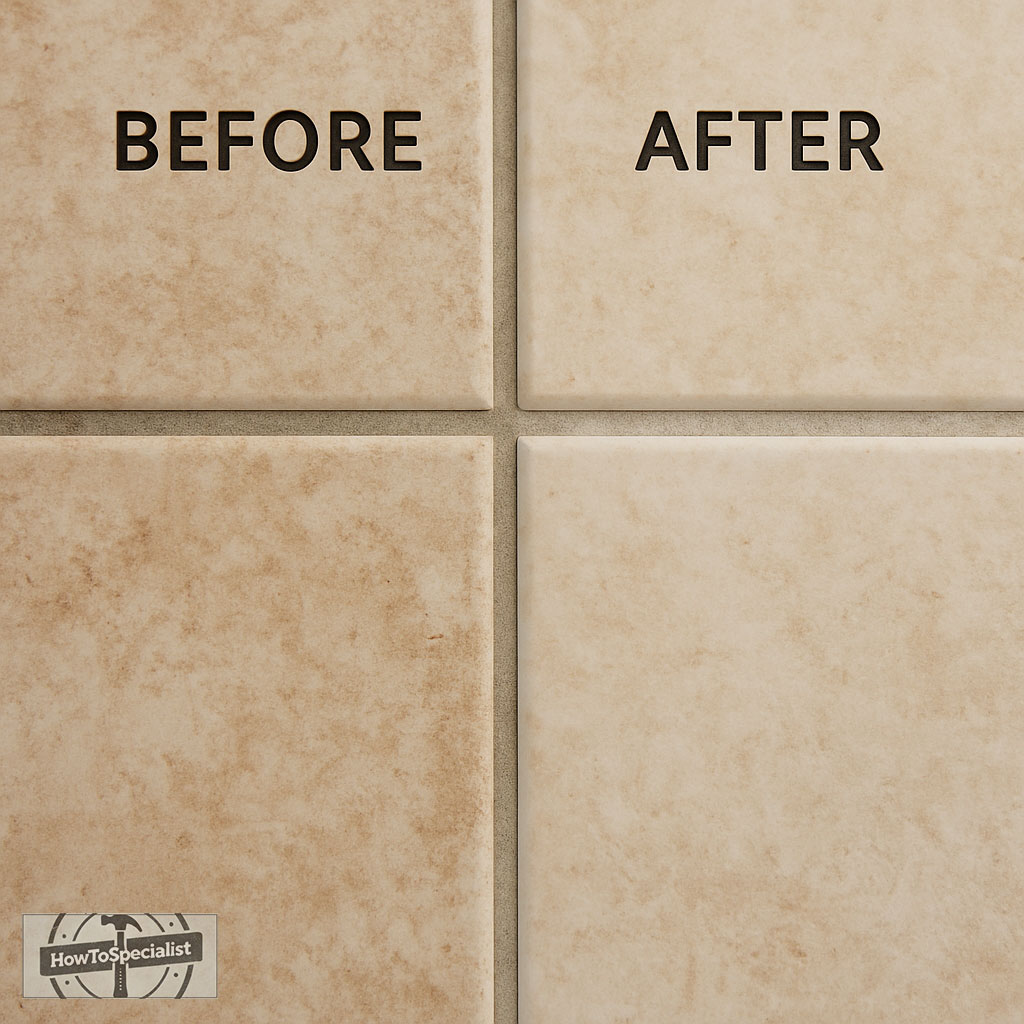
If your tile floors or backsplashes are looking a little dingy, chances are it’s not the tile that’s the problem—it’s the grout. Grout is porous by nature, and over time it acts like a sponge, soaking up dirt, grease, spills, and soap residue. What was once a bright, crisp outline between your tiles can slowly turn into a streaky, grimy mess that dulls the entire look of your space. It’s especially common in high-traffic areas like kitchens and bathrooms, where moisture and grime team up to make grout discoloration even worse.
Now, there are plenty of heavy-duty commercial cleaners out there promising a miracle fix—but many of them come with a catch. They can be packed with harsh chemicals that irritate your skin, produce intense fumes, or even damage your tile or nearby surfaces. Not to mention, they often come with a price tag that feels anything but budget-friendly.
Here’s the good news: you don’t need to break the bank—or your back—to get that grout looking fresh and clean again. With a few safe, affordable household ingredients like baking soda, vinegar, hydrogen peroxide, and a little elbow grease, you can bring those grout lines back to life. Best of all, you’ll know exactly what’s in your cleaner, and you won’t need to ventilate the whole house just to use it. Whether you’re prepping for guests or just tired of looking at that dull haze, this DIY approach will leave your tile looking like new.
Why Grout Gets So Dirty (and Stays That Way)
Grout is porous by nature, which means it acts like a sponge for dirt and moisture. In high-traffic areas like kitchens, bathrooms, and entryways, this leads to stubborn stains, mold, and soap scum buildup that won’t budge with regular mopping. Over time, what starts as light discoloration turns into dingy, dark lines that make even the cleanest tile look worn-out.
While traditional store-bought cleaners might seem like a quick fix, many rely on harsh chemicals like bleach or strong acids to break through the gunk. The problem? These products can actually do more harm than good. Bleach can slowly erode your grout lines, damage the sealant, and even etch or dull certain types of tile. Plus, those fumes? Not great for your lungs—or your pets’.
That’s why a gentler approach using everyday ingredients like baking soda, vinegar, and hydrogen peroxide is not only safer—it’s smarter. These natural cleaners pack a punch when it comes to cutting through grime without the toxic side effects. With the right method and a little bit of scrubbing, you can lift years of buildup and restore your grout’s original color—no gas mask required.

The Power of Baking Soda and Vinegar—Your Grout’s New Best Friends
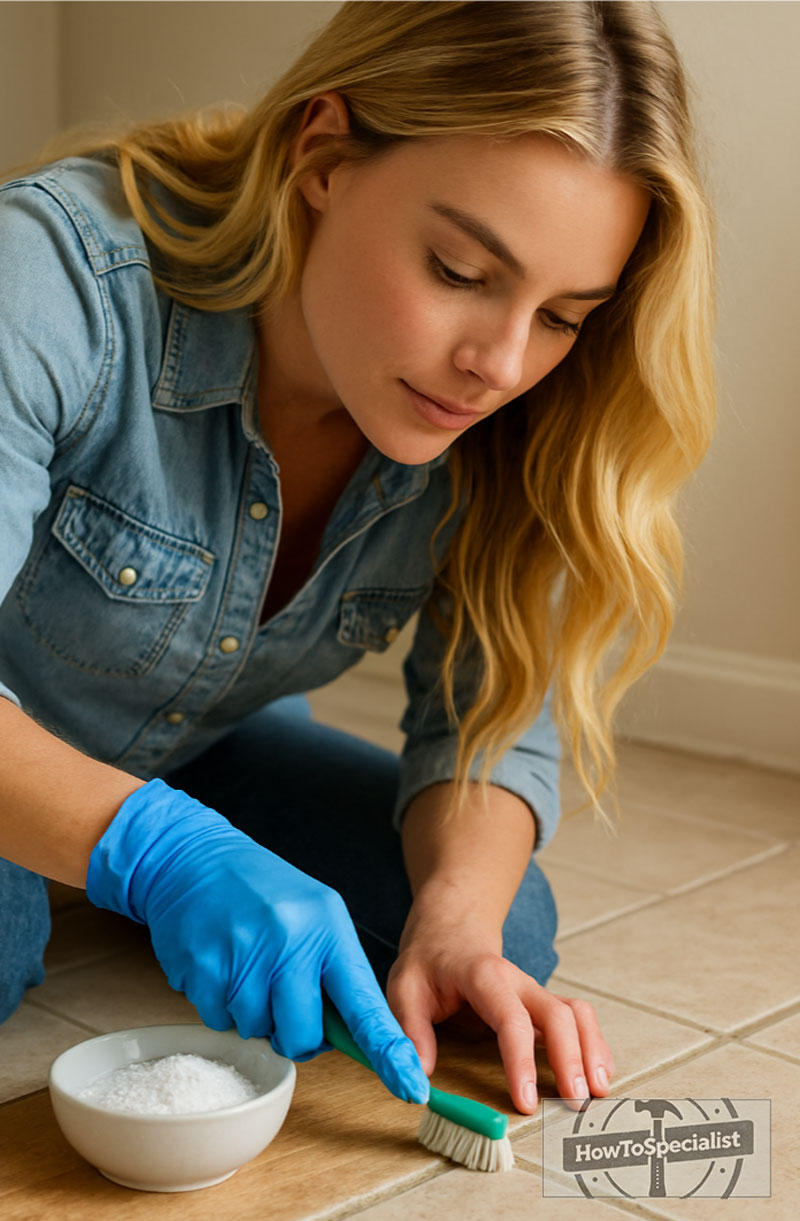
Here’s what works—and it’s surprisingly simple. Start by sprinkling a generous amount of baking soda directly onto the grout lines. This acts as a mild abrasive to help break down surface grime. Next, fill a spray bottle with a 50/50 mixture of white vinegar and water, and spritz it over the baking soda. The mixture will start to fizz as soon as it hits, helping to loosen up embedded dirt, grease, and even mold or mildew. Let it bubble and work its magic for 5 to 10 minutes—no scrubbing yet!
Once the fizzing settles, grab a stiff-bristled brush or even an old toothbrush and scrub along the grout lines using small circular motions. Don’t be afraid to apply a little pressure—this is where the elbow grease comes in. You’ll see the grime lifting almost instantly. When you’re done scrubbing, rinse the area with warm water and wipe everything down with a clean microfiber cloth. The result? Noticeably cleaner grout with minimal effort and zero toxic fumes.
If you’re up against deeper stains or want to brighten your grout lines without risking bleach damage, there’s a simple swap that works wonders: use hydrogen peroxide instead of vinegar. Mix baking soda and hydrogen peroxide to form a thick paste, then spread it directly onto the grout. Let it sit for about 10–15 minutes so the peroxide can penetrate and lift stains. Then scrub and rinse as usual. Hydrogen peroxide not only has natural whitening properties, but it also helps kill bacteria—making it perfect for bathrooms, showers, and other damp spots. It’s still gentle enough for regular use but strong enough to make a serious difference.
Tips for Keeping Grout Cleaner Longer
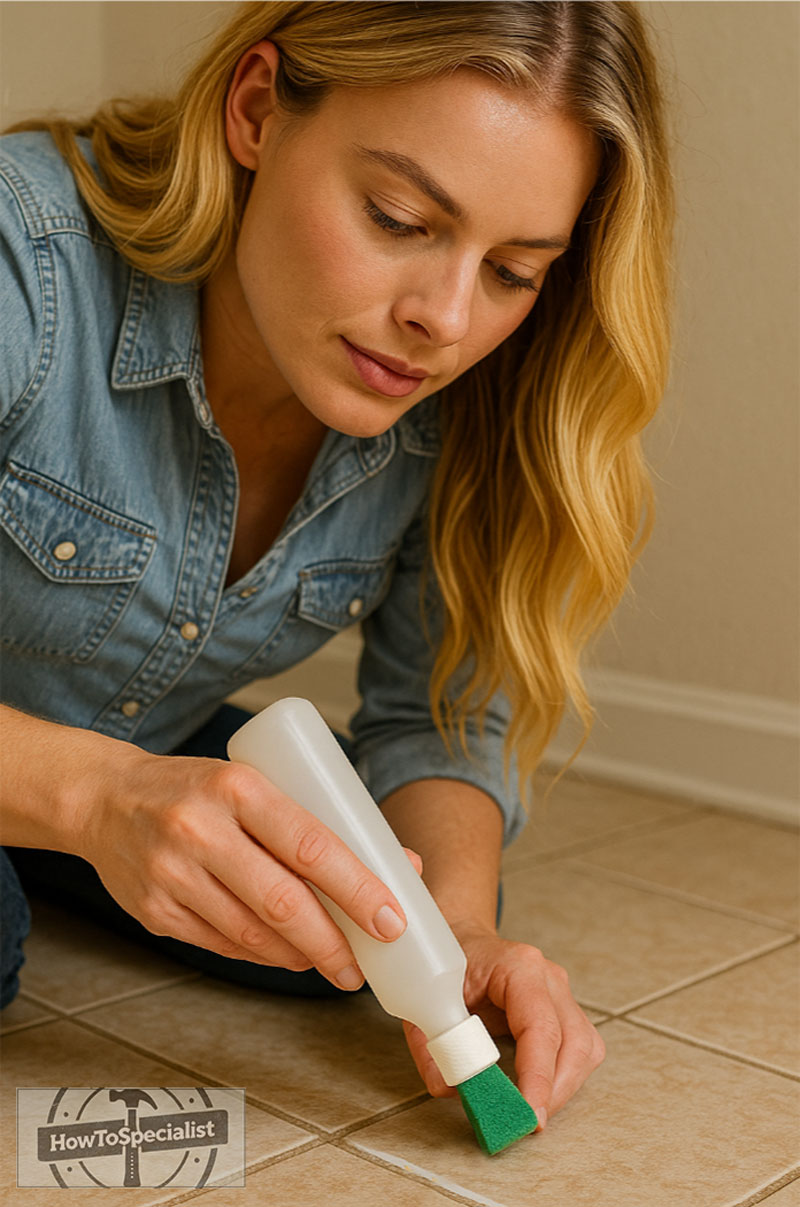
Once your grout is clean, it’s smart to seal the deal—literally. Applying a grout sealer adds a protective barrier that helps repel moisture, stains, and grime, keeping your hard work intact for much longer. This is especially important in moisture-prone areas like showers, bathroom floors, and kitchen backsplashes. It doesn’t just protect your grout—it also makes future cleaning way easier. No more scrubbing through layers of buildup every few weeks.
Before sealing, make sure the grout is 100% dry—ideally, let it sit for at least 24 hours after cleaning. Then, use a small foam brush, sponge applicator, or even a grout sealer pen to apply the product directly to the grout lines. Work in small sections, and wipe off any excess that lands on the tiles right away to prevent hazing. Always follow the instructions on the product label for the best results, and allow it to cure fully before exposing it to water or heavy foot traffic.
Good daily habits will also help extend the life of your grout and sealer. After a steamy shower, take a minute to squeegee or wipe down the walls. Sweep and mop high-traffic areas regularly to prevent dirt from settling into grout lines. And when you do mop, choose a mild, pH-neutral cleaner that’s safe for sealed surfaces. Skip the waxy or acidic cleaners—they can strip the sealer and dull your tile over time. A little prevention goes a long way in keeping your grout looking fresh and your tile sparkling.
No Need for Bleach: Just Smarts and Scrubbing
You don’t need to fill your home with toxic fumes or spend your whole weekend scrubbing just to make your grout look good again. With a few simple pantry staples—baking soda, vinegar or hydrogen peroxide, and a sturdy brush—you can transform those dingy lines from grimy to gleaming in under an hour. It’s a low-cost, low-risk way to breathe new life into your tile. And best of all? Your lungs, your surfaces, and your wallet will thank you for skipping the harsh chemicals.
So next time you’re tempted to reach for that industrial-strength bleach bottle—pause. There’s a better way. Give the baking soda method a try first. It’s natural, effective, and oddly satisfying (seriously, watching that grime lift off is peak DIY joy). Like any good home project, it comes down to using the right ingredients, applying a little effort, and trusting that you don’t need to go extreme to get excellent results. Clean grout without the drama? Yes, please.

What Not to Use on Grout
Not all cleaners are grout-friendly, and using the wrong stuff can do more harm than good. One of the biggest mistakes people make is reaching for bleach or harsh acidic products. While these might seem like a fast track to clean, they can slowly erode grout over time—weakening its structure and causing it to crumble or crack. That’s especially true for unsealed or older grout, which is already more vulnerable to damage. Acidic solutions like lemon juice or vinegar should also be avoided on natural stone tiles, as they can etch the surface and leave permanent marks.
Another thing to steer clear of? Oily, wax-based, or colored cleaners. These can leave a slick residue that traps more dirt over time or even stain your grout lines. Steam cleaners might seem like a good idea, but unless your grout is fully sealed and in perfect condition, that high heat and moisture can cause more expansion and breakdown than it’s worth. Stick to gentle, proven methods—like baking soda, hydrogen peroxide, and pH-neutral cleaners—for a safer, long-term approach that won’t backfire down the road.
How Often to Clean and Seal Grout
Keeping your grout looking fresh doesn’t have to be a constant battle—it just needs a little routine care. For most homes, a deep grout cleaning every 3 to 6 months is enough to stay ahead of stains and buildup. High-traffic or high-moisture areas like bathrooms, entryways, and kitchen floors might need more frequent attention, especially if you start noticing discoloration or mold creeping in. A quick spot clean every few weeks with a mild cleaner or a baking soda scrub can go a long way in maintaining that just-cleaned look without much effort.
Sealing grout is your best defense against future grime, and it’s something you should plan to do about once a year. If your tile is in a damp area—like a shower, laundry room, or mudroom—you might want to reseal every 6 to 9 months instead. Test your sealer by sprinkling a few drops of water on the grout: if it soaks in, it’s time to reseal. Regular sealing keeps moisture and stains from penetrating, which makes your cleaning routine way easier in the long run—and helps your grout last for years without crumbling or cracking.
Precautions for Colored Tile or Delicate Stone
If you have colored or decorative tile, especially with a matte or porous finish, it’s important to test any cleaner in a small, hidden spot before going all-in. Natural cleaners like vinegar and hydrogen peroxide are great for grout—but they can sometimes lighten or discolor certain pigments in the tile itself. Even baking soda, while gentle, is mildly abrasive and can dull softer glazed surfaces over time if scrubbed too aggressively. That’s why using a soft-bristle brush and wiping up quickly is key when working near colored tiles or custom finishes.
For natural stone surfaces like marble, travertine, limestone, or slate, skip the vinegar and acidic solutions altogether. These materials are sensitive to pH changes and can etch or dull with just one cleaning. Stick to pH-neutral cleaners or use a mixture of hydrogen peroxide and baking soda for the grout lines—just be careful not to let the paste sit on the stone for too long. When in doubt, read the tile manufacturer’s care guidelines and always opt for the least aggressive method that still gets the job done. With delicate materials, it’s all about striking the right balance between effectiveness and preservation.