This article is about how to screed a floor by hand. In this article I show you a step by step tutorial on how to screed a concrete floor using just hand tools. This is Episode 5 of the concrete and brick house series. Therefore, if you read the full article you will learn how to prepare the surface, how to set the level and then how to pour the screed perfectly level. This is a simple job and you can do this with the help of a friend with just a few basic tools.
The story is short: we had a lot of electrical pipes over the floors of the house and we had to cover them before installing the underfloor heating. Therefore, we decided to set the level and screed the floor so everything is perfectly horizontal. It took us two days to pour screed the first and second floors by hand. This isn’t the final floor so it doesn’t have to be perfectly finished with a helicopter. See all my Premium Plans HERE.
Made from this plan
Materials
- cement
- sand
Tools
- Measuring tape, carpentry pencil, l-square
- concrete mixer
- straight edge 8 ft
- straight edge 4 ft
- bucket trowel
- bucket
- hand float
- spirit level
- self leveling laser
- heavy duty broom
Time
- 2 days
- Episode 1: Building the foundation
- Episode 2: Building the walls
- Episode 3: Building the roof
- Episode 4: Doing the installation and Windows
- Episode 5: Screeding the floors
- Episode 6: Installing the rock wool insulation
- Episode 7: Painting the house on the exterior
- Episode 8: Cementer render and wall plaster
- Episode 9: Installing natural stone
- Episode 10: Installing the septic Tank
- Episode 11: Building the walkarounds with pavers
- Episode 12: The kitchen
- Episode 13: The bathrooms
- Episode 14: The living Room
- Episode 15: The bedrooms
How to Screed a Floor by Hand

The first step of the process is to clean the surface. In our case we are going to pour the screed over a concrete floor, so they will bond together. But, in order to make sure that will happen, we need to clean all the dust and other residues. A heavy duty broom does the job perfectly.
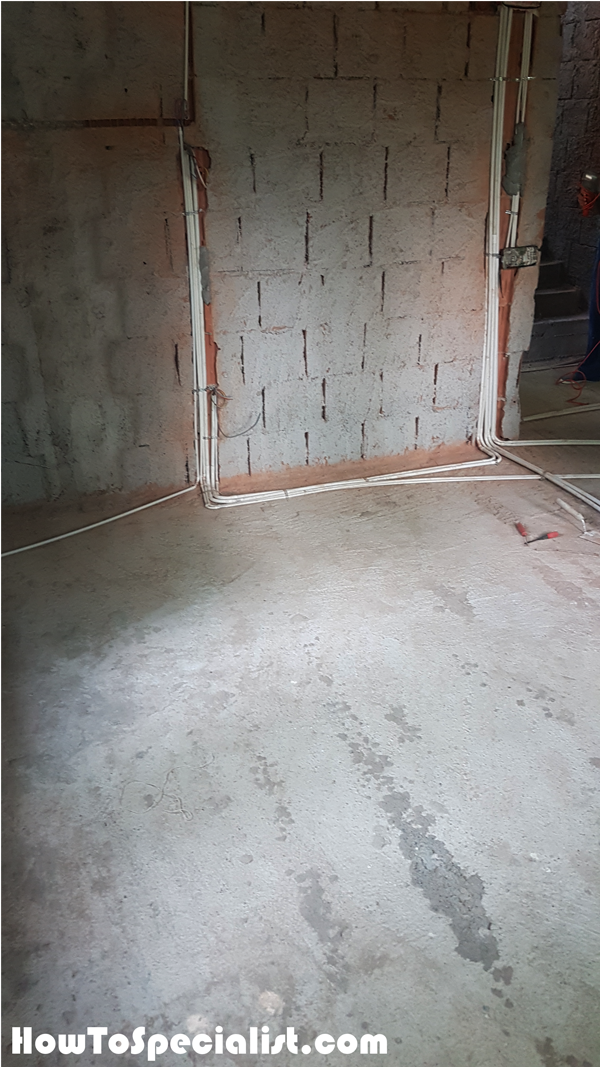

Next, we need to make sure the screed will be perfectly level over all rooms. Therefore, we are going to use a self leveling laser and mark the level on the walls in all rooms. Make sure you set the laser so that you can mark the level in all rooms, without having to move it.
Once you have the marks, measure the distance to the floor and see the room where the distance is the smallest. Next, withdraw from that number the thickness of the screed (usually it’s 2 inches – 5 cm) and you get the distance you need to have from the final level of the floor to the initial marks made with the laser.

Now that we know how to pour the screed across all rooms, it is time to gather the materials for the screed. We are going to prepare the screed with a concrete mixer, so we need sand… a lot of sand, actually!

We are going to use pea gravel in the mix as well, because this is just a support screed for the underfloor heating. If you are pouring the final screed under the laminate or tile flooring, you should use just sand and cement in the screed mix.

Next, we have a lot of cement bags delivered to the house.
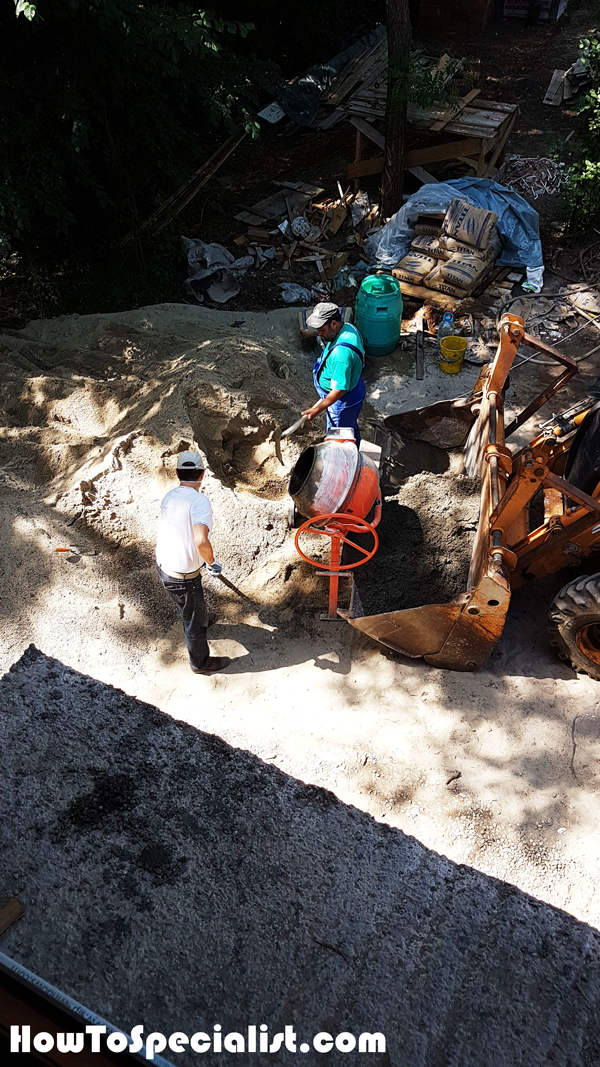
Use a 4:1 sand to cement ratio for the screed. We used 2:2:1 sand to pea gravel to cement. Add a little water so the mix isn’t fluid. when you squeeze the screed in your hand, there should be no water dripping. Moreover, the screed should stick together when compressed but with no wet clumps.
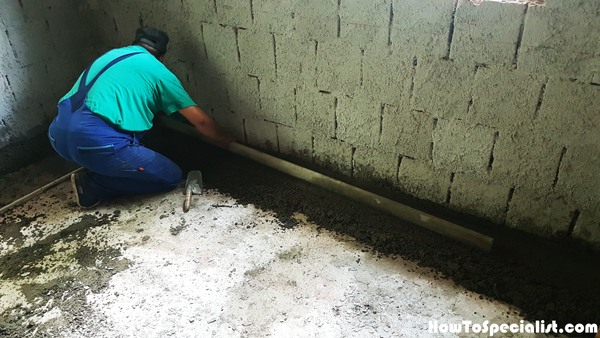
Once you mix the screed you need to pour it into a wheelbarrow and unload it to the floor of the room. As you can see in the image, you need to start by making level screeds along the walls of the room. Use a straight edges and a spirit level to make sure the screeds are horizontal.
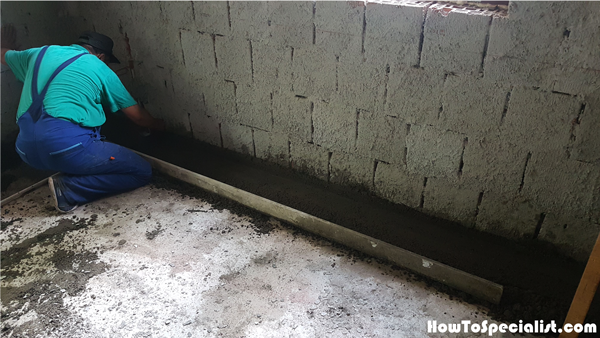
Having a trowel at hand helps a lot.
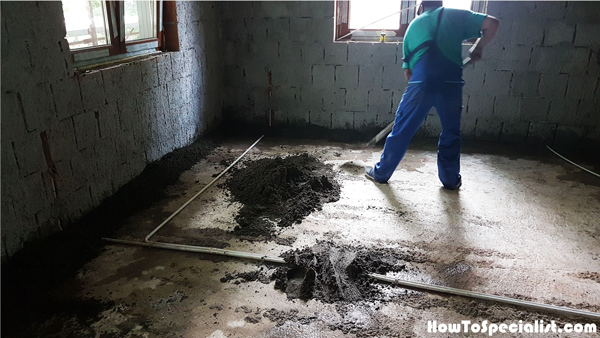
We formed the screeds along the other sides of the room. Use a shovel to move the screed quickly. Also cover the electrical tubes with screed before running over them with the wheelbarrow.
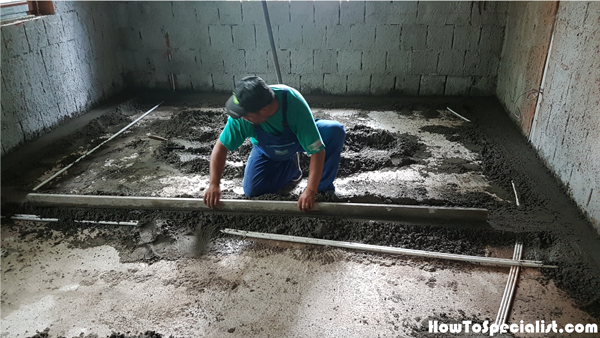
Since the room is wider than our straight edge, we made a few intermediary screeds every 7′. Use the spirit level to make sure the screeds are perfectly horizontal.
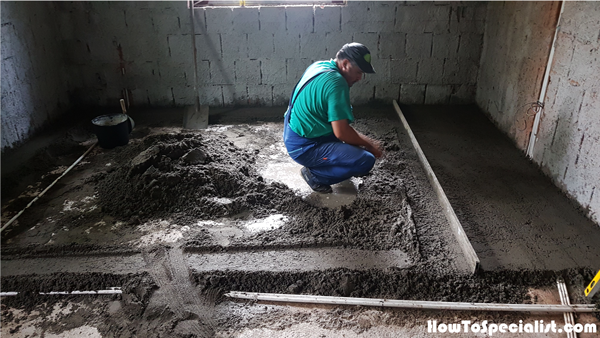
Once you have the guidance screeds set, you need to pour screed on the floor and start spreading it with the straight edge, both pulling and moving it right to left and left to right (zig-zag motion)
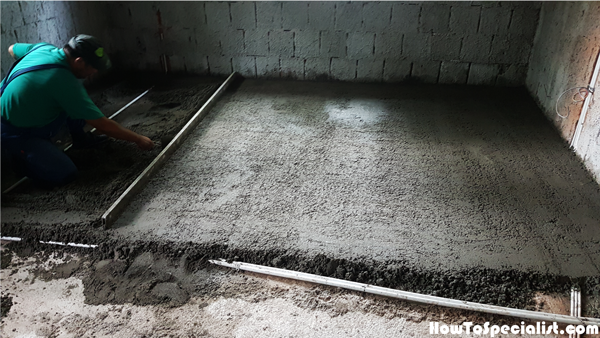
Working with another person is ideal, because he will mix the screed and unload it to the floor, while you will screed the floor. The screed has been laid over a section of the room, and it looks all flat and nice. You can now move to other sections of the room.
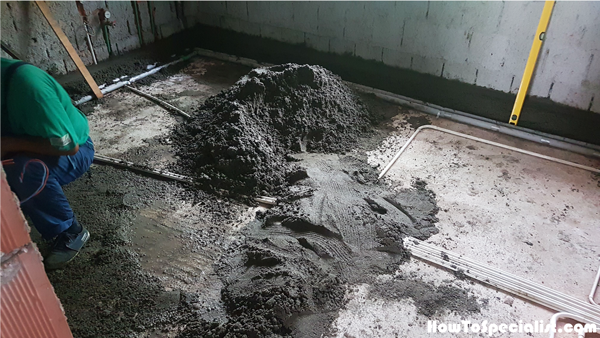
We followed the same steps for the for the kitchen. Once you have the guidance screeds done, it is just a question of making more mix and spread it across the room flat.
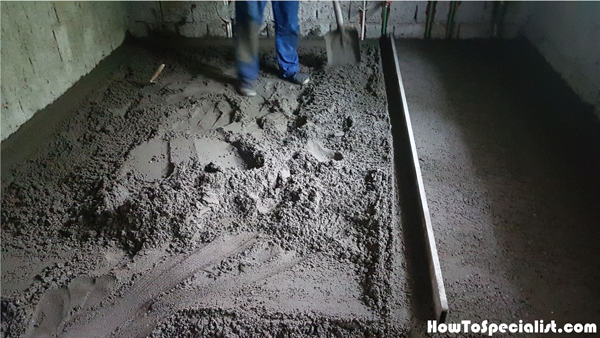
The kitchen floor was lower than the living room, so you can see the screed is thicker. More screed for us to mix, but we want the same level across the house.
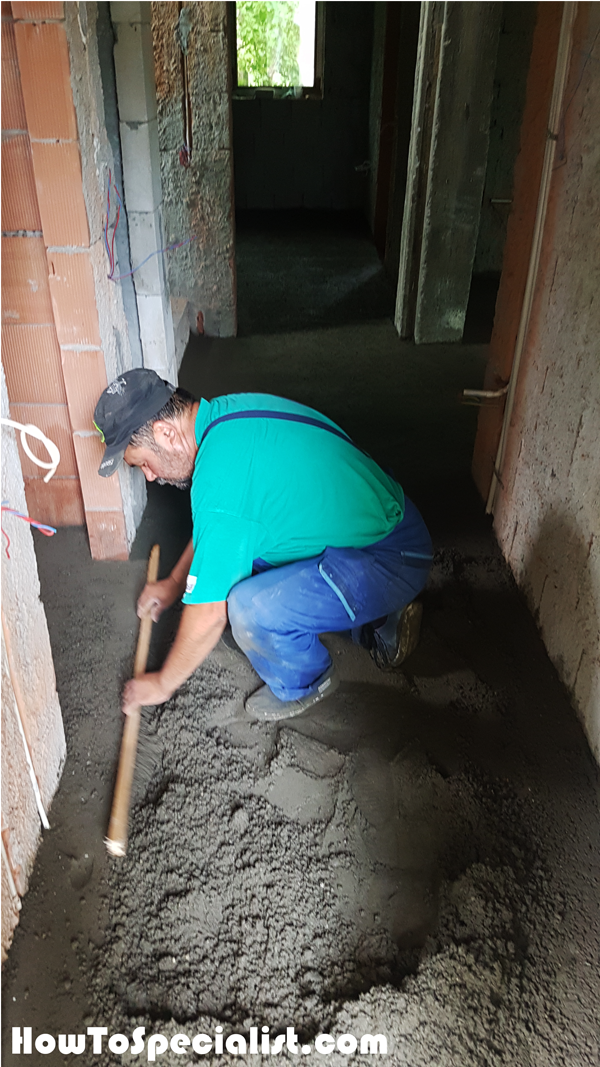
Screeding the entrance hallway… The hallway is narrow, so we used a piece if lumber as a straight edges. Select a piece of lumber that is finished on all sides and perfectly straight.
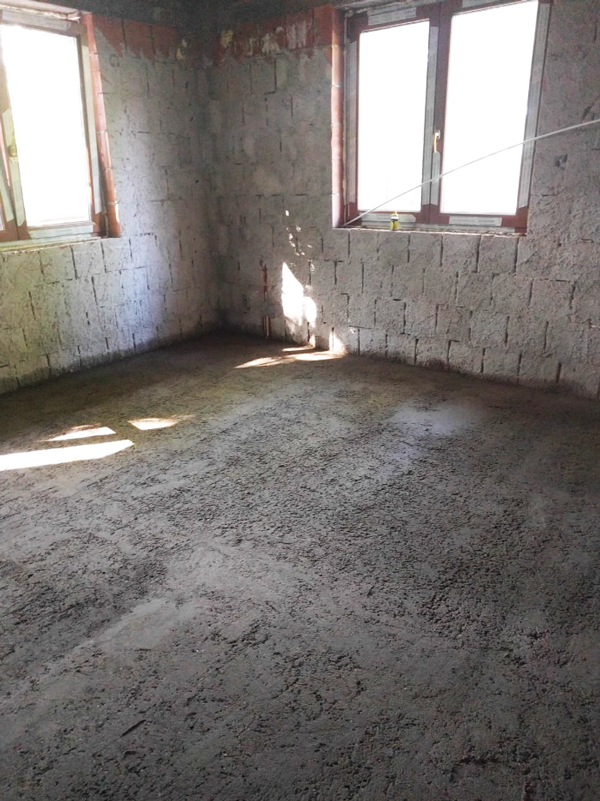
The screed in the living room starting the cure.
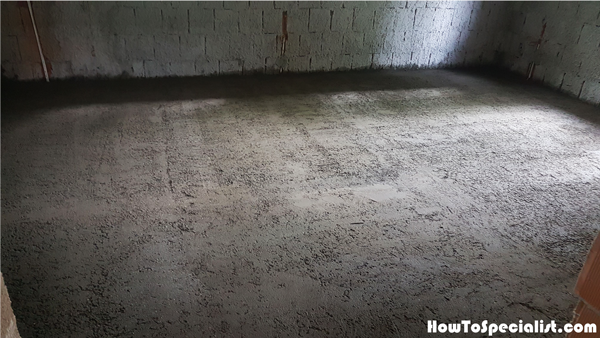
This will make for the perfect support for the underfloor heating system.

This is the bathroom. We didn’t screed the shower area, because we still need to work on the drainage pipes.
Screeding the Second Floor

The next day we came back and screeded the second floor. In order to save time and since we had the Case 580 SR backhoe digger, we decided to use his front bucket to lift the screed to the balcony and then unload it to the floor.
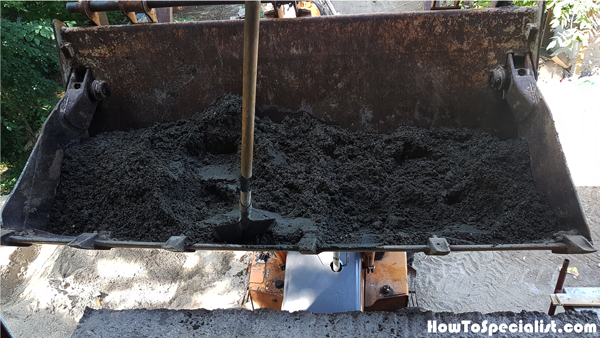
This is the view from the main bedroom on the second floor. This worked really good and it saved us from a lot of manual labor to lift the screed upstairs.
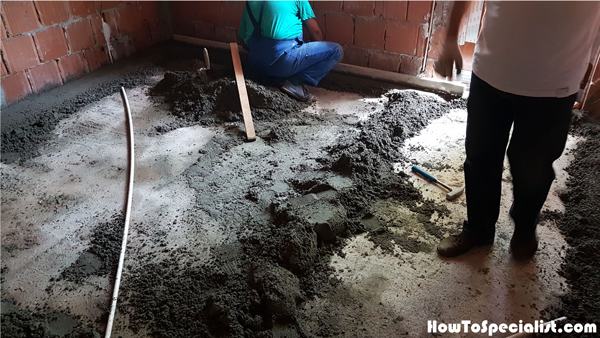
The process is the same: make the guidance screeds along the walls of the room and one along the middle of the room.
Remember that you still have to clean the support surface and set the level with the laser, prior to lay the screed.
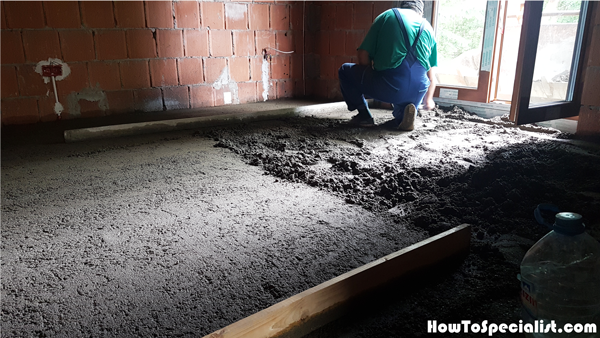
Screed the floor with the straight edge, using the zig-zag moves.
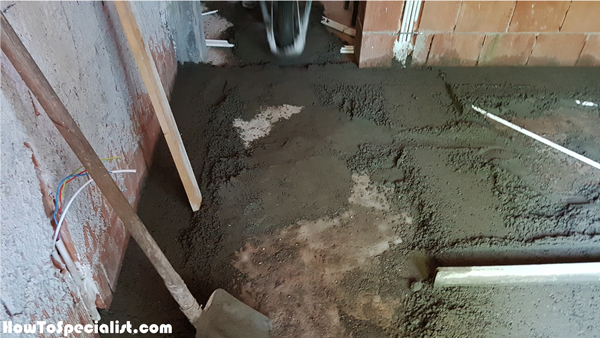
Always leave the area next to the door last, so you can exit the room without stepping into the screed.
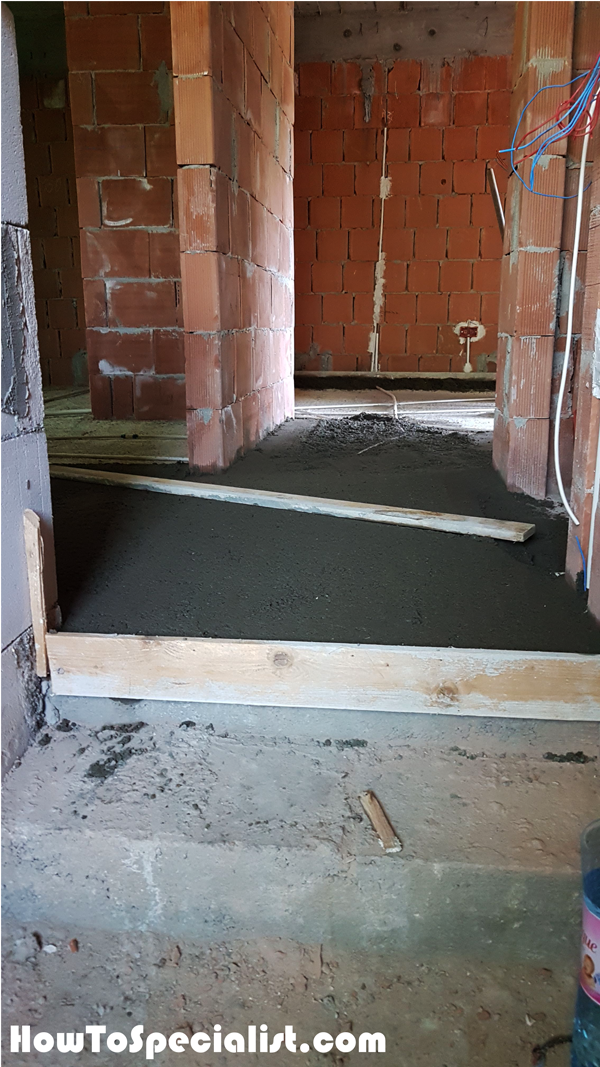

Last bedroom is done. The screed is flat and looks brilliant.
Floor screed with helicopter
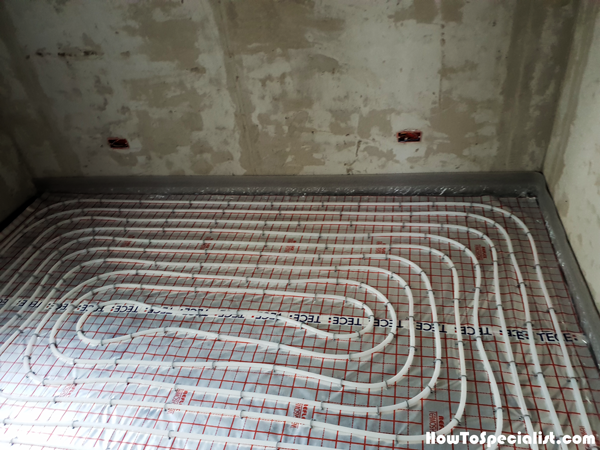
After the screed has dried out, we continued the house project by installing the underfloor heating pipes. Notice the perimeter insulation and the aluminum foil under the pipes.
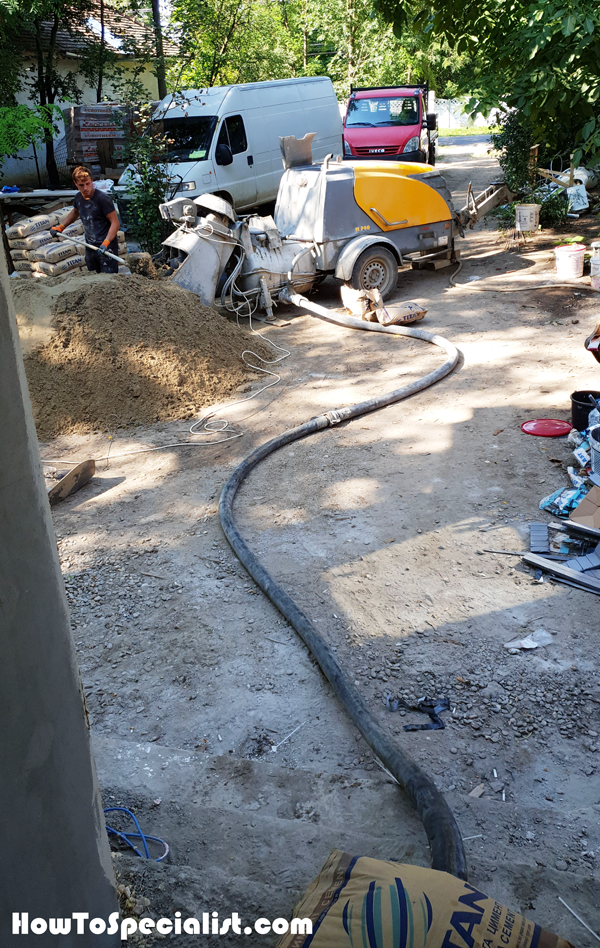
Having the underfloor pipes installed, we know that they need extra caution, so we decided to pour the top screed professionally. Therefore, notice the screed pump that mixes the sand with the cement optimally. We also added glass fibers and additives, the screed can resist the the temperature variations due to the heating system, without cracking.
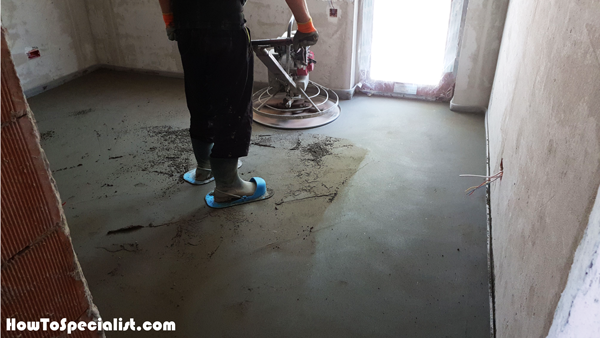
A helicopter was used to smooth the top of the screed.
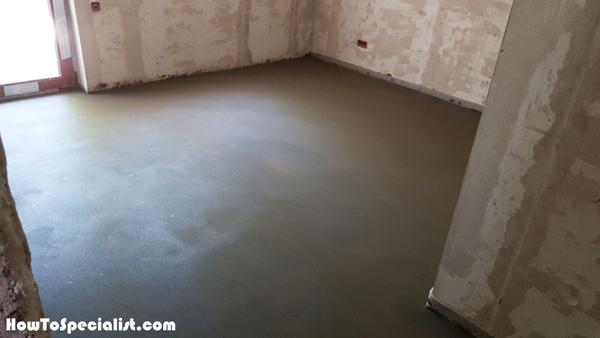
Very happy with the screed. You can see both techniques and choose the one that best suits your needs and budget.
Make sure you take a look over the rest of the Concrete and Brick House Series to see our building adventure from bare ground to moving in. I promise you will have a lot of fun seeing the house coming together and maybe learn from out mistakes and problem solving.
My best tips on screeding a floor by hand:
Screeding is the process of leveling and smoothing a surface to ensure it’s flat and even before installing flooring or finishing materials. Whether you’re preparing a concrete slab or leveling a sand base for paving, screeding a floor by hand requires precision and patience. Here are my best tips to help you screed a floor like a pro, even without specialized tools.
1. Plan and Prepare the Area
- Measure and Mark the Floor Level: Before starting, measure the area you’re screeding and determine the final floor height. Mark reference points along the walls or perimeter to guide your screeding.
- Check for Floor Slopes: Depending on the project, you may need a slight slope for drainage (e.g., in garages or patios). Plan accordingly, and mark any necessary slopes using a spirit level and string line.
- Clear the Area: Remove any debris, dirt, or loose materials from the surface. If screeding over concrete or a subfloor, make sure the surface is clean and dry.
2. Gather Materials and Tools
- Screeding Bar or Straightedge: Use a long, straight tool, such as a 2×4, metal screed bar, or magnesium straightedge, to level the material.
- Trowel: A hand trowel or float is essential for smoothing and fine-tuning the surface after screeding.
- Spirit Level: Ensure your floor is level by using a long spirit level, or laser level for larger areas.
- Mixing Tools: For concrete screeding, you’ll need a wheelbarrow and shovel or a concrete mixer to prepare the screed mix. For sand screeding, a shovel and rake work well.
- Shims or Screed Guides (Optional): To maintain consistent thickness, you can use screed guides or shims as reference points for leveling.
3. Prepare the Screed Material
- Concrete Mix for Floors: If you’re screeding a concrete floor, mix a cement-sand screed with a ratio of about 1 part cement to 3-4 parts sharp sand. Add water gradually until you get a smooth, workable consistency—not too dry or too wet.
- Sand Base for Pavers: If you’re leveling a sand base for pavers, use sharp sand and make sure it’s damp enough to hold its shape when compacted.
4. Set Your Screed Guides
- Use Screed Rails or Guides: If you’re working with a large area, install screed guides or rails at both ends of the area. These serve as reference points to keep the screed level across the floor.
- Check Guide Levels: Ensure the screed guides are set at the correct height using a spirit level. For floors that require a slope, adjust the guide levels accordingly.
5. Spread the Screed Material
- Start at One End: Begin spreading the screed material at one end of the floor. Work from back to front, spreading the mix evenly across the surface.
- Use a Shovel for Concrete: If you’re working with a concrete mix, shovel the material onto the floor and roughly distribute it before leveling.
- Rake for Sand Screeding: For sand bases, use a rake to spread the material evenly. Avoid overfilling, as this can make screeding more difficult.
6. Level the Screed with a Straightedge
- Position the Straightedge: Place the straightedge or screeding bar on the screed guides or floor edges. If you’re not using guides, rest the ends of the straightedge on two reference points or simply the floor perimeter.
- Pull the Screed Material: Using a steady, back-and-forth sawing motion, pull the straightedge toward you, leveling the material as you go. Keep the straightedge in contact with the screed guides or marks.
- Fill in Low Spots: As you work, fill in any low spots by adding more screed material, then run the straightedge over the area again to level it. If you notice high spots, scrape off excess material and smooth the surface.
- Check for Levelness: Use your spirit level frequently to ensure that the floor is even and level. Make adjustments as needed before moving to the next section.
7. Fine-Tune the Surface with a Trowel
- Smooth with a Trowel: After screeding the entire surface, use a hand trowel or float to smooth the surface and eliminate any minor imperfections.
- Create a Finish for Concrete: If you’re screeding a concrete floor, you can create different finishes, such as a smooth finish using a steel trowel or a textured finish with a broom for added grip.
- Check the Edges: Pay special attention to the edges and corners, which can often be missed when using the straightedge. Use the trowel to level and smooth these areas.
8. Allow the Screed to Cure
- Let the Concrete Set: If you’re working with concrete, allow it to set for at least 24-48 hours before walking on the surface. For thicker screeds, curing may take several days to a week.
- Mist the Surface (for Concrete): To prevent cracking, lightly mist the surface of the concrete screed with water while it cures, especially if you’re working in hot or dry conditions.
- Avoid Disturbing the Screed Base: For sand or dry screed bases, avoid walking on the surface until it’s compacted or covered with your final flooring material (e.g., pavers, tiles).
9. Check for Imperfections
- Inspect the Surface: Once the screed has cured, inspect the surface for any dips, bumps, or imperfections that could affect your final flooring installation.
- Fix Issues Early: If you find any uneven areas, fix them immediately by reapplying screed and leveling it out with your straightedge and trowel.
Screeding a floor by hand is a simple but crucial step for ensuring that your flooring project starts with a flat and level surface. By following these tips and paying close attention to detail, you’ll achieve a smooth, professional-grade finish that makes your final flooring look its best. Whether you’re preparing for tiles, concrete, or paving stones, taking the time to screed properly will pay off in a durable and long-lasting result.
Thank you for reading our article on how to screed a floor by hand and we recommend you to check out the rest of my projects. Please share my tutorials with your friends by using the social media widgets. That helps me keep adding free content to the blog.
