
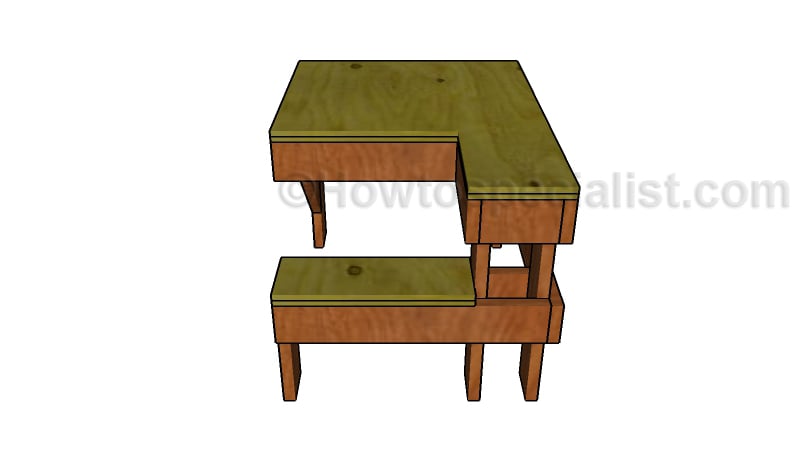
This step by step woodworking project is about woodworking assembly table plans. This large workbench is ideas for assembling wood projects, as it sturdy and it has a generous tabletop. The table also features a large lower shelf, so you can store items and have them handy. My plans come with step by step instructions and you can easily adjust all the dimensions to suit your needs. See my other DIY projects HERE.
We recommend you to invest in the best materials you could afford. Therefore, you should buy weather-resistant lumber, such as pine or cedar. Always take accurate measurements before adjusting the size of the components at the proper size. Drill pilot holes trough the components before inserting the wood screws, to prevent the wood from splitting. See all my Premium Plans in the Shop.
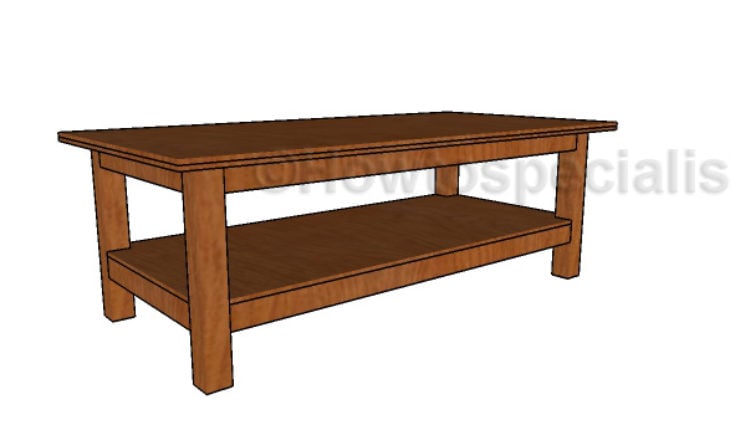
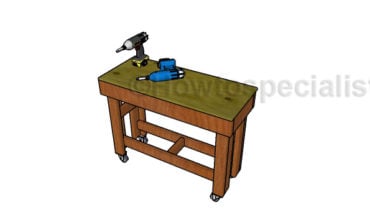
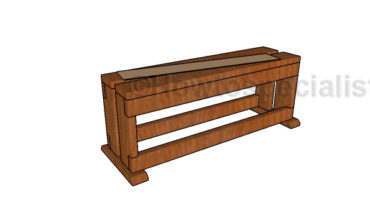
Made from this plan
Woodworking Assembly Table Plans
Building an assembly table
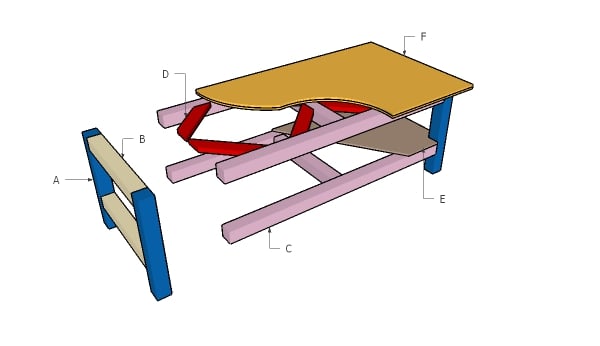
Materials
- A – 4 pieces of 4×4 lumber – 31 1/2″ long LEGS
- B – 4 pieces of 4×4 lumber – 33″ long SUPPORTS
- C – 4 pieces of 4×4 lumber – 81″ long, 2 pieces – 33″ long SUPPORTS
- D – 8 pieces of 2×4 lumber – 22″ long BRACES
- E – 1 piece of 3/4″ plywood – 40″x88″ long SHELF
- F – 2 pieces of 3/4″ plywood – 48″x96″ long TABLETOP
- 8 pieces of 4×4 lumber – 8′
- 2 pieces of 2×4 lumber – 8′
- 3 pieces of 3/4″ plywood – 4’x8′
- 1 1/4″ brad nails, 2 1/2″ screws
- 2 1/2″ pocket screws
- stain, glue, putty
Tools
- Safety gloves, glasses
- Miter saw, jigsaw
- Chalk line, tape measure, spirit level, carpentry pencil
- Drill machinery and drill bits
Time
- One Day
Building an assembly table plans
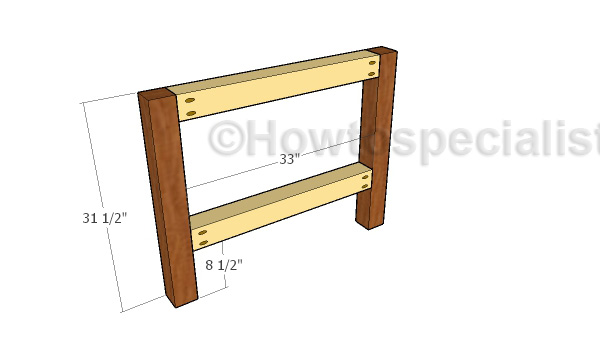
Assembling the sides for the table
The first step of the project is to build the sides for the woodworking assembly table. Cut the components at the right dimensions and align everything with great care. Drill pocket holes at both ends of the horizontal supports and insert 2 1/2″ pocket screws into the legs. Make sure the corners are square and add glue to the joints.

Assembling the frame of the table
Next, assemble the assembly workbench by fitting the rest of the supports. Drill pocket holes and insert 2 1/2″ pocket screws for a professional result. Add glue to the joints and remove the excess with a damp cloth.
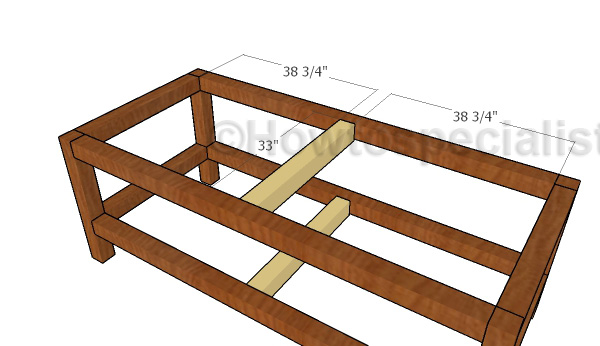
Fitting the middle supports
Fit the 4×4 supports to the middle of the frames. Drill pocket holes at both ends and insert 2 1/2″ screws.
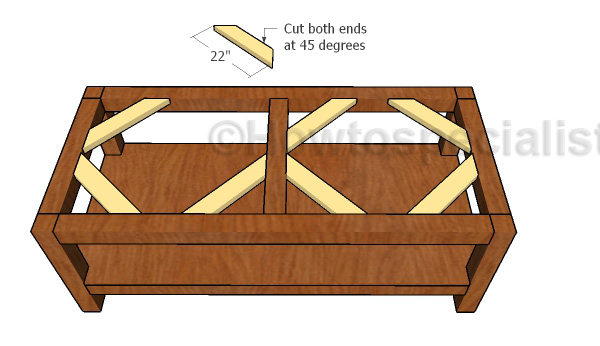
Building the tabletop braces
Reinforce the top of the assembly table by fitting 2×4 braces. Cut both ends of the braces at 45 degrees and lock them into place with 2 1/2″ screws, after making sure the corners are square.
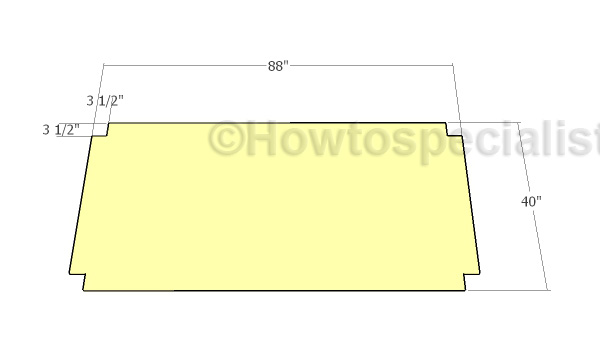
Building the lower shelf
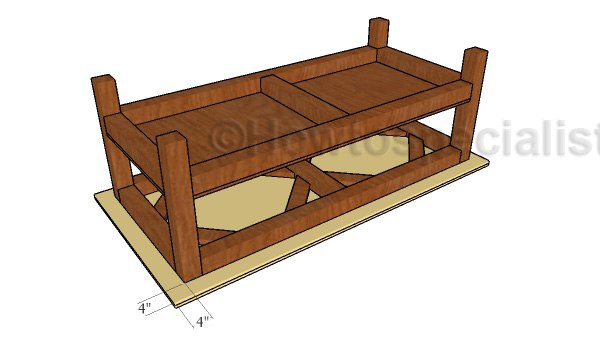
Build the lower shelf from 3/4″ plywood. Make notches to the four corners with a circular saw.
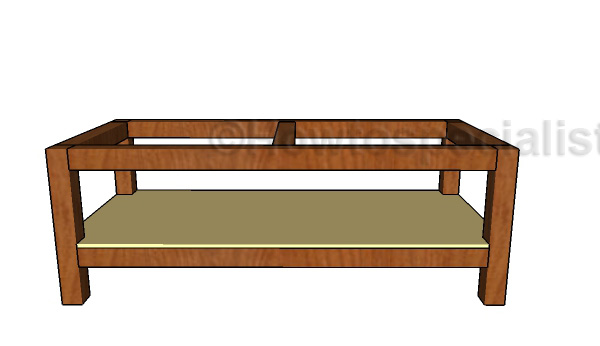
Fitting the lower shelf
Fit the lower shelf into place and lock them into place with 1 1/2″ brad nails.
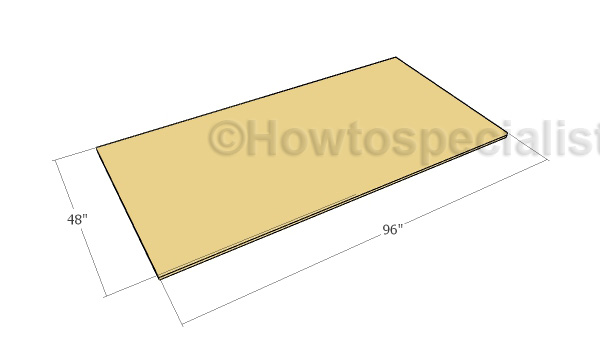
Building the tabletop
Use two sheets of 3/4″ plywood for the tabletop. Align the edges with attention and add glue so you lock them together tightly.
Fitting the tabletop
Fit the tabletop to the frame of the workbench, making sure you leave the right overhangs on all sides. Drill pilot holes and insert 2 1/2″ screws. Make sure you countersink the head of the screws, for a professional result.
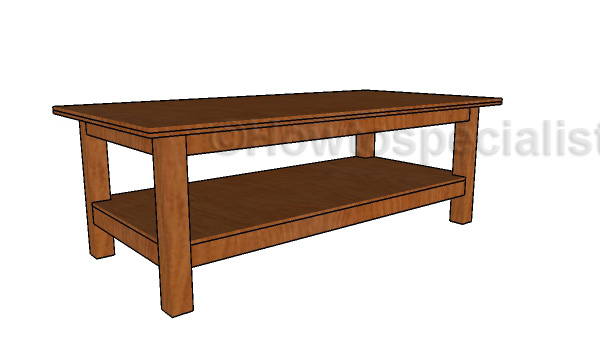
Woodworking assembly table plans
If you are passionate about woodworking and you like to make things with your own hands, I recommend you to check out this sturdy 4×8 table. I have designed the table so you can assemble large projects very easily. If you want, you can add casters to the legs and then move it easily from one location to another. If you like my project, don’t forget to SHARE it on Facebook and Pinterest.

Thank you for reading our project about woodworking assembly table plans and I recommend you to check out the rest of the projects. Don’t forget to LIKE and SHARE our projects with your friends, by using the social media widgets. SUBSCRIBE to be the first that gets our latest projects.