
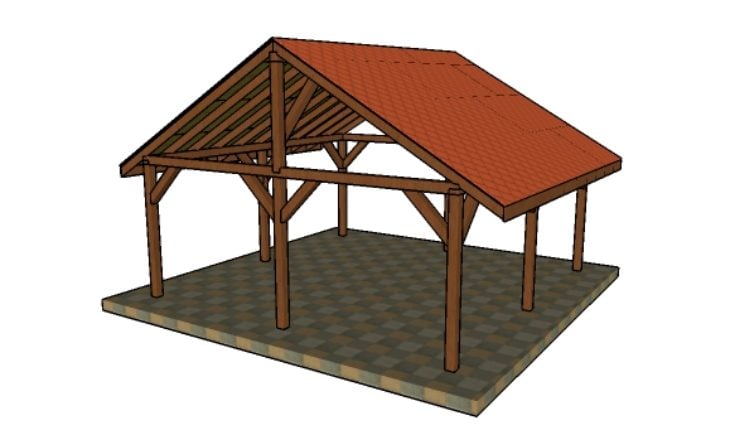
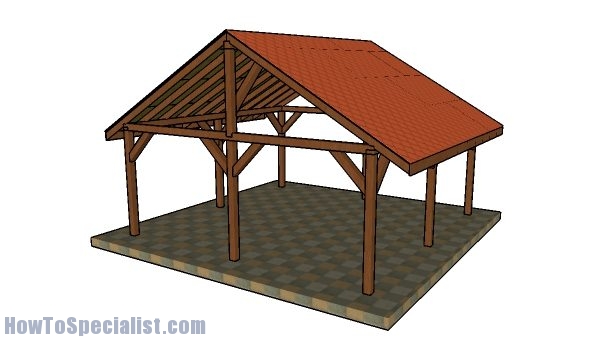
This step by step woodworking project is about how to build a 20×20 pavilion – free diy plans. I have designed this simple but sturdy pavilion so you can create a covered area in the backyard, that is ideal for serving dinner or for hanging out with friends. Adjust the plans to suit the local legal requirements and your needs. Follow the building codes and hire a professional contractor if you don’t have the right skills to undertake the project on your own.
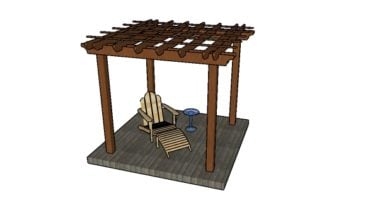
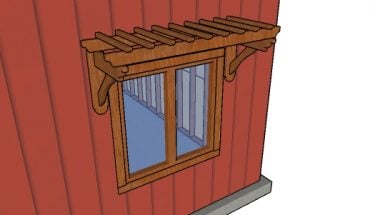
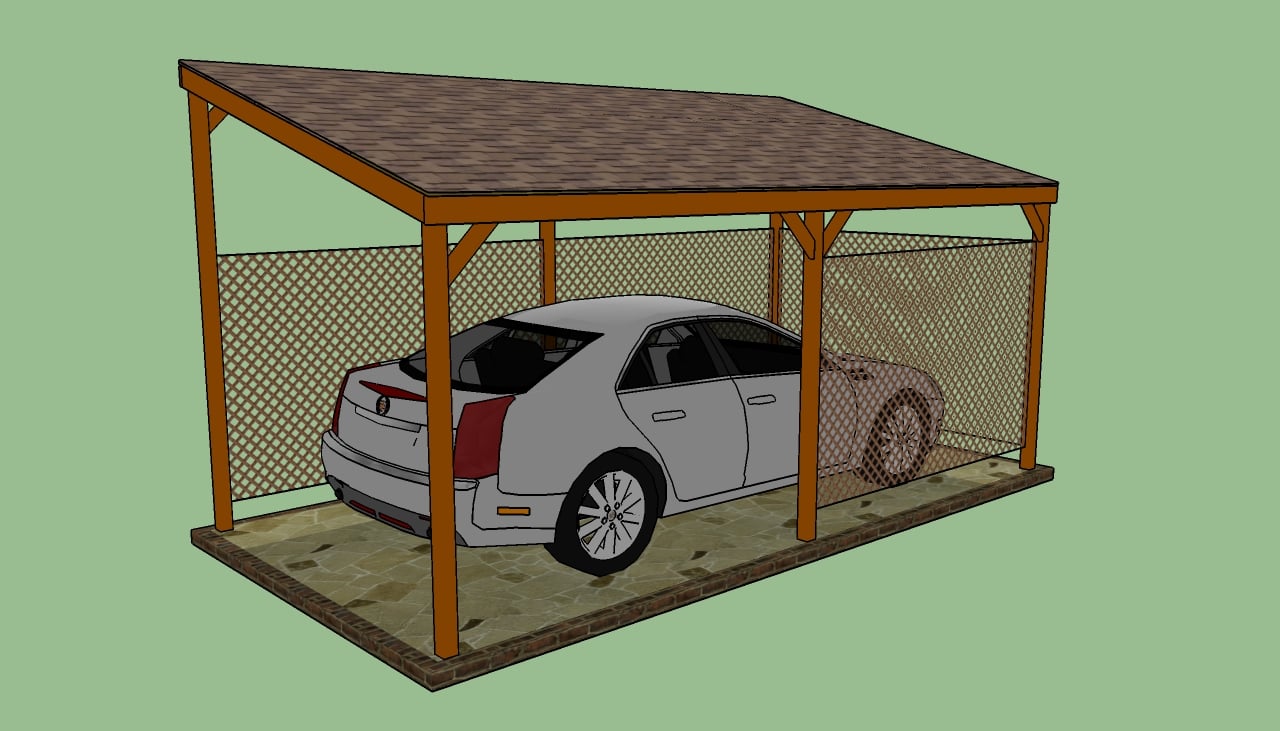
A 16×16 wooden shelter for your backyard is a construction that can be built by any woodworking amateur in a few weeks, but there are many techniques you have to master before undertaking the project. However, building a gazebo, a pergola or even a backyard kitchen with an attached roof could be projects that are more suitable for your needs. It’s you job to decide what design does best for you.
We recommend you to invest in the best materials you could afford. Therefore, you should buy weather-resistant lumber, such as pressure-treated lumber, pine or cedar. Always take accurate measurements before adjusting the size of the components at the proper size. Drill pilot holes trough the components before inserting the wood screws, to prevent the wood from splitting. See all my Premium Plans HERE.
Made from this plan
20×20 Pavilion – Free DIY Plans
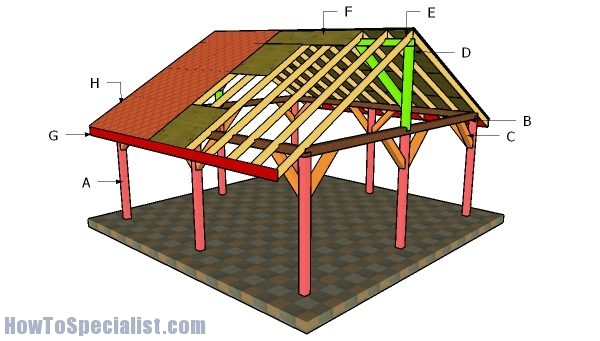
Building a 20×20 pavilion plans
Materials
- A – 8 pieces of 6×6 lumber – 96″ long POSTS
- B – 4 pieces of 6×6 lumber – 240″ long TOP RAILS
- C – 16 pieces of 6×6 lumber – 36″ long BRACES
- D – 2 pieces of 6×6 lumber – 65″ long, 2 pieces – 68″ long, 1 piece – 240″ long TOP RIDGE
- 12 pieces of 6×6 lumber – 8′
- 5 pieces of 6×6 lumber – 20′
- 8 pieces of 6×6 lumber – 6′
- concrete form tube, 8 post anchors
- 20 pieces of 8″ screws
- 20 pieces of 5″ screws
- 100 pieces of 3 1/2″ screws
- wood glue, stain/paint
- T strong tie
- L strong tie
- Screws for Strong ties
Tools
- Safety gloves, glasses
- Miter saw, jigsaw
- Chalk line, tape measure, spirit level, carpentry pencil
- Drill machinery and drill bits
Tips
- Add trims to the pavilion
- Secure the roofing slats to the structure with galvanized screws
Time
- One Week
How to build a 20×20 pavilion
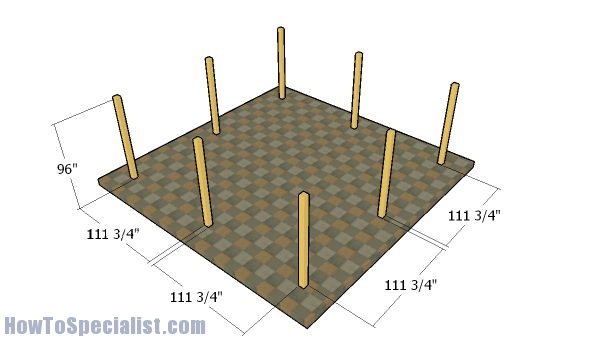
Fitting the posts
The first step of the project is to layout the pavilion. Therefore, select the location for the pavilion and level the surface with attention. Make sure you remove the vegetation layer and even out the surface. Use batter boards and string to layout the location of the legs. Apply the 3-4-5 rule to each corners, so you make sure they are square. Measure the diagonals and make adjustments so they are equal.
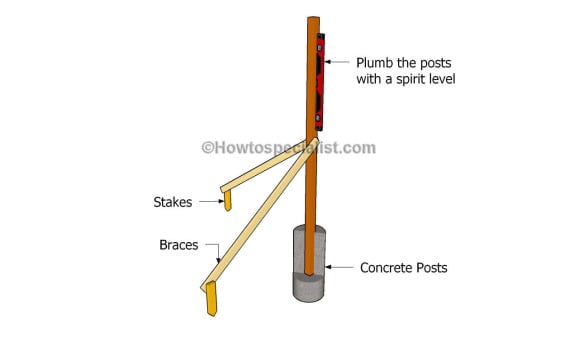
Fitting the posts
After marking the location of the posts, you need to dig 2-3′ deep holes in the ground, using a post hole digger. Install tube forms and fit the posts into place, making sure they are perfectly plumb. Secure the 4×4 posts with braces before filling the forms with concrete.
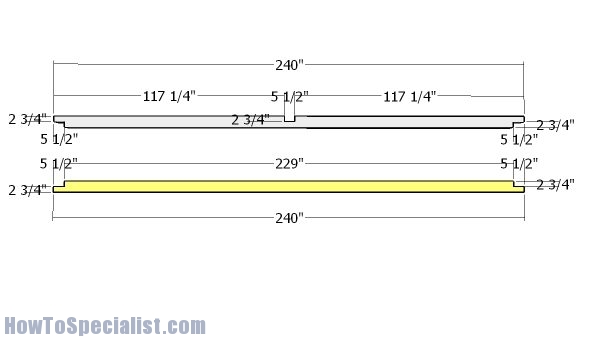
Building the top plates
Use 6×6 lumber for the top plates. As you can easily see in the diagram, you need to make notches to both ends of the beams, using a circular saw. Make the middle notch to the front and back plates using a saw and a chisel. Smooth the recesses with sandpaper.

Fitting the top plates
Fit the plates to the top of the pavilion and align the edges flush. Make sure the corners are square and drill pilot holes before locking everything together with 8″ screws.
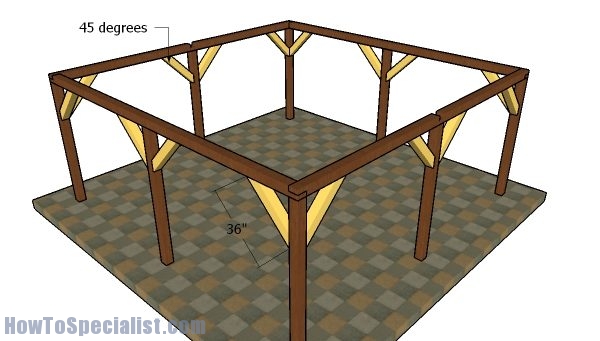
Fitting the braces
Build corner braces for the pavilion from 6×6 lumber. Make 45 degree cuts to both ends of the braces and then lock them into place tightly with 4 1/2″ screws. Plumb the posts and check if the plates are perfectly horizontal.
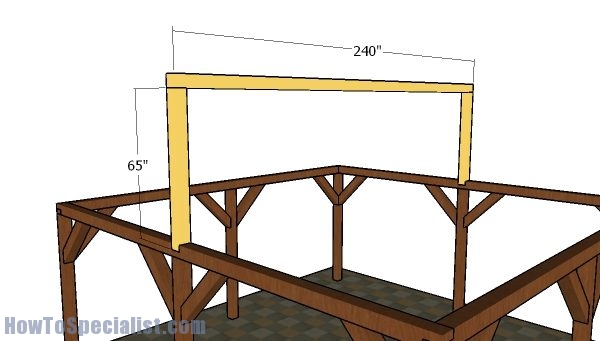
Fitting the ridge beam
Fit the 6×6 supports to the notches and plumb them with a spirit level. Make sure the edges are flush and check if the corners are square. Fit the top ridge to the supports. Check if the beam is horizontal and check if the corners are square. Use corner brackets to lock the beams together tightly.
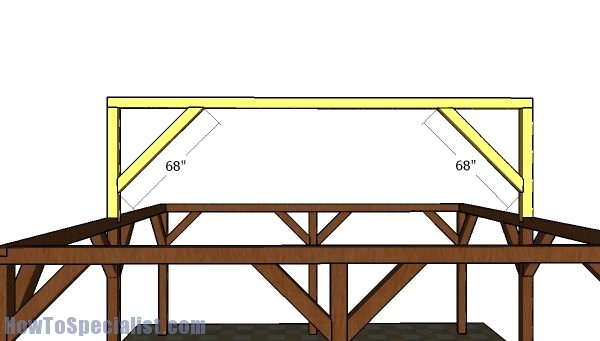
Fitting the ridge beam braces
Fit 6×6 braces to the ridge beam. Cut both ends of the beams at 45 degrees and then lock them into place tightly with 4 1/2″ screws. Take a look over PART 2 of the project, so you learn how to build the gable roof.
20×20 Picnic Shelter Plans
If you want to download the plans. just click on the GET PDF PLANS button bellow.

Thank you for reading my project about 20×20 square pavilion plans and we recommend you to check out the rest of the projects. Don’t forget to LIKE and SHARE our projects with your friends, by using the social media widgets. SUBSCRIBE to be the first that gets our latest projects.
<< Previous | Next >>
