
This step by step woodworking project is about how to build an outdoor side table plans. I designed this outdoor side table so it matches the style of my other projects. The side table can be built in one day without much effort. As soon as I had some free time, I decided to catch up and do some DIYing. I hope you will enjoy my tutorial as much as I did making it! You can adjust the size of the table and even cut out a hole in the tabletop for an umbrella. See my other DIY projects HERE.
We recommend you to invest in the best materials you could afford. Therefore, you should buy weather-resistant lumber, such as pine or cedar. Always take accurate measurements before adjusting the size of the components at the proper size. Drill pilot holes trough the components before inserting the wood screws, to prevent the wood from splitting. See all my Premium Plans in the Shop.
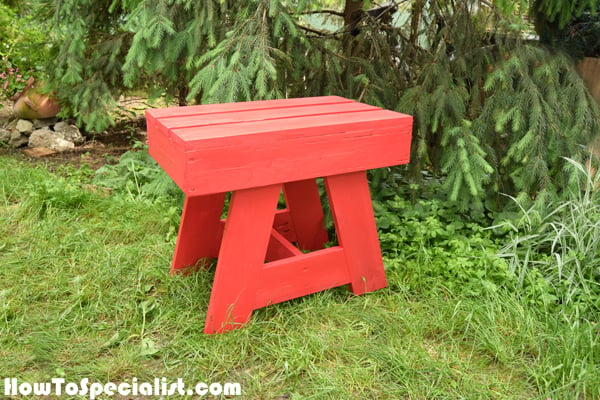
Made from this plan
Materials
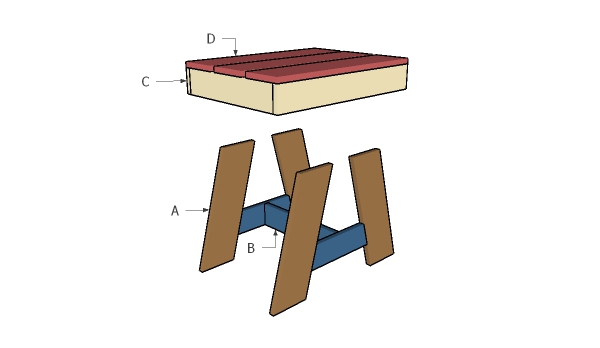
- A – 4 piece of 1×6 lumber – 20″ long LEGS
- B – 2 pieces of 1×4 lumber – 11 1/2″ long, 1 piece – 15″ long BRACES
- C – 2 pieces of 1×4 lumber – 24″ long, 2 pieces – 16 1/2″ long FRAME
- D – 3 pieces of 1×6 lumber – 24″ long TABLETOP
- 2 pieces of 1×6 lumber – 8′
- 2 pieces of 1×4 lumber – 6′
- 1 1/4″ screws
- paint, glue
Tools
- Safety gloves, glasses
- Miter saw, jigsaw
- Chalk line, tape measure, spirit level, carpentry pencil
- Drill machinery and drill bits
Time
- One Day
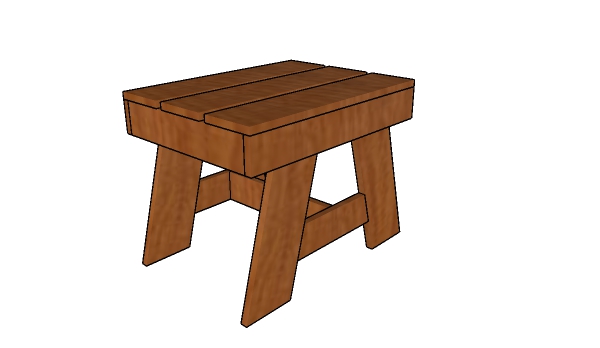
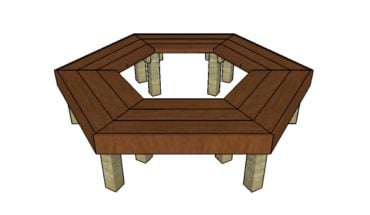
Outdoor Side Table Plans

Make sure you check out the plans and the step by step tutorial, if you want to learn how to build this side table. You only need 1x4s and 1x6s and it cost me under 20 $ to make.
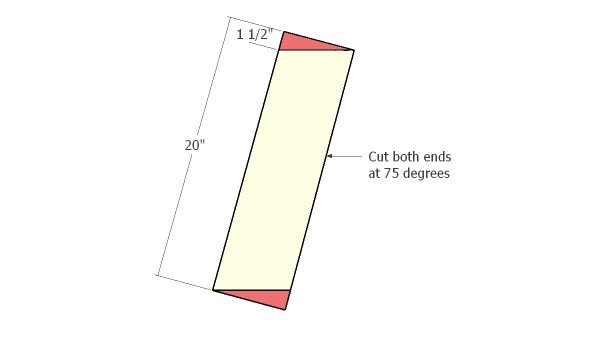
First of all, you need to build the legs for the outdoor side table. Therefore, you have to cut both ends of the 1×6 slats at 75 degrees.
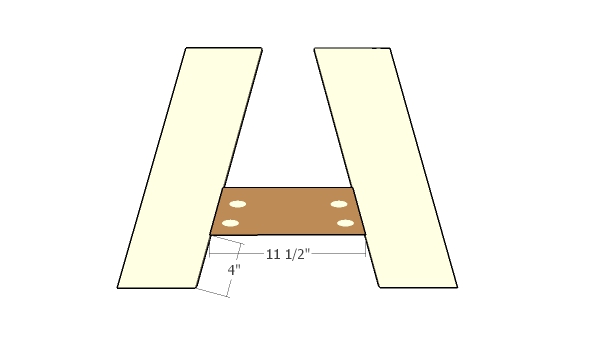
Next, you need to assemble the sides of the outdoor side table by fitting the supports. Drill pocket holes at both ends of the 1×4 supports and insert 1 1/4″ pocket screws into the legs. Add glue to the joints and align the edges with attention.
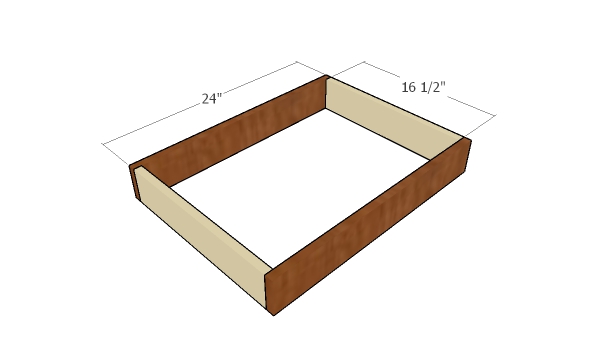
Continue the project by assembling the frame of the tabletop. Cut the components from 1×4 lumber. You can drill pilot holes and insert 1 1/4″ screws or you can drill pocket holes at both ends of the 16 1/2″ long components. Irrespective of your choice, I recommend you to make sure the corners are square and to add glue to the joints.
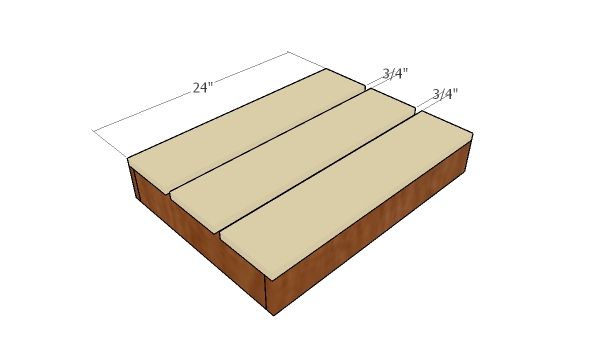
Continue the project by fitting the 1×6 slats to the frame. Place a piece of 3/4″ plywood between the slats to create even gaps. Drill pilot holes and insert 1 1/4″ screws to lock the slats into place.
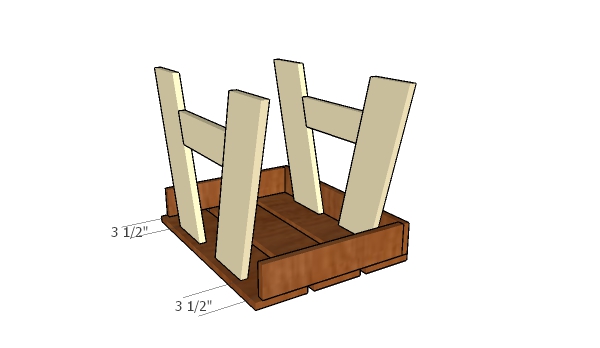
Next, you need to secure the sides to the tabletop frame. Align the sides with attention, drill pilot holes through the legs and insert 1 1/4″ screws into the frame. Add glue to the joints.
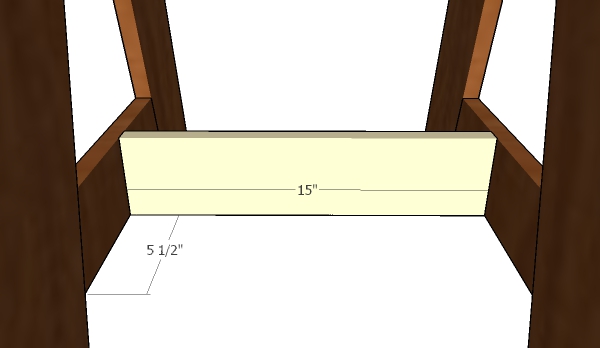
Last but not least, you need to install the stretcher to the side table, so you enhance the rigidity of the structure. Drill pocket holes at both ends of the stretcher and insert 1 1/4″ screws into the side supports. Alternatively, you can just drill pilot holes through the supports and insert 1 1/4″ screws into the stretcher.
Smooth the edges with attention and fill the holes with wood putty. Apply a few coats of paint or stain to enhance the look of the wood and to protect it from decay.
How to Build an Outdoor Side Table
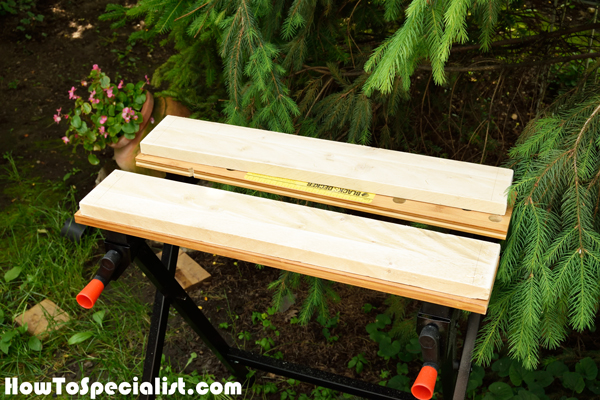
First of all, I cut all the components for the outdoor side table using my miter saw. Then I began assembling the frame for the tabletop.
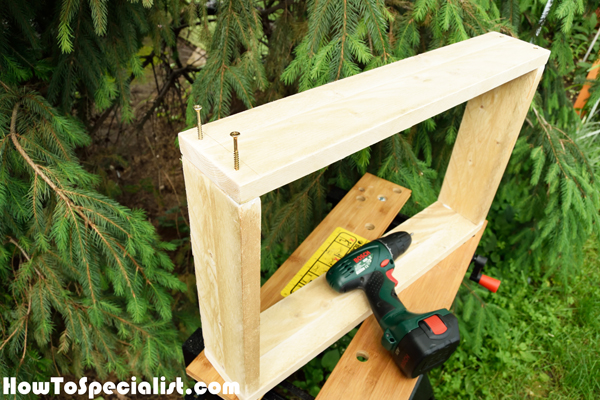
I drilled two pilot holes for each joint. You can use pocket holes if you want to hide the head of the screws. I applied glue to the edges before assembling the components together.
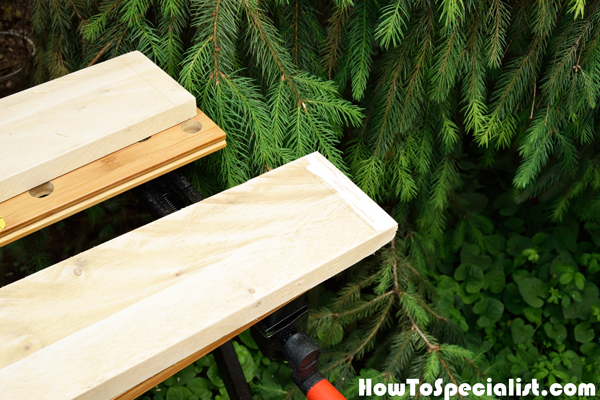
I inserted the 1 1/4″ screws after making sure the corners are right angled. I also checked if the edges are perfectly flush before inserting the wood screws.
I attached the next component to the tabletop frame in the same manner described above.
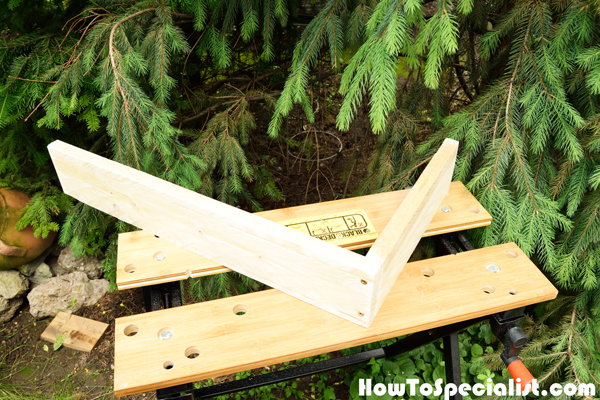
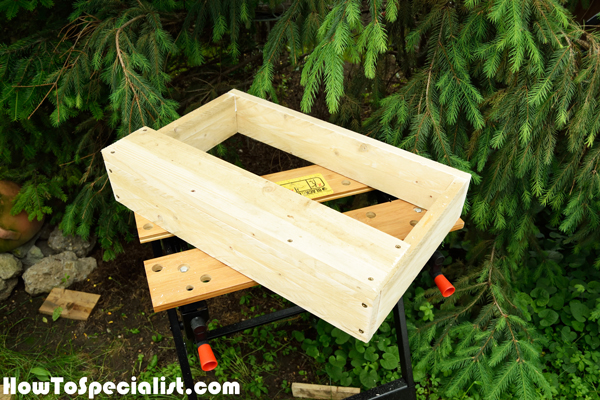
Next, I completed the frame by fitting the last components. It is just a question of drilling pilot holes, adding glue, aligning the boards and inserting the screws.
Next, I attached the 1×6 slats to the frame. I drilled pilot holes at both ends and along one edge, before inserting the 1 1/4″ screws. You can secure temporarily the slats to the frame with a clamp before inserting the screws.
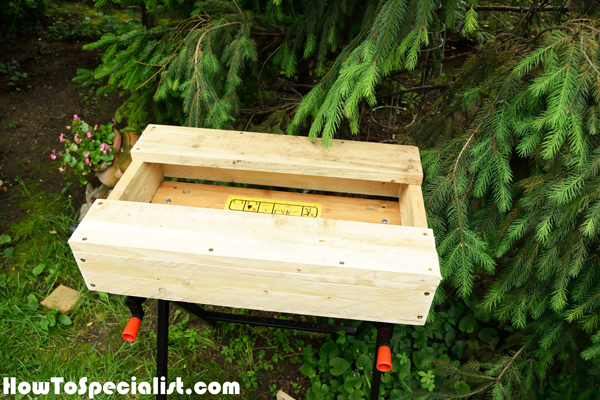
I continued the outdoor project by fitting the opposite slat to the tabletop.
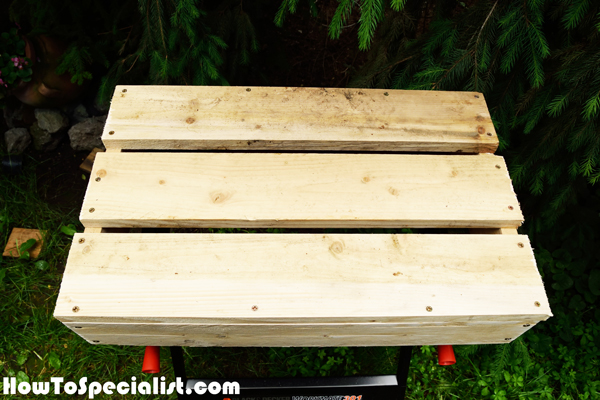
Next, I attached the middle slat to the frame, after making sure the gaps are equal. If you follow the plans, you can make sure the gaps are even by fitting a scrap piece of 3/4″ plywood.

I used my detail random sander to smooth the edges and to enhance the look of the boards. I used 120 grit sandpaper, as this will be a project for the patio. If you want to get a smoother result, you should also use 150 grit sandpaper.
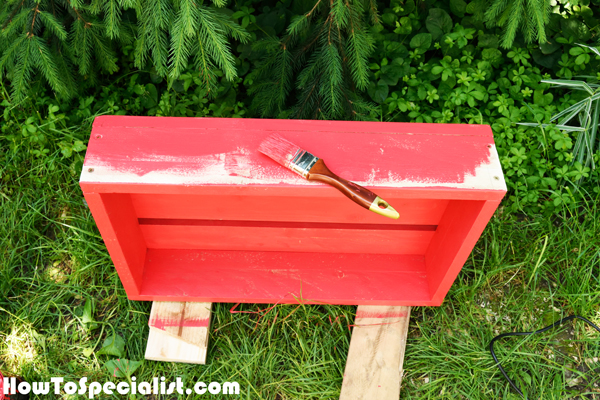
Next, I painted the tabletop so I could cover all the spots. If you paint the side table after attaching the legs, it will be difficult to reach the tight spots.
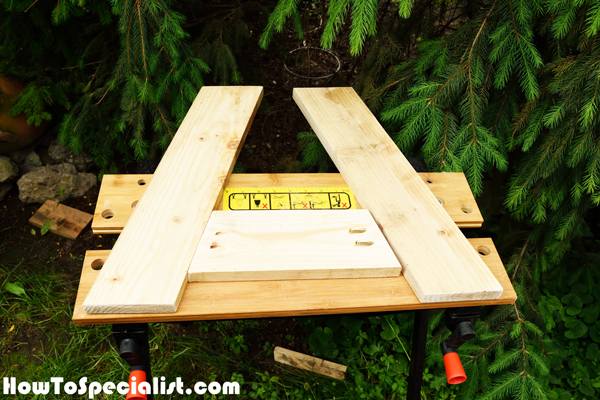
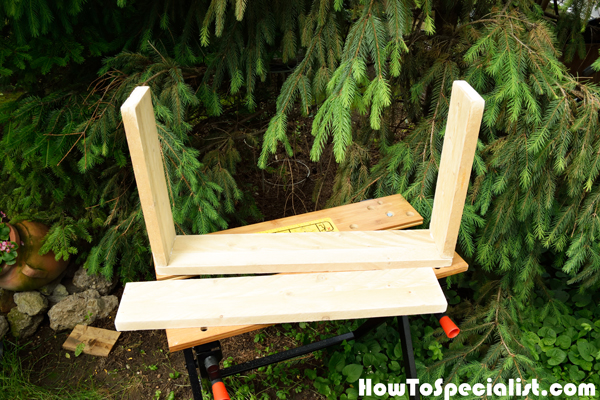
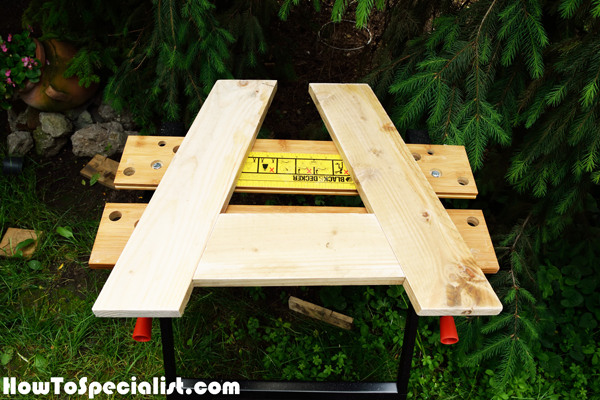
I continued the project by assembling the sides for the outdoor table. I drilled pocket holes at both ends of the supports and used 1 1/4″ screws to secure it to the legs. I marked 3″ along both legs before inserting the screws.
You can adjust the height at which you place the support to suit your needs. Just remember that the higher you install the support, the wider the legs will be.
Next, I sanded the sides with 120-grit sandpaper. I made sure I didn’t miss the edges and the joints.
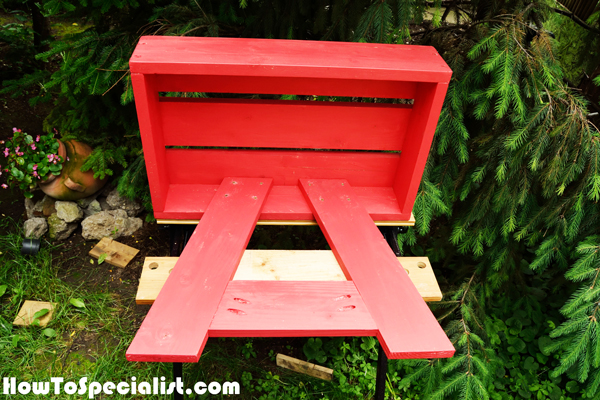
After painting the sides and letting them dry for half an hour, I attached them to the tabletop. I marked the center of the tabletop and them aligned the sides with attention. I drilled four pilot holes and inserted 1 1/4″ screws for each leg.
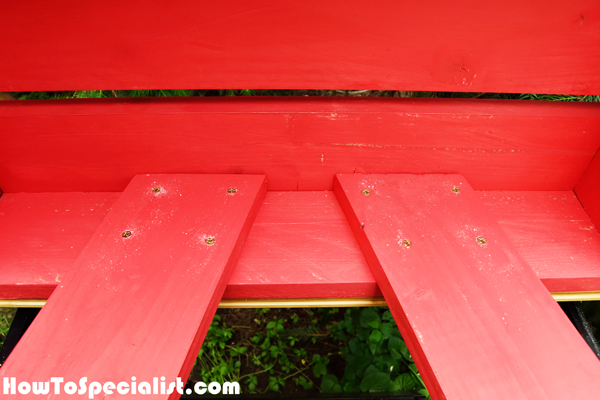
This is a close up with the joints between the legs and the tabletop frame.
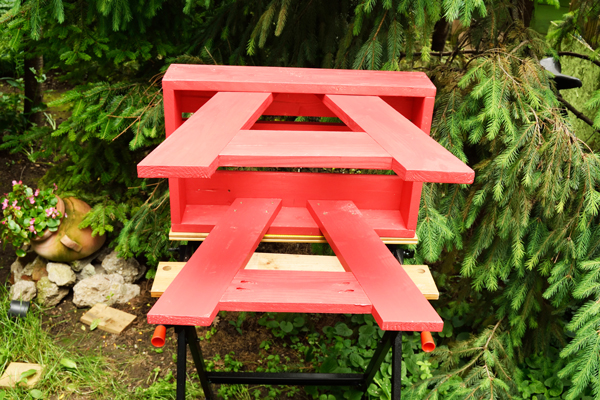
Next, I attached the opposite side to the side table, using the same techniques.
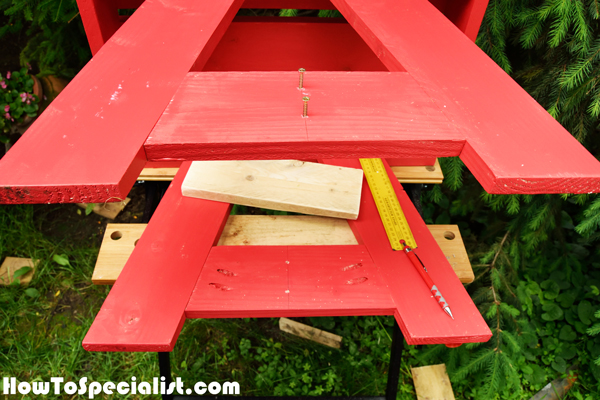
I marked the middle of the side supports and then drilled pilot holes to lock the stretcher into place.
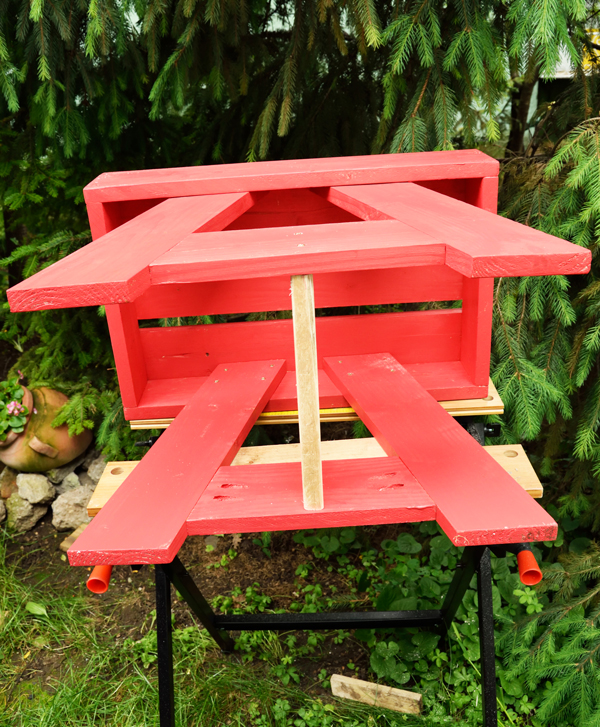
I attached the stretcher and inserted the 1 1/4″ screws, after making sure the corners are square.

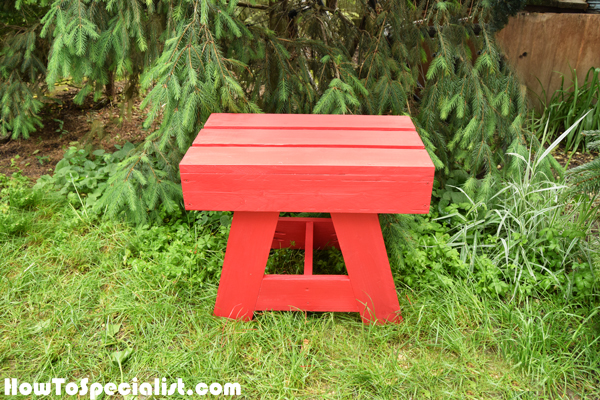

This project came out really nice and I can say I had a lot of fun designing it and building it. If you want, you can even drill a hole through the tabletop for an umbrella and use it as a nice stand. Alternatively, you can use this as an outdoor coffee table or as a plant stand. If you like my project, don’t forget to SHARE it on Facebook and Pinterest.
Thank you for reading our project about how to build an outdoor side table and I recommend you to check out the rest of the projects. Don’t forget to LIKE and SHARE our projects with your friends, by using the social media widgets. SUBSCRIBE to be the first that gets our latest projects.

