
This step by step diy project is about how to finish a garage. Installing the soffit, the exterior siding and the door are complex procedures, but anyone can get the job done, if the right techniques and materials are used. Always plan everything form the very beginning, otherwise you will face many costly mistakes and unexpected problem. Install interior walls, if you want to get a nice space.
After building a garage and installing the roof components, you should take care of the finishing touches. Therefore, there are many things that should be done, such as fitting the exterior siding, the doors, the windows and the trims. As you will see in the project, you need to use quality materials that are weather-resistant, otherwise the components will be damaged by moisture and bad weather, on the long run.
In addition, we recommend you to choose the garage door with great attention, as there are many alternatives. Moreover, read the manufacturer’s instructions with great attention when installing it or ask a professional to get the job done for you, as there many things you should take into account. If you want to create a nice space, you should fit plywood or drywall sheet to the wall framing. See all my Premium Plans in the Shop.
Made from this plan
In order to build a garage roof, you need to use the following:
Materials
- 1/4″ plywood SOFFIT
- Housewrap, lap siding boards SIDING
- 2 pieces of 3×3′ windows, 1 door, 1 garage door DOORS AND WINDOWS
- 1×4 lumber and 1 1/4″ finishing nails TRIMS
Tools
- Safety gloves, glasses
- Miter saw, jigsaw
- Chalk line, tape measure, spirit level, carpentry pencil
- Drill machinery and drill bits
Tips
- Apply several coats of wood stain to the wooden components
- Fit 1×6 trims to add character to your shed
Time
- One weekend
Related
- Part 1: How to build a detached garage
- Part 2: How to build a garage roof
- Part 3: How to finish a garage
How to finish a garage

Installing the soffit
The first step of the project is to install the soffit. As you can see in the image, you need to cut the 1/4″ plywood sheets at the right size and secure them to the rafters with finishing nails. Align all the components at both ends before attaching them to the rafters.

Installing housewrap
Before installing the siding, we recommend you to fit the housewrap. In this manner, you will be proactive and protect the garage from air and moisture. Make sure you overlap and tape the seams, in order to get a professional result. Cut the wrap around the door and window openings and stale it to the frame.

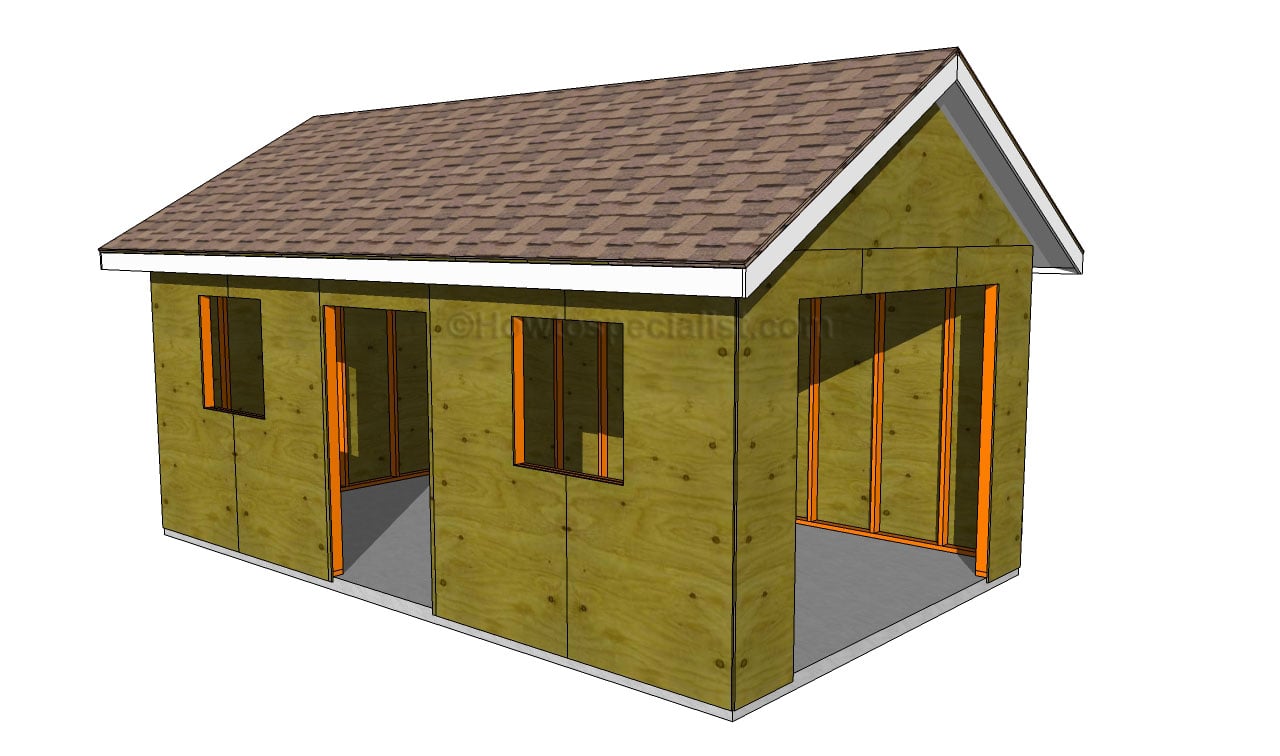
Installing the siding
In order to protect the garage from decay, you should attach siding to the exterior walls. As you can see in the image, we have used lap siding, but there are many other products you could choose from. Make sure the boards overlap several inches and when installing the nails into place, you leave about 1” from the edges. In addition, you need to fit drip caps over the windows and doors. If the top board is too wide, you need to adjust it to the right size with a circular saw.

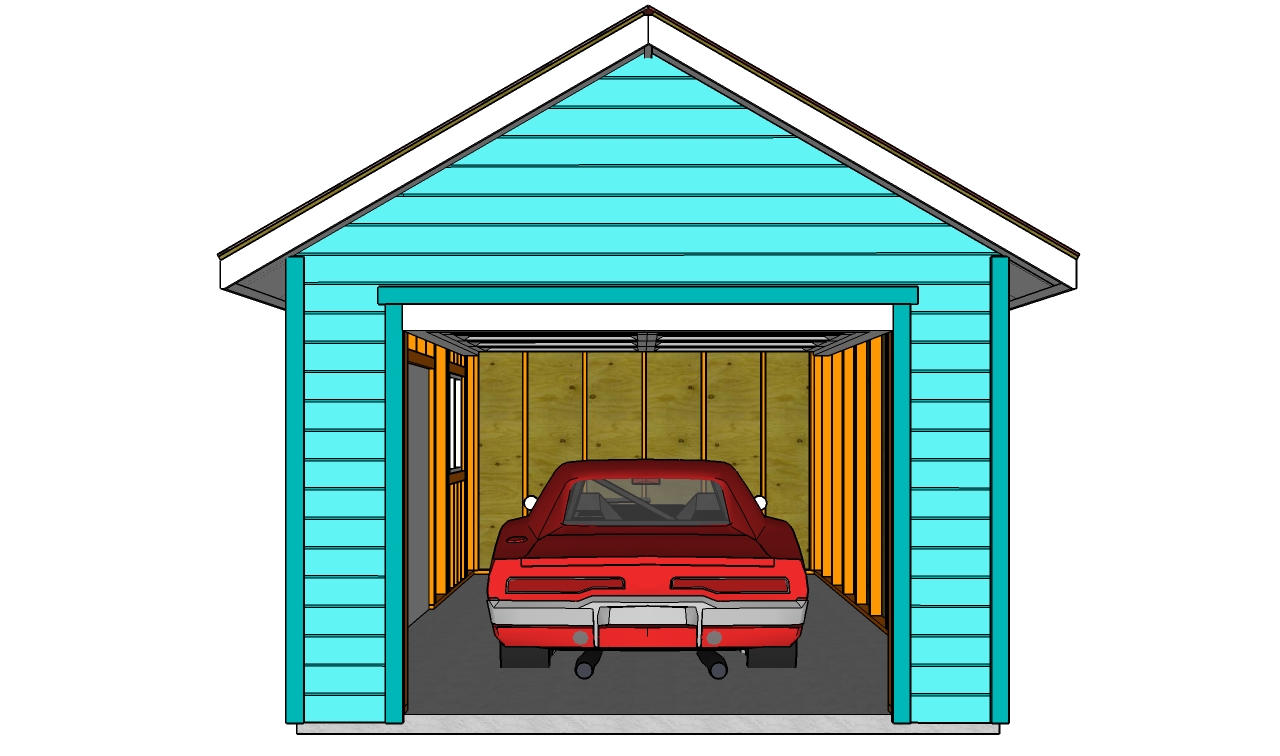
Fitting the front door
When fitting the garage door, there are several types of products you can choose from. Therefore, you can install a sectional or a trackless door, according to your budget and needs. In addition, you can choose between an insulated and an uninsulated door, taking into account the first one is more expensive. Fit the door inside the door opening and check if it opens properly.

Installing the windows
Fit the windows inside the openings, as well as the access door. Make sure you secure the windows to the framing tightly and you fill the gaps with beads of silicone. Plumb the door and the windows before locking them into place with screws.

Fitting the trims
In order to hide the edges of the siding boards and to enhance the look of the your garage, you should fit 1×4 trims to the corners and around the doors and windows. Align the trims at both ends and lock them into place with 1 1/4″ finishing nails. Apply several coats of paint or stain to the trims, as to protect them from water damage. Choose a color that matches the style of your house.

How to finish a garage
Last but not least, we recommend you to take care of the finishing touches. In order to get a professional result, fill the holes and the gaps with wood filler and let it dry out for a few hours. Check if there are protruding screws and fix the issue if necessary.
Thank you for reading our project about how to finish a garage and we recommend you to check out the rest of the projects. Don’t forget to share our projects with your friends, by using the social media widgets.
<< Previous | Next >>

Hello,
Could you tell me what size entry door you used? 80″ seems to be the “standard” height but the opening on the drawings only appears to be 76.5″? I’m assuming a 9×7 garage door was used?
8×7. But you can make adjustments to the wall frame to modify the door opening to your needs.
It looks like the garage door would be 10’x10′ which is the standard size for a one car garage. The garage is 12′ wide, which would leave 2′ on each side of the garage door.
What is the estimate time and cost would you need to spend?
I have no estimate.
3000 to 3500
Ddear Sir,
Is it possible to show this plan in metric?
Thank you
Br. Ferenc from Hungary