This step by step diy article is about how to make a wooden tool box. If you have a lot of tools and want to store them in a stylish manner, the best thing you could do is to make a basic toolbox out of lumber. From our own experience, we highlight their utility, as they are light, durable and provide lots of storage space. Don’t forget that you could adjust the size and the design of the tool box, to fit your needs.
The main components of the tool box are made out of 3/4” thick pine boards, as they have a nice appearance and are very durable. In addition, we recommend you to build the handle from 3/4” or 1 1/4” closet rod. Add wood glue to the joints and drive in 1 1/2” nails screws to secure all the components together properly. When inserting the screws, try to insert the screws as symmetrical as possible.
In order to finish the project, you need to sand the wooden surfaces with fine-grit sandpaper. Make sure you smooth the edges, otherwise you might injure yourself in the sharp edges. In addition, don’t forget to check if all the screws are inserted properly and their heads are level with the wooden surface. Vacuum the residues before staining the toolbox to the desired color. Make sure you add glue to the edges of the components, in order to enhance the bond of the joints. Clean the excess glue with a dry cloth, as after it dries out it will be impossible to remove it. See all my Premium Plans in the Shop.
Made from this plan
Making a toolbox
Materials
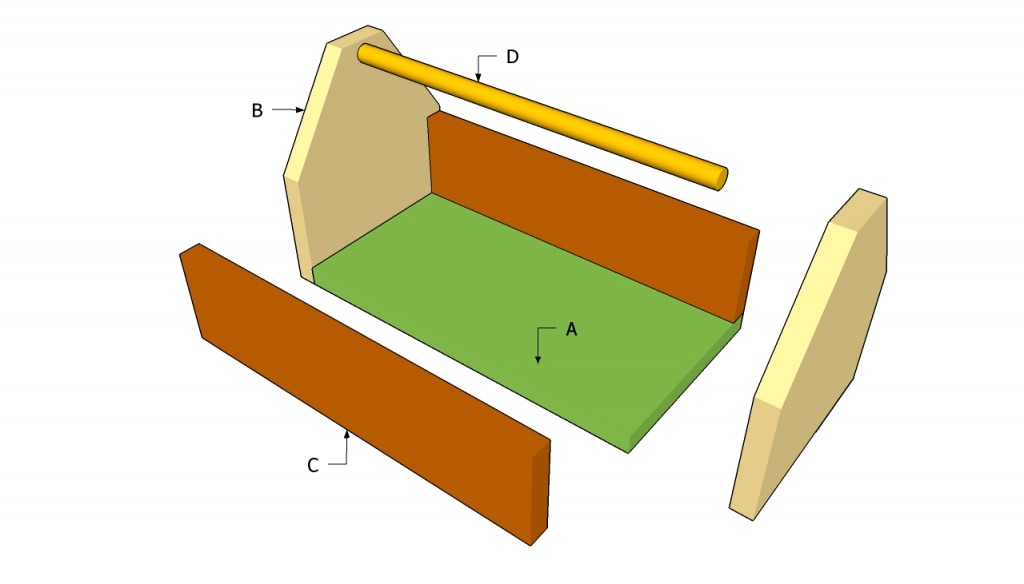
- A – 2 pieces of 1×8 lumber – 8 1/2” long FRONT AND BACK FACES
- B – 1 piece of 1×8 lumber – 14” long FLOORING
- C – 2 pieces of 1×4 lumber – 14″ long SIDE WALLS
- D – 1 pieces of 14” round lumber WOODEN ROD
Tools
- Safety gloves, glasses
- Miter saw, jigsaw
- Chalk line, tape measure, spirit level, carpentry pencil
- Drill machinery and drill bits
Tips
- Pre-drill holes in the wooden components, before driving in the screws
- Smooth the exposed edges, by using a router with a 1/4” bit
- Build the handle from a closet rod
Time
- One Day
Related
How to make a wooden tool box
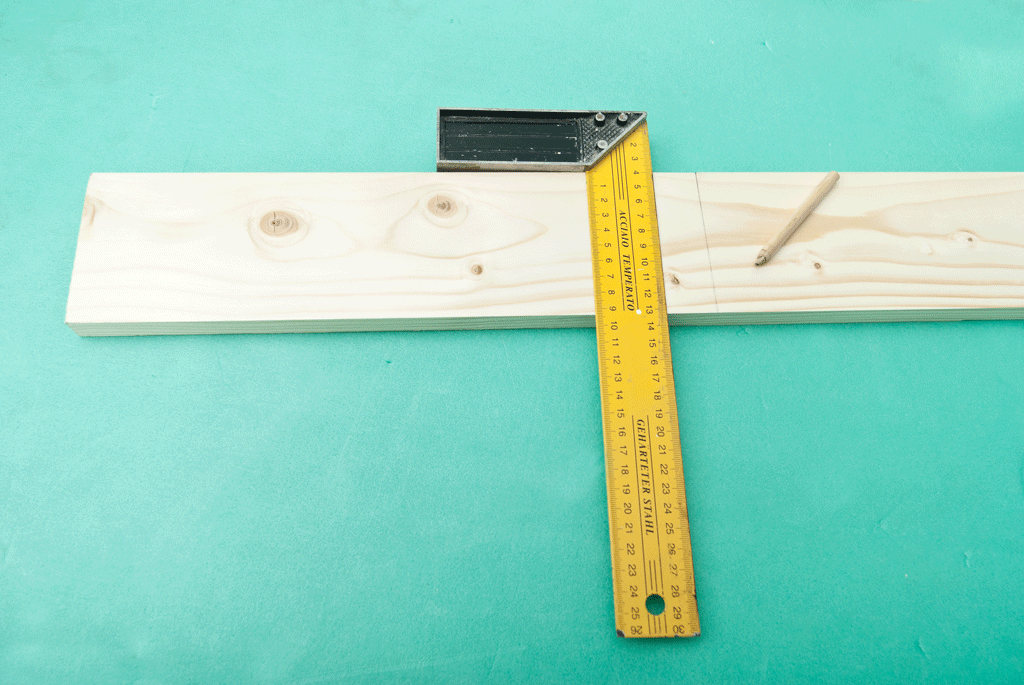
Marking the cut lines
The first step of the project is to mark the cut lines on the slats. As you will see in the next steps of the project, we will use 1×8 and 1×8 lumber to make the tool box. Therefore, you should use a carpentry pencil and an L-square to mark the lines on the wooden boards.
In addition, you need a tape measure, to make sure the measurement are accurate. Work with good judgement, as these preliminary steps pay an essential role on the final result.
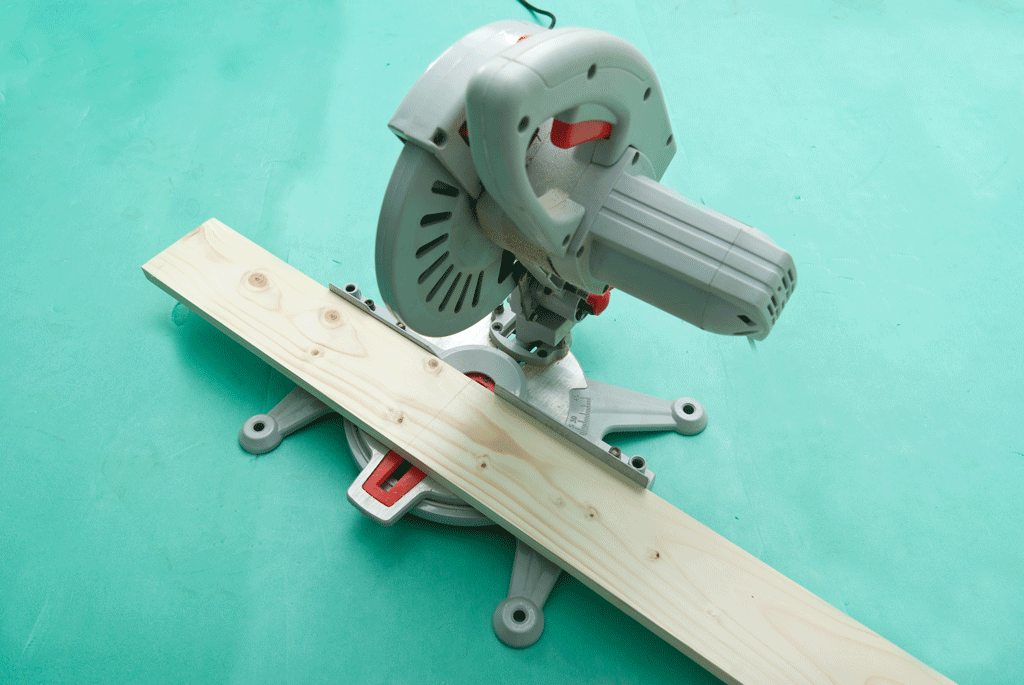
Cutting the components with a mite saw
In order to get accurate cuts, we recommend you to use a miter saw or a good circular saw. Make sure the blade has smooth teeth, otherwise it might tear the edges.
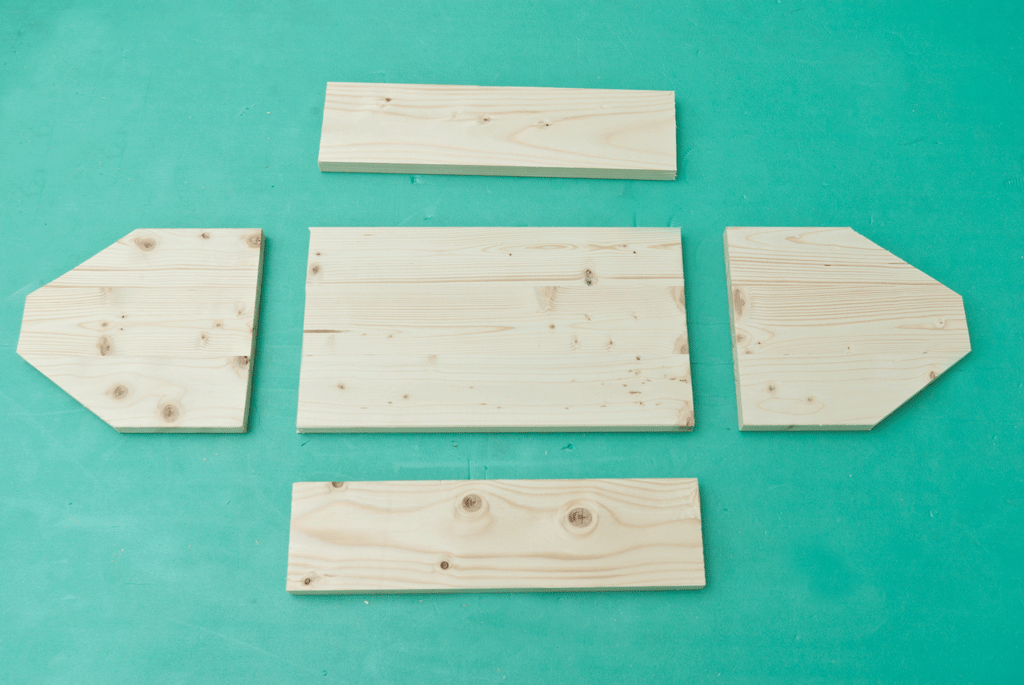
Wooden components
You can see in the image all the components needed for the tool box. As you should easily notice, a miter saw would ease the cutting process, as you should make several angle cuts.

Tool box components
You should use these plans when making the components for the tool box. Make sure you double-check all the measurements, otherwise the components might not fit together easily.
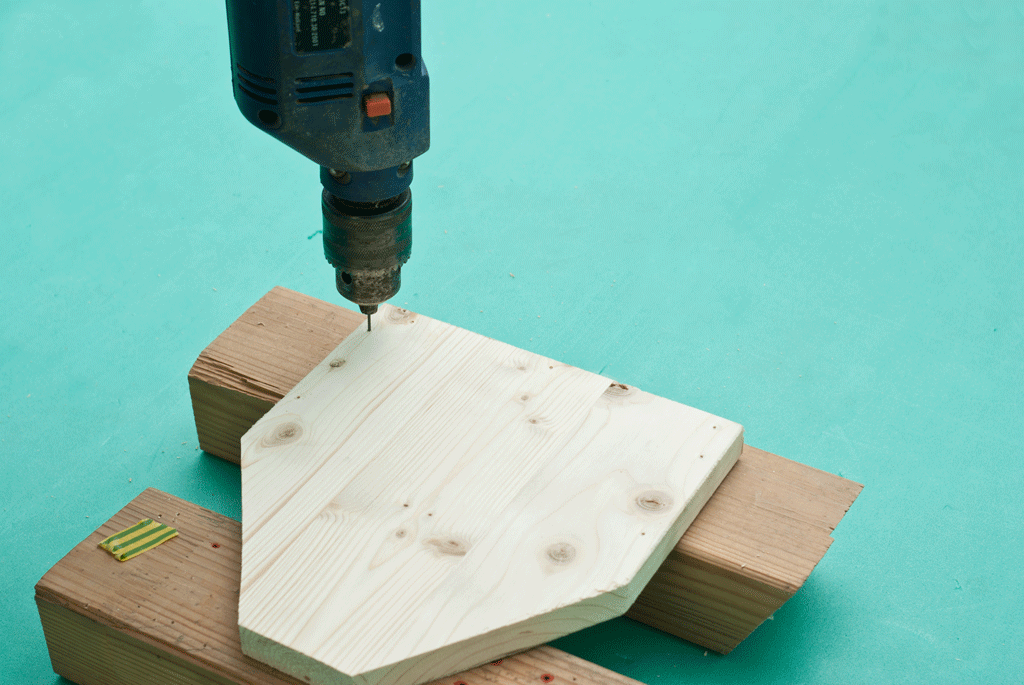
Drilling pilot holes
After building the wooden components, you need to drill pilot holes along edges. As you can see in the image, you need to place the slats on a wood block, to prevent damaging the support surface. Drill three holes on the bottom and two holes on both sides of the front and back faces.
Applying glue to the edges
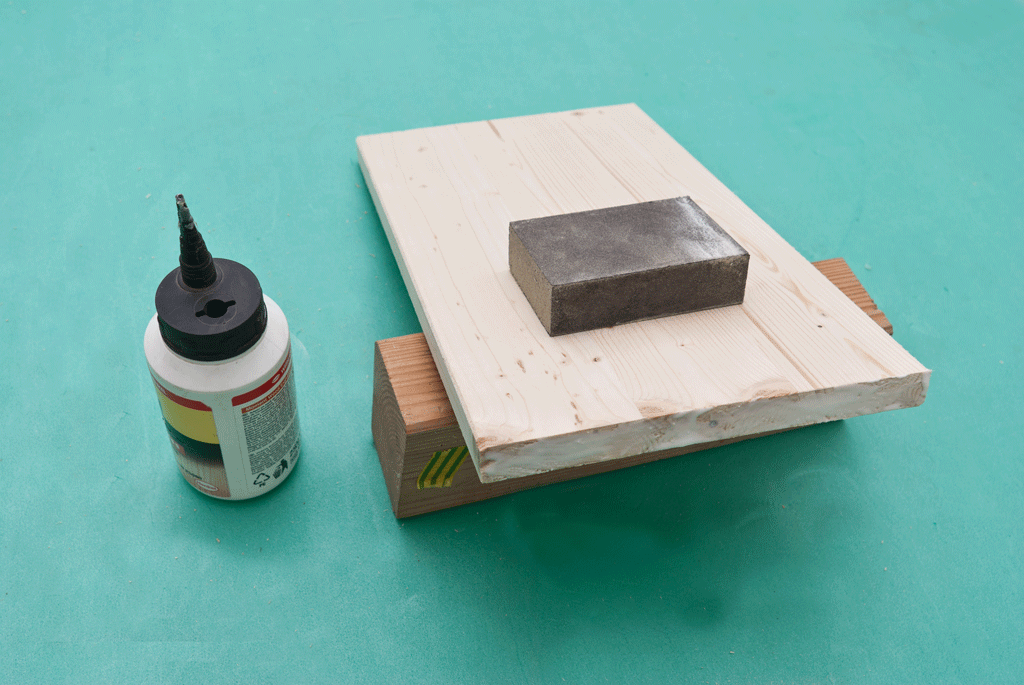
If the cut edges of the bottom component are not smooth, you should sand them thoroughly with 120-grit sandpaper, before attaching the ends of the tool box.
Apply a good wood glue to the ends of the bottom, as to enhance the bond of the joints. Make sure you don’t apply too much adhesive, otherwise you will have a hard time cleaning it.
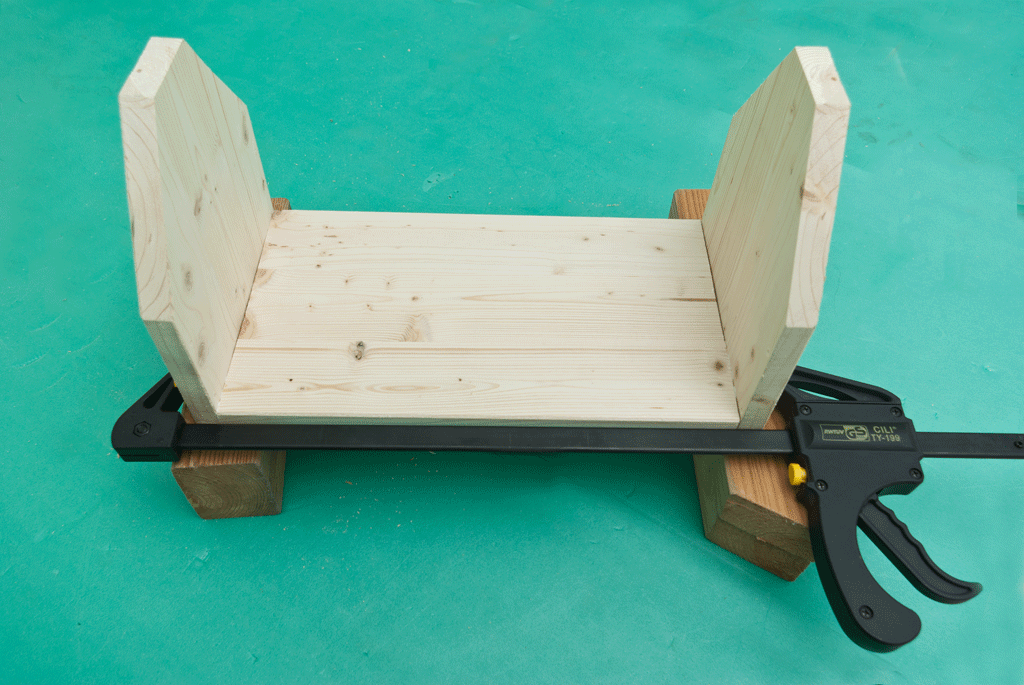
Attaching the front and back faces
Clamp the components together, as in the image and leave the glue to dry out for about half an hour. If you use a good glue, it will create rigid joints between the wooden parts. Nevertheless, you still have to drive in wood nails / screws to secure the components together tightly.
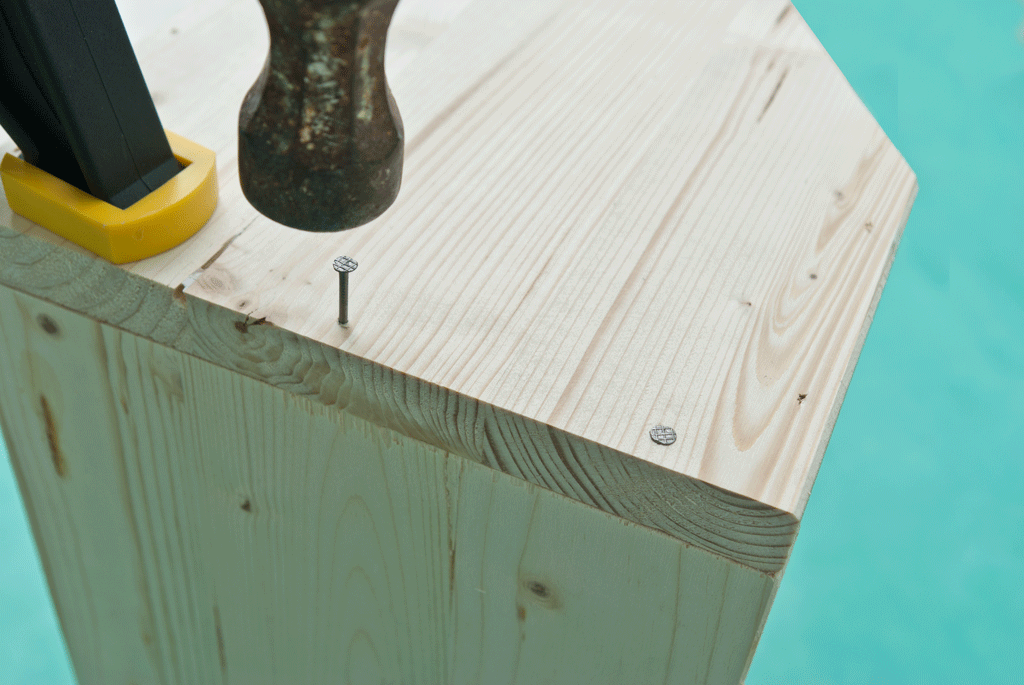
Driving in the nails
In order to get the job done as a professional, we recommend you to insert 1 1/4” finishing nails or screws. Work with great care and attention, to prevent damaging the wooden components.
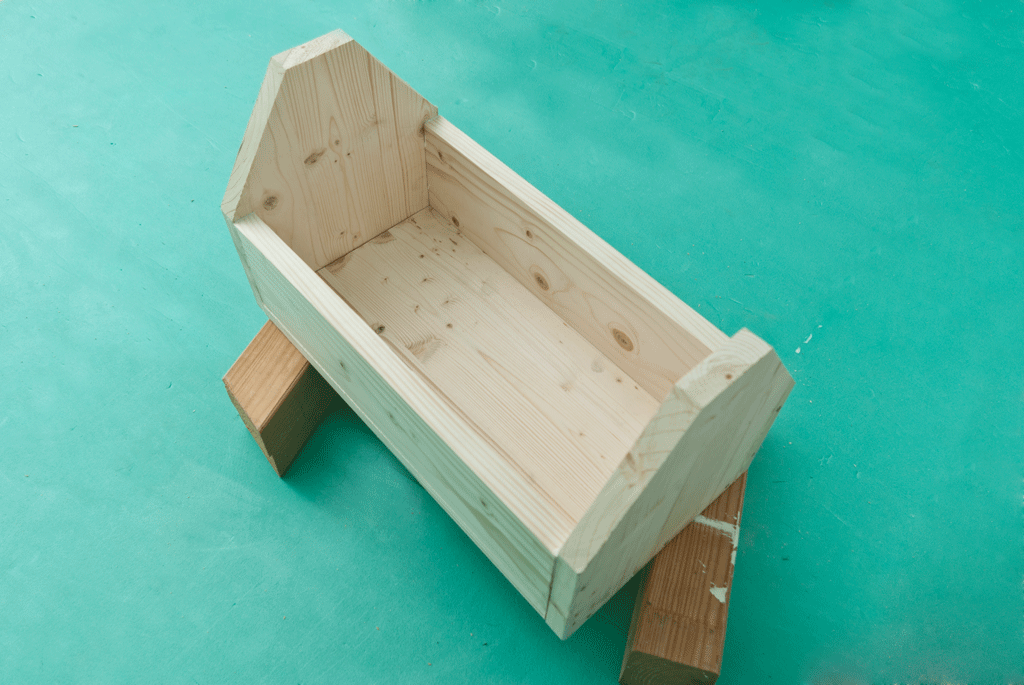
Building a wooden toolbox
After attaching all the components together, the tool box should look similar to the one in the image.
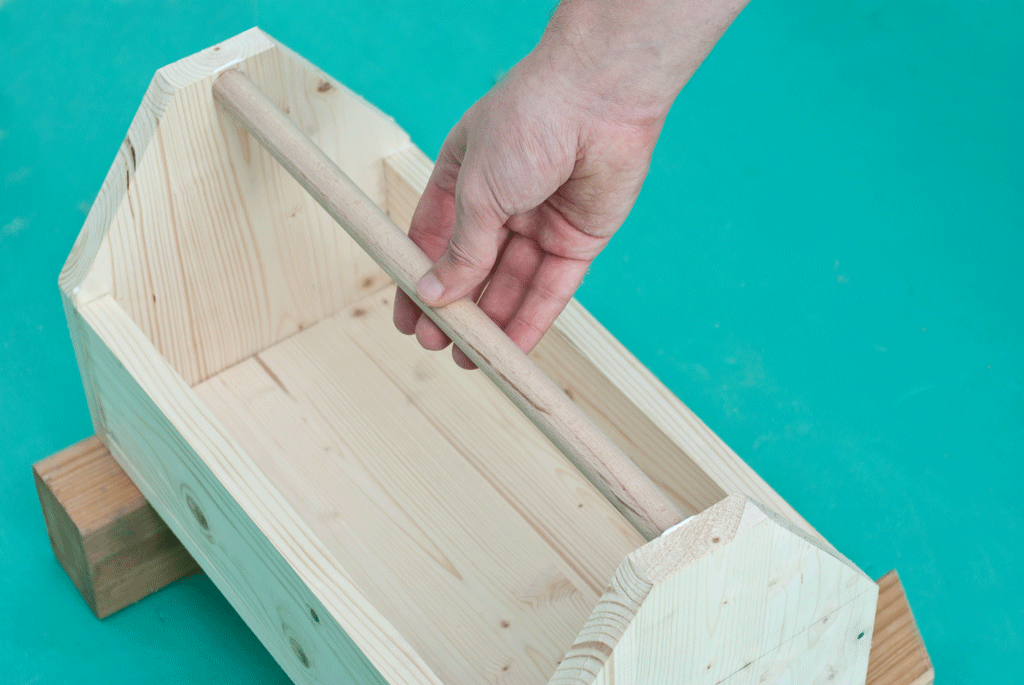
Installing the handle
Building a handle for the closet rod is straight forward job, as we recommend you to build it from a closet rod. You can choose the size of the rod according to your needs, but in this project we have used 3/4” lumber.
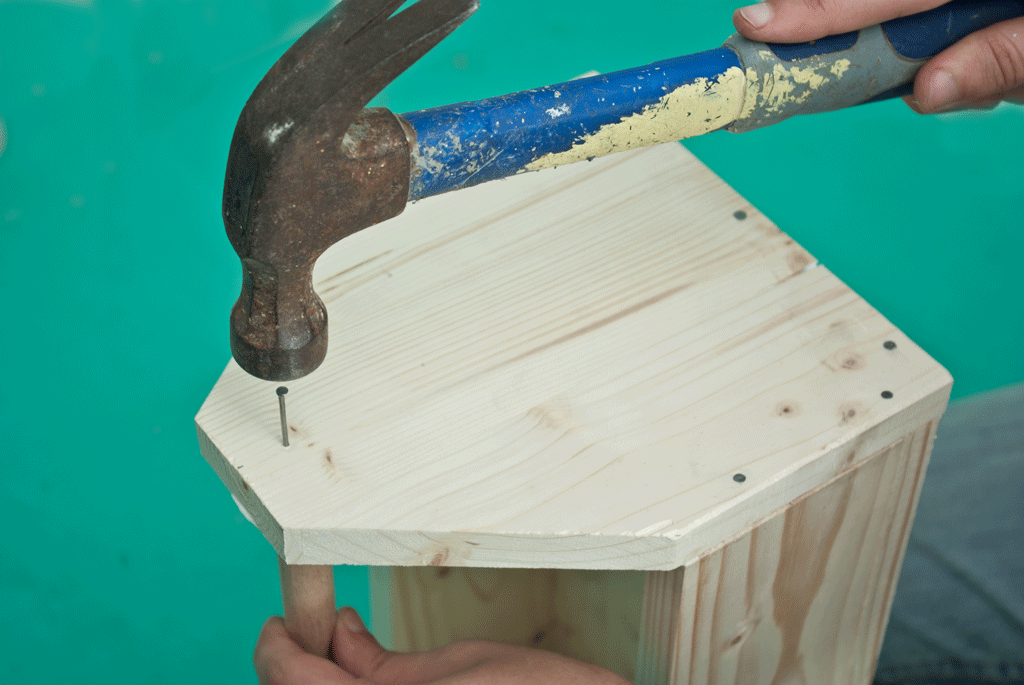
Installing the wooden handle
Add a little wood glue to both ends of the handle before centering it into place. Afterwards, drill a pilot hole trough the wooden ends and drive in the wood screws. Hold the rod firmly while driving the nails trough the lumber, otherwise it might move from place.
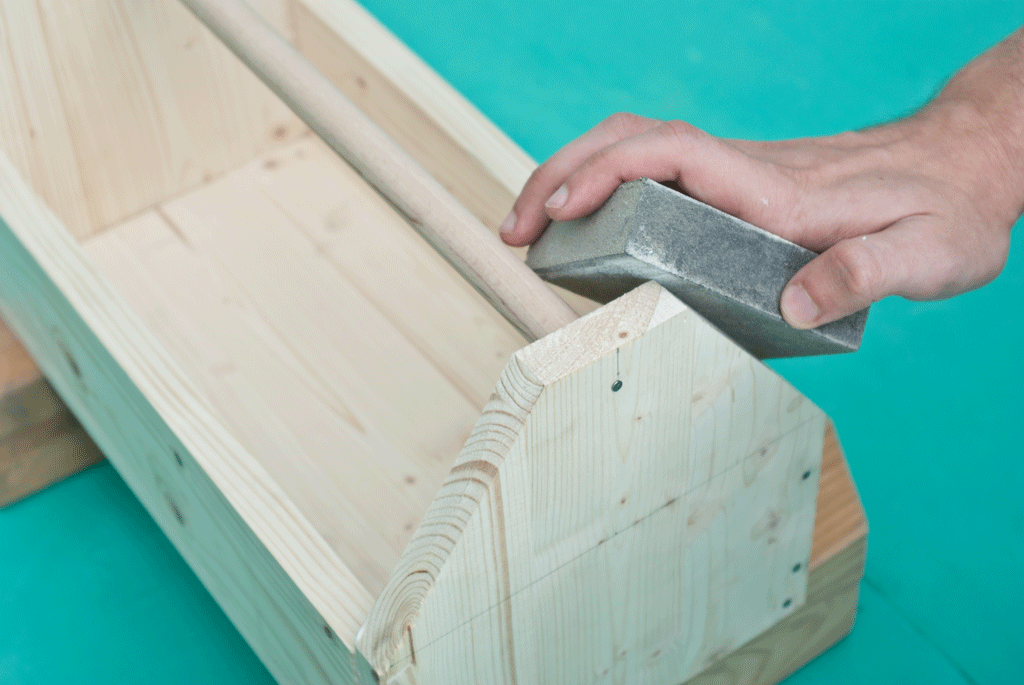
Sanding the edges
Don’t forget to smooth the edges of the wooden components with a fine-grit sandblock. Alternatively, you could round the edges with a router and a 1/4” bit.

How to make a wooden tools box
Last but not least, you should take care of the finishing touches. In order to get a professional result, you need to insert the screws properly and to fill the holes with a good wood putty. After it dries out, you should smooth the surface with 120-grit sandpaper.
Thank you for reading our diy project about how to make a wooden tool box and we recommend you to check out the rest of the projects. Don’t forget to SHARE our projects with your friends, by using the social media widgets. LIKE us to be the first that gets our latest updates and to help us create more free projects.



When installing the carring handle drill holes in each end of the tool box; cut the rod @ least 2″ longer so it will stick out 1″ each end. Drill holes in both sides of handle and instead of nails I suggest using dowels instead of nails on each end drill 2 holes on each end; drive dowels on each side of each end if you are carpentry inclined you can easily figure this out. Thanks for letting me share hope I didn’t confuse anyone.
Great idea. Thanks for the feedback!